How to Make a Sampler-Style Quilt

Designer: Erin Kroeker
Website: www.theblanketstatement.ca
Instagram: @theblanketstatement
------------------------------------------------------
Skill Level: Confident Beginner
Finished size: Customizable! (54” x 54” shown)

Over the past few months, we've been working on a series of oversized quilt blocks, each measuring 18 inches and featuring a distinct piecing technique. These larger blocks provide the perfect canvas for experimenting with different styles and patterns, allowing us to explore the creativity and skill that quilting offers. Their size makes them perfect for smaller projects like quilted pillows or tote bags, providing the opportunity to use them in various ways.
However, I'm going to show you how to combine them into a sampler-style quilt, where each block will contribute to a cohesive yet varied design. Sampler quilts, known for their customizable nature, allow quilters to showcase an array of techniques, patterns, and colors, making each quilt a truly unique creation.

When deciding how many blocks to use, it all comes down to the size of the quilt you want to make. For smaller quilts, you may only need a few blocks, while larger quilts require more. You can repeat the same block, select a few, or use them all for a dynamic design. Keep reading for a sizing guide!
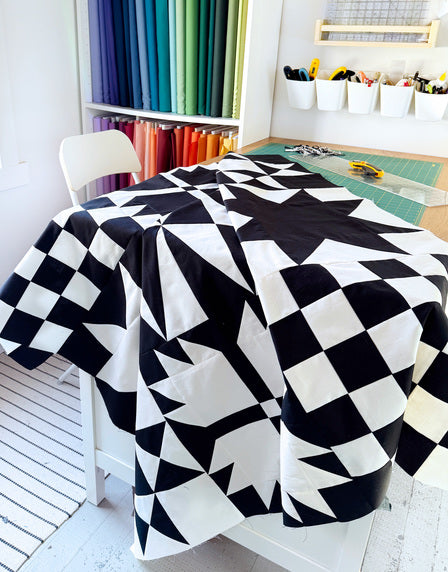
I used a cohesive two-color palette of black and natural for a striking, modern look. But the beauty of this project is that the choice is entirely yours. You can stay minimal, go for a scrappy, or pick a palette of 4-5 colors and use them consistently throughout the quilt. Whether you prefer a bold statement or a more eclectic feel, the possibilities are endless!


Tools:
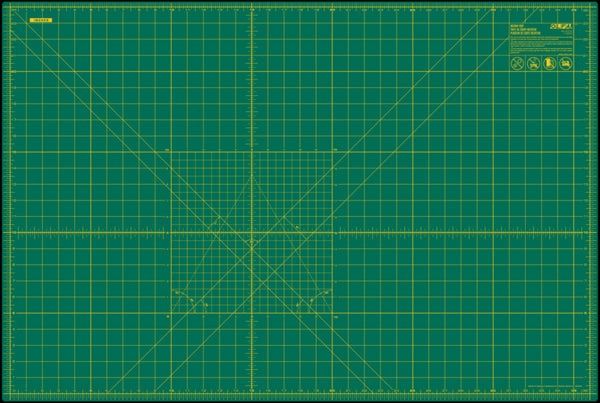
OLFA RM-MG-01 24" x 36" Green Double-Sided, Self-Healing Rotary Mat
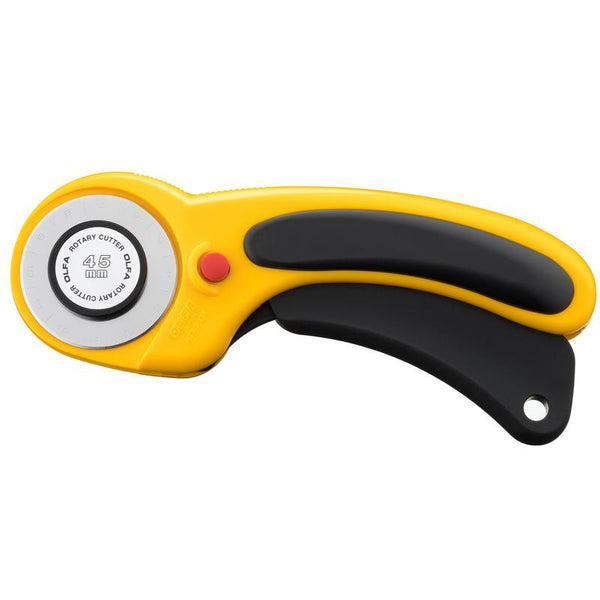
OLFA 45mm RTY-2/DX Ergonomic Rotary Cutter
OLFA 45mm Tungsten Steel Endurance Rotary Blade, 1 or 2 pack
OLFA Frosted Acrylic Rulers
Fabric & Supplies:
Quilting Cotton in your chosen Fabrics*
Pins
Sewing Machine
Iron and Ironing Board
*Instructions for each block include specific fabric requirements.

First, decide what size quilt you are making to determine how many blocks you will need. Here is a guide to help you.
- Baby Quilt (36” x 36”): 2 blocks x 2 blocks = 4 total
- Lap Quilt (54” x 54”): 3 blocks x 3 blocks = 9 total
- Small Throw Quilt (54” x 72”): 3 blocks x 4 blocks = 12 total
- Large Throw Quilt (72” x 72”): 4 blocks x 4 blocks = 16 total
- Twin Quilt (72” x 90”): 4 blocks x 5 blocks = 20 total
- Queen (90” x 90”): 5 blocks x 5 blocks = 25 total
- King (108” x 108”): 6 blocks x 6 blocks = 36 total
Choose a selection of the following blocks and make according to the directions in each blog post: Bear Paw, Sawtooth Star, Diamond Block, Ohio Star, and Nine Patch.
TIP! For my quilt, I made a lap quilt so I needed a total of 9 blocks. I made one diamond block and two of the remaining four blocks. When I repeated a block, I used inverted colors for each version to add contrast and dimension to the final design.

Once you have your blocks made, take your time experimenting with different layouts until you find one you love!

Once you're happy with the layout, sew the blocks together one row at a time using a ¼" seam allowance, and press the seams.


Next, sew the rows together to complete the quilt top. Take your time to carefully pin and match the seams, then press all seams for a neat finish.


Congrats on finishing your sampler-style quilt top! To complete your quilt, you will just need to quilt and bind with your method of choice. You have put your creativity and skills to work, and now you’ve got a unique piece to show for it. Whether you followed a plan or went with the flow, each block tells part of your quilting story. Enjoy the process and the finished quilt—it's something to be proud of!

Links to each block type:


