How to Make Half Rectangle Triangles!

Designer: Erin Kroeker
Website: www.theblanketstatement.ca
Instagram: @theblanketstatement
------------------------------------------------------
Skill Level: Beginner
Finished size: 4 ½” x 9” (5” x 9 ½” unfinished)

Let me tell you a story about the half rectangle triangle block (HRT).
Early in my sewing days, my sister asked if I could make her a quilted duffle bag of sorts to carry her (quite large) xylophone to and from gigs. This seemed like exactly the type of challenge I was up for, and I immediately got to work.
Not only was I self-drafting a custom bag, but I also figured why not give it some extra pizzaz and add some HRTs to the pockets. So, I cut a TON of rectangles, sewed down the diagonal (just like you would for an HST) and thought I was a genius.
Until I opened them up...OOPS. If you’ve ever tried this, you know it doesn’t work! I was left with approximately 100 wonky, unusable blocks and a lot of discouragement.
It was a few years before I returned to the HRT block, but I’m glad I did. This slightly more advanced, but oh-so-gorgeous block is totally worth it!

For this tutorial, I will be making 4 ½” x 9” finished (5” x 9 ½” unfinished) HRT. This is the perfect size for an upcoming blog post on how to make a Diamond Quilt Block, so stay tuned!
TIP! When cutting HRTs, the initial rectangles should be cut 1” in width and 2” in length larger than the finished (sewn) size. For example: to make a 3” x 6” finished HRT, cut your fabric to 4” x 8”.

Tools:
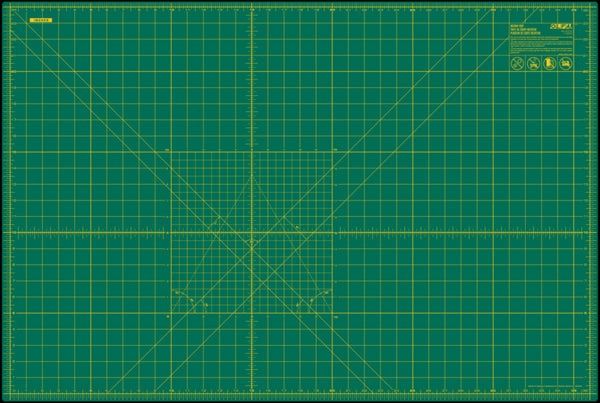
OLFA RM-MG; RM-MG-01 24" X 36" Green Double-Sided, Self-Healing Rotary Mat
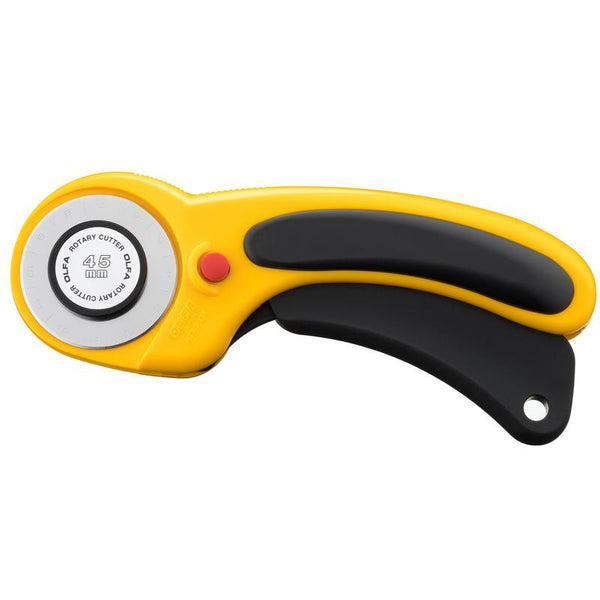
OLFA 45mm RTY-2/DX Ergonomic Rotary Cutterr
OLFA QR-6x12 6" X 12" Frosted Acrylic Ruler
OLFA QR-6x24 6" X 24" Frosted Acrylic Ruler (optional)
Fabric & Supplies:
Two Fabrics – Fabric A & B
Thread
Pins
Sewing Machine
Iron and Ironing Board
--------
Using your ruler, cut (2) 5 ½"” x 11” rectangles from Fabric A and (2) 5 ½” x 11” rectangles from Fabric B.

TIP! Half rectangle triangles cannot be rotated to alter the direction of your diagonal (unlike HSTs). The orientation of the diagonal cut when creating HRT blocks is vital. Make sure to double check, especially when using prints!
For Left Slant, cut diagonally from top left to bottom right for both fabrics A and B.
For Right Slant, cut diagonally from top right to bottom left for both fabrics A and B.


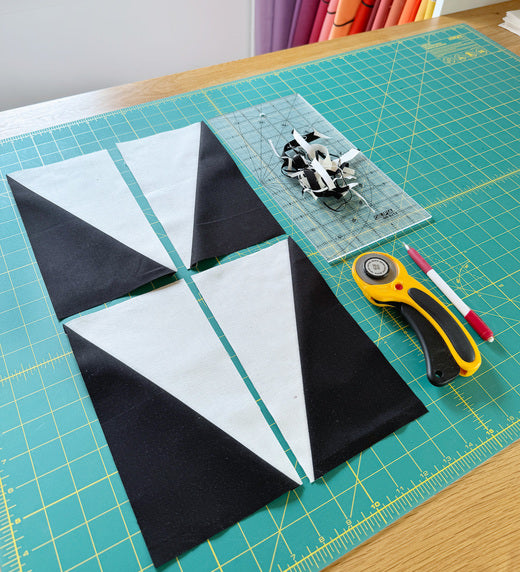
Rearrange cut triangles into their HRT pairings.

Place RST (right sides together) and offset the seam by ¼". To make this easier, you can mark a line ¼" from the diagonal or double check with a ruler. As you practice, you’ll be able to judge by sight!


Sew a ¼” seam allowance.


Press the seams open or to the dark side based on your preference.


Now you need to trim your HRTs and there is one very important thing you need to know! The diagonal seam does NOT meet in the corner!
I know, this seems odd, but trust me! HRTs are not at a 45-degree angle and cannot be trimmed like HSTs.
The diagonal seam will be offset or indented by 1/8” from the corner. This ensures that when you sew your HRTs together, your point doesn’t get lost in the seam allowance.

These blocks will be trimmed to 5” x 9 ½”.
On the ruler, mark a dot at ¼" x ¼" and 4 ¾” x 9 ¼". A permanent marker can easily be removed with rubbing alcohol once you’re done!

Align these markings with the diagonal seam. Ensure that the rectangle extends beyond final measurements so you can trim on all four sides. Trim the right and top edges.

Rotate the HRT unit. Align the previously trimmed edges with 5” and 9 ½". Double check that the dot markings align with the seam. Trim the remaining two edges.

For the remaining right slant blocks, repeat steps but mark new dots on a different corner of your ruler.

Congratulations! You just completed the tricky half rectangle triangle! Keep practicing and you’ll have these perfected in no time!


