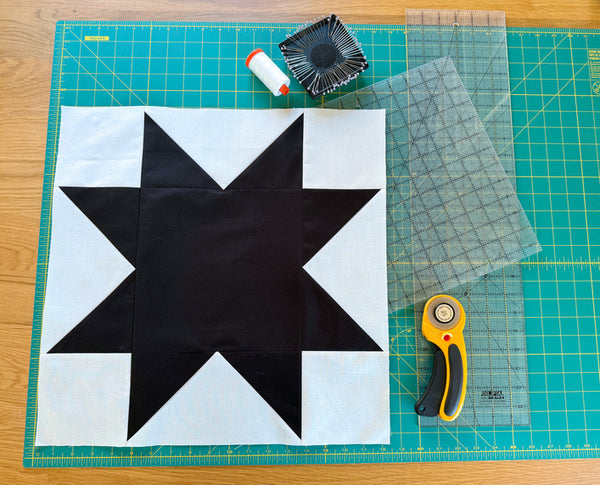
How to Make a Sawtooth Star Block!

Designer: Erin Kroeker
Website: www.theblanketstatement.ca
Instagram: @theblanketstatement
------------------------------------------------------
Skill Level: Beginner
Finished size: 18” x 18”

The sawtooth star block is a quilting classic (I even have it tattooed on my arm)! There are so many ways to customize this block with different fabrics and colours, but I’m going with a modern, two colour design.
This is the second quilt block we will be making together in a series of oversized, 18" blocks – each rooted in traditional quilting but with a modern flair. (Have a peek at the Bear Paw Block!) At the end, we will bring them all together in a unique sampler-style quilt, so collect your supplies and let’s get to it!

Tools:
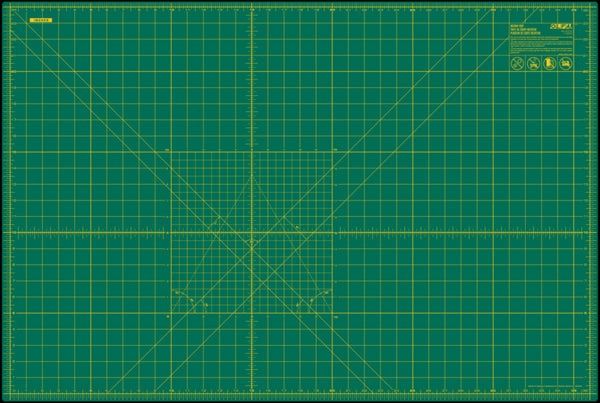
OLFA RM-SG-01 18" X 24" Green Double-Sided, Self-Healing Rotary Mat
OLFA 45mm RTY-2/DX Ergonomic Rotary Cutter
OLFA QR-6x24 6" X 24" Frosted Acrylic Ruler
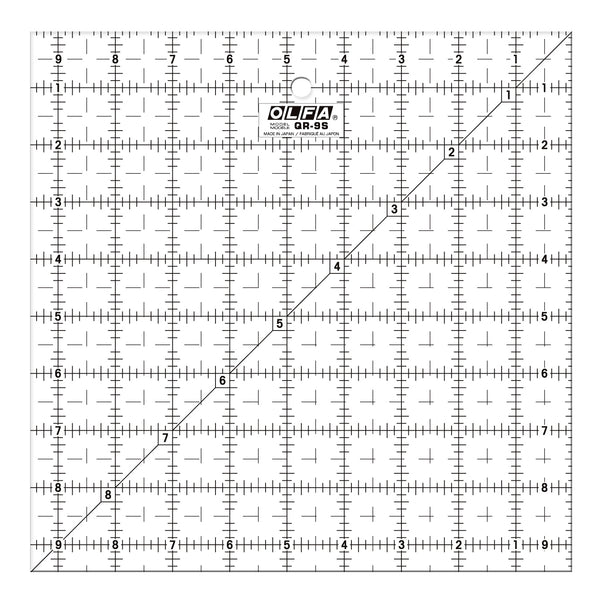
OLFA QR-9S 9 1/2" Square Frosted Acrylic Ruler
Fabric & Supplies:
(2) Fat Quarters – I'm using Black (star) and Natural (background)
Thread
Sewing Machine
Iron and Ironing Board
Pins

Step 1: Cutting Fabric
From the Star Fabric (black) cut:
(4) 5.5” x 5.5” squares
(1) 9.5” x 9.5” square
From the Background Fabric (natural) cut:
(4) 5” x 5” squares
(2) 10.5” x 10.5” squares

Step 2: Creating Flying Geese
On the wrong side of all 5.5” squares, mark a diagonal CUTTING line.
Pin (2) 5.5” squares on opposite corners of your 10.5” square, right sides together (RST).
Ensure they overlap at the centre.
Sew a ¼” seam on each side of your marked line.

Next, using the 6” x 24” ruler, cut along the marked line, resulting in two pieces. Press your seams out towards the small triangles. This will help your Flying Geese to lay flat.

Now, place another 5.5” square in the corner of each unit RST. Pin in place and again sew a ¼” seam down both sides of your marked line.

Cut apart on the marked line. Press your seams out towards the small triangles, just as you did before. Repeat for the remaining unit.
Trim flying geese blocks to 5” x 9.5”.
Tip - check out this blog post for an in-depth tutorial on how to make and trim No-Waste Flying Geese!

Step 3: Assembling the Block
Arrange your flying geese blocks and remaining squares into the final block arrangement.

First sew the rows together using a ¼" seam allowance. Press seams.


Then sew your rows together to complete the block. Press all seams and give the block a good press!


Step 5: Finishing touches
Measure your completed block and if necessary, trim to 18.5” x 18.5”, ensuring all sides are straight and corners are square!

Now do a little happy dance... you made a sawtooth star block!


