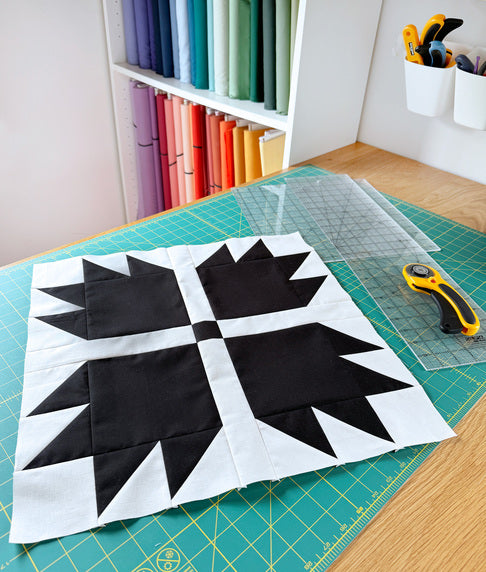
How to Make a Bear Paw Block!

Designer: Erin Kroeker
Website: www.theblanketstatement.ca
Instagram: @theblanketstatement
------------------------------------------------------
Skill Level: Beginner
Finished size: 18” x 18”

Hey there, fellow quilt enthusiast! Get ready to dive into the world of fun and creativity with the 18" finished bear paw quilt block! (18.5” unfinished)
This block isn't just for quilts - think outside the box and use it to create a cozy quilted pillow, the perfect panel for a quilted tote bag, an adorable wall hanging or whatever else sparks your imagination.
And guess what? This is just the beginning of our journey!
Stick around as we explore a whole series of 18" blocks, each with its own flair and personality. Then, we'll bring them all together in a super cool sampler-style quilt. So, grab your fabric and let's get quilting!

Tools:
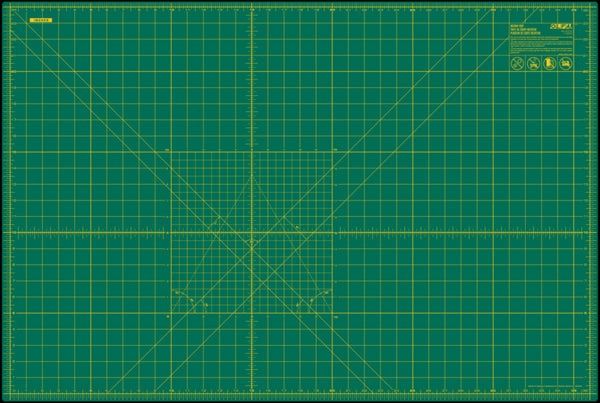
OLFA RM-MG; RM-MG-01 24" X 36" Green Double-Sided, Self-Healing Rotary
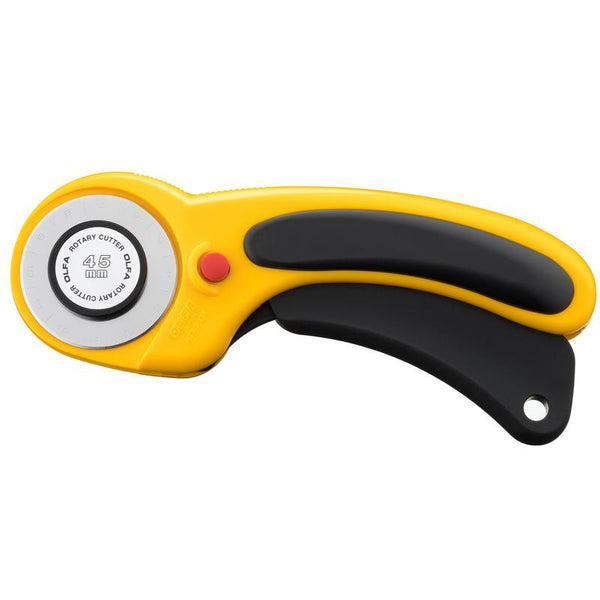
OLFA 45mm RTY-2/DX Ergonomic Rotary Cutter
OLFA 45mm Tungsten Steel Endurance Rotary Blade, 1 Or 2 Pack
OLFA QR-6x24 6" X 24" Frosted Acrylic Ruler
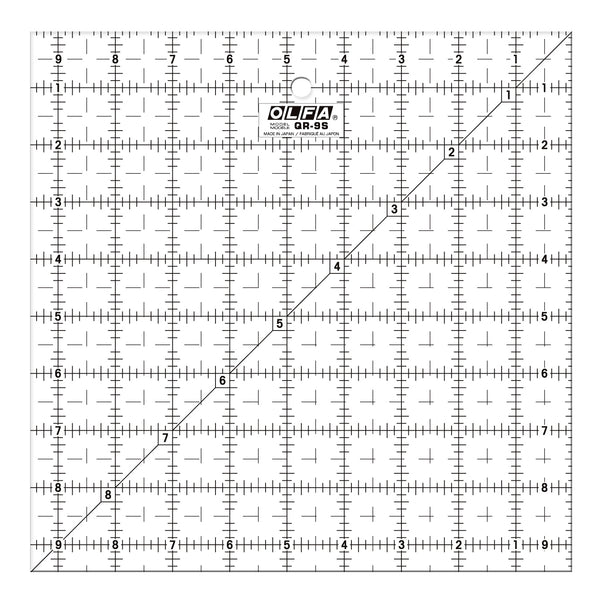
OLFA QR-9S 9 1/2" Square Frosted Acrylic Ruler
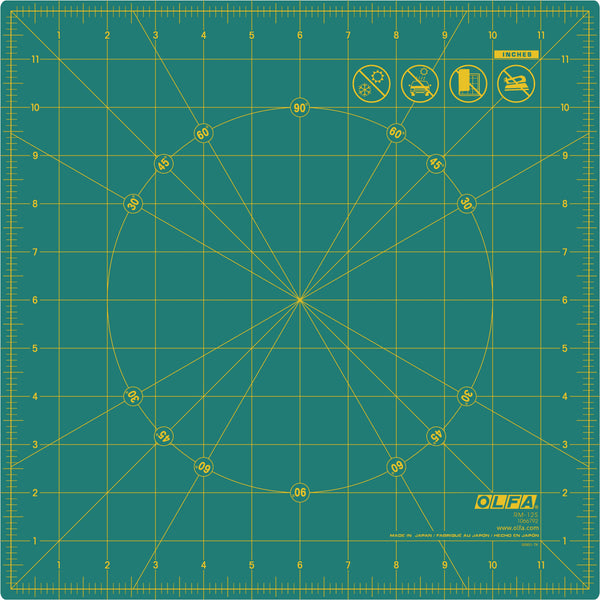
(Optional) OLFA RM-12S; RM-12S-01 12" Rotating, Self-Healing Cutting Mat
Fabric & Supplies:
(2) Fat Quarters – I'm using Black (paw) and Natural (background)
Thread
Sewing Machine
Iron and Ironing Board
Pins

Step 1: Cutting Fabric
From the Paw Fabric (black) cut:
(4) 6” x 6” squares
(2) 7.5” x 7.5” squares
(1) 2’ x 2” square
From the Background Fabric (natural) cut:
(4) 3.25” x 3.25” squares
(2) 7.5” x 7.5” squares
(4) 2” x 8.75”

Step 2: Creating Half-Square Triangles (HSTs)
Tip - check out this blog post for an in-depth tutorial on how to make and trim half square triangles!

Pair (1) 7.5” paw fabric square with (1) 7.5" background fabric square, right sides together.
Mark two diagonal CUTTING lines from corner to corner to create an X. Pin in place (if you desire), and then sew a ¼” seam on each side of both marked lines.
Carefully cut the sewn square into eight HSTs. You will make a total of four cuts in the following order:
- Align your ruler with the center where your drawn lines intersect and with one straight edge of the fabric. Cut vertically down the center.
- Make a second cut perpendicular to the first.
- Cut along both marked diagonal lines, between your stitching lines.
Press the seams open or to the side based on your preference.
Repeat these steps for the remaining 7.5” x 7.5” squares.
Trim all (16) HSTs to 3.25” x 3.25”

Step 3: Assembling the Paw Pads
Using (4) HSTs, (1) 3.25” x 3.25” background square and (1) 6” x 6” paw square, layout the pieces to make the smaller paw block.

Take (2) HSTs and sew them together using a ¼" seam allowance.
Repeat with the remaining (2) HSTs and 3.25” square. Ensure the direction of the HSTs is correct. Press seams.


Sew the two HSTs to the top of the 6” x 6” square and press. Sew the remaining unit to the side of the block and press. Take your time to carefully pin and match the seams to line up your points.
Repeat these steps for the remaining 3 paws.


Step 4: Assembling the Block
Arrange the (4) paw blocks, (4) 2” x 8.75” background pieces and (1) 2” x 2” square into the final block layout.

Sew together one row at a time. Take your time to carefully pin and match seams. Press seams.


Sew the rows together and give the block a good press.


Step 5: Finishing touches
Measure your completed block and if necessary, trim to 18.5” x 18.5”, ensuring all sides are straight and corners are square!
Now give yourself a pat on the back... you did it!


