How to Make No-Waste Flying Geese!

Designer: Erin Kroeker
Website: www.theblanketstatement.ca
Instagram: @theblanketstatement
Skill Level: Beginner
------------------------------------------------------
Skill Level: Beginner
Finished size: 4.5” x 9” (5” x 9.5” unfinished)

Did you know? The Flying Geese quilt block dates all the way back to the 1800s!
This block is so versatile and can be used in a traditional or modern looking quilt.
There are a few different ways to make a Flying Geese block, but my favourite is the No-Waste Method.
For starters, I don’t love all the wasted fabric that comes from the traditional method. I must admit, I’m not the greatest scrappy quilter, so I love to make as few scraps as I can! And two, the No-Waste Method makes four flying geese at one time which is a huge timesaver!
For this tutorial, I will be making 4.5” x 9” finished (5” x 9.5” unfinished) flying geese. This is the perfect size for an upcoming blog post on how to make a Saw Tooh Star block, so stay tuned! (If you are following a quilt pattern that requires flying geese, be sure to reference the size and technique required.)

Tools:
OLFA RM-MG-01 24" X 36" Green Double-Sided, Self-Healing Rotary Mat
OLFA 45mm RTY-2/DX Ergonomic Rotary Cutter
OLFA 45mm Tungsten Steel Endurance Rotary Blade
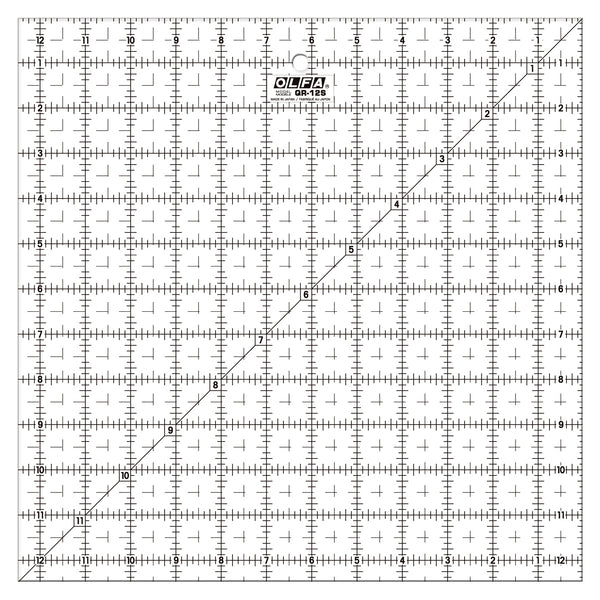
OLFA QR-12S 12 1/2" Square Frosted Acrylic Ruler
OLFA QR-6x24 6" X 24" Frosted Acrylic Ruler
Fabric & Supplies:
Two Fabrics – Fabric A & B
Thread
Pins
Sewing Machine
Iron and Ironing Board
Using your square ruler, cut (1) 10.5” x 10.5” square from Fabric A. This will be the large triangle in your Flying Geese.
Using your square ruler, cut (4) 5.5” x 5.5” squares from Fabric B. These will be the small triangles on the outer edges of the Flying Geese.

On the wrong side of all 5.5” squares, mark a diagonal CUTTING line.

Pn (2) 5.5” squares on opposite corners of your 10.5” square, right sides together (RST). Ensure they overlap at the centre.

Sew a ¼” seam on each side of your marked line.

Next, using the 6” x 24” ruler, cut along the marked line, resulting in two pieces. Press your seams out towards the small triangles. This will help your Flying Geese to lay flat.


Now, place another 5.5” square in the corner of each unit RST. Pin in place and again sew a ¼” seam down both sides of your marked line.


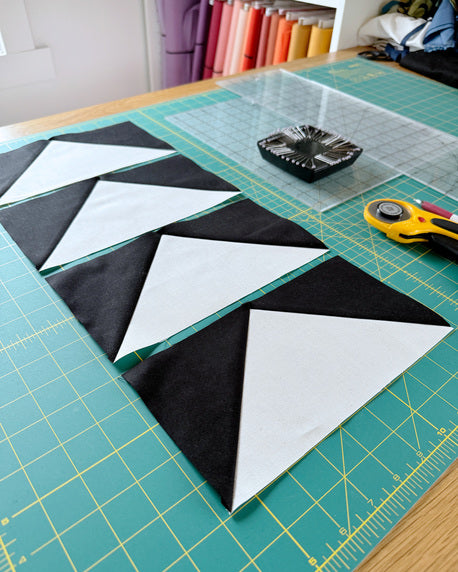
Cut apart on the marked line. Press your seams out towards the small triangles, just as you did before.


Flying Geese will often need to be trimmed!
I know that it can be tempting to skip this step - whether it’s because you find trimming annoying, like it’s too much work or you're just enthusiastically ready to move on to the next step! But no matter the reason, I strongly encourage you to take the time to trim!
Important things to remember BEFORE you trim!
You will need to allow for a ¼” seam allowance past the tip of your triangle. You will lose the point of your triangle when you sew it together if you don’t do this!
Also, always remember when trimming that you need to take equal amounts off all four sides of the block to keep the triangle centred.

Place the block so that the point is at the bottom.
Using your square ruler, line up the 45-degree line with the seam and the 4.75” marking with the point of the triangle (this is the centre measurement for this block).

Trim the right and top edges.

Turn the block so the point is at the top.
Using your square ruler, line up the previously trimmed edges at 5” and 9.5”. Ensure there is a ¼" allowance at the top of the triangle.

Trim the remaining two edges.

Repeat for all remaining flying geese.

Ta-da!
Now that you're on your way to perfecting flying geese, it's time to let your imagination take flight... happy quilting!