How to Make an Ohio Star Block!

Designer: Erin Kroeker
Website: www.theblanketstatement.ca
Instagram: @theblanketstatement
------------------------------------------------------
Skill Level: Beginner
Finished size: 18” x 18”

If you ask anyone, even non-quilters, to picture a quilt, many will visualize a vintage quilt that features some sort of star block. Perhaps second only to the log cabin block, stars are among the most popular designs. This is partly because squares and triangles work well with the straight grain of cotton fabric, but also because they are incredibly versatile!
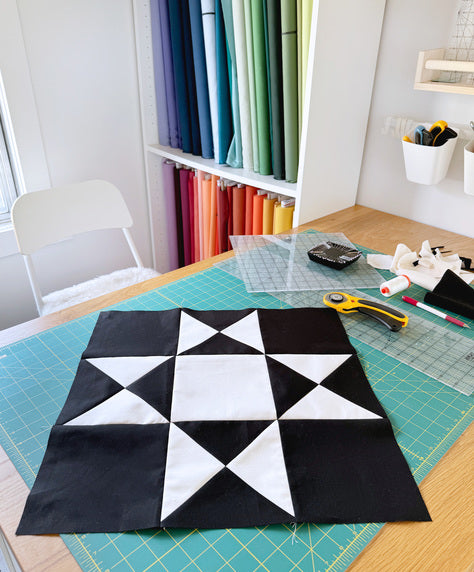
At first glance, you may think the Sawtooth Star Block and the Ohio Star Block are the same, but I think the Ohio Star has a just a little more pizzazz. The star is created from the points of Quarter Square Triangles (QSTs), adding some extra flair.
In this tutorial, I'll be making the Ohio Star block with only two fabrics for a more modern look. However, it can also be made with three or four fabrics, or even scrappy if you prefer!

Tools:
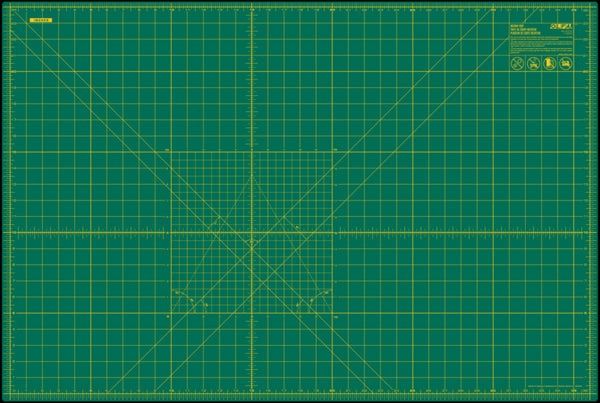
OLFA RM-MG-01 24" X 36" Green Double-Sided, Self-Healing Rotary Mat
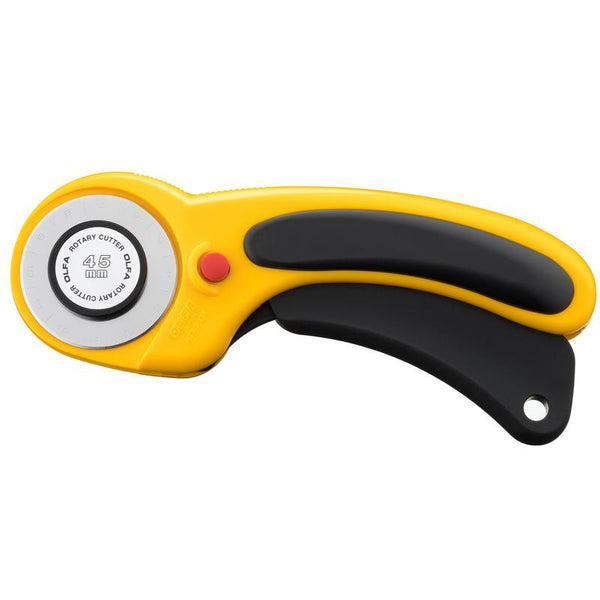
OLFA 45mm RTY-2/DX Ergonomic Rotary Cutter
OLFA 45mm Tungsten Steel Endurance Rotary Blade, 1 Or 2 Pack
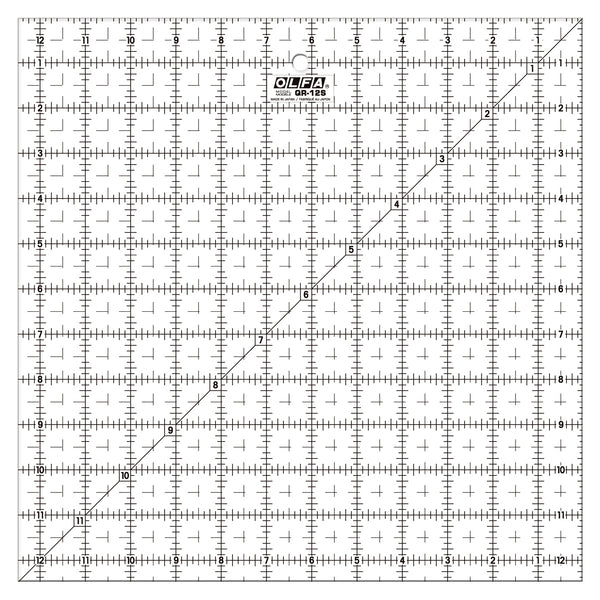
OLFA QR-12S 12 1/2" Square Frosted Acrylic Ruler
OLFA QR-6x24 6" X 24" Frosted Acrylic Ruler
Fabric & Supplies:
(2) Fat Quarters – I'm using Natural (star) and Black (background)
Thread
Sewing Machine
Iron and Ironing Board
Pins
Step 1: Cutting Fabric
From the Star Fabric (Natural) cut:
(2) 7 ½" x 7 ½" squares
(1) 6 ½" x 6 ½" square
From the Background Fabric (black) cut:
(2) 7 ½" x 7 ½" squares
(4) 6 ½" x 6 ½" squares

Step 2: Make QSTs
Tip - check out this blog post for an in-depth tutorial on how to make and trim QSTs!
On the wrong side of the 7 ½" background squares, mark a diagonal CUTTING line.
Pair (1) 7 ½" background square and (1) 7 ½" star square right sides together (RST).

Pin and sew a ¼” seam on each side of the marked line.
Cut along the marked line to create (2) HSTs. Press the seams towards the darker fabric.


On the wrong side of one HST, mark a diagonal cutting line perpendicular to the seam.
With right sides together, align your HSTs so contrasting fabrics are facing each other and nest the seams. Pin in place. Sew a ¼” seam on each side of the marked line.

Cut along the marked line to create (2) QSTs. Press the seams based on your preference – I like to press this seam open to help the block lay flat.


Trim QSTs to 6 ½" x 6 ½".
Repeat steps for other 7 ½" squares.


Step 3: Assembling the Block
Arrange your QSTs and remaining squares into the final block arrangement.

First sew the rows together using a ¼" seam allowance. Press seams.

Now sew your rows together to complete the block. Take your time to carefully pin and match the seams to line up your points! Press all seams and give the block a good press!


Step 5: Finishing Touches
Measure your completed block and if necessary, trim to 18.5” x 18.5”, ensuring all sides are straight and corners are square!

Now you can toot your own horn because you made an Ohio Star Block!
This is the second last block in a series we’re working on of 18” quilt blocks! Check out the tutorials for the Bear Paw Block, Sawtooth Star Block and Diamond Block.
Stay tuned for the last block! Then we'll bring them all together into a modern, two colour, sampler-style quilt!


