How to Make and Trim Quarter Square Triangles!

Designer: Erin Kroeker
Website: www.theblanketstatement.ca
Instagram: @theblanketstatement
------------------------------------------------------
Skill Level: Beginner

The quarter square triangle block also goes by a few other names! You may have heard it called the Hourglass Block, Quarter Triangle Block, Big Dipper, Reverse X, or even Pork and Beans if you can believe it!
I think the simplest and most descriptive name is the quarter square triangle (QST), since that’s just what it is! A square block divided into 4 triangles.
You can make this block with two different fabrics, which is most often called an hourglass block. Or you can also get creative and use 3 or 4 different colours/fabrics to create different looks!

QSTs can be made in virtually any size! For this tutorial we will be making 6” finished (6.5” unfinished) QSTs, which will be perfect for an upcoming Ohio Star Quilt Block tutorial.
To make other sizes of the QST, the math is fairly straight forward. Just add 1 ¼" to the finished size of your desired QST.
TIP! If you are a beginner quilter or like to have extra wiggle room for trimming, I recommend adding 1 ½" to the finished measurement to be safe!

Tools:
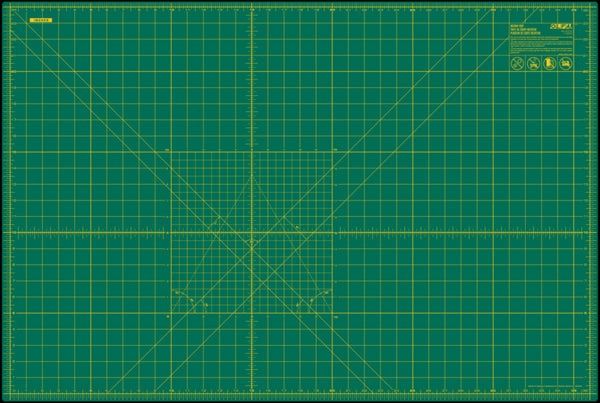
OLFA RM-MG-01 24" X 36" Green Double-Sided, Self-Healing Rotary Mat
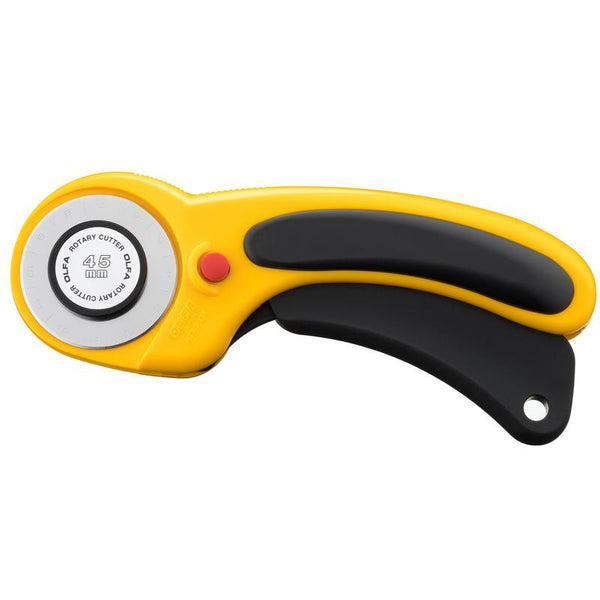
OLFA 45mm RTY-2/DX Ergonomic Rotary Cutter
OLFA 45mm Tungsten Steel Endurance Rotary Blade, 1 Or 2 Pack
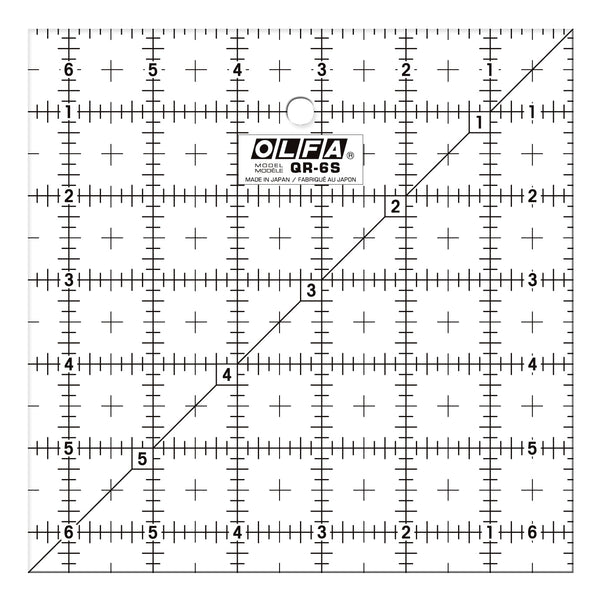
OLFA QR-6S 6 1/2" Square Frosted Acrylic Ruler
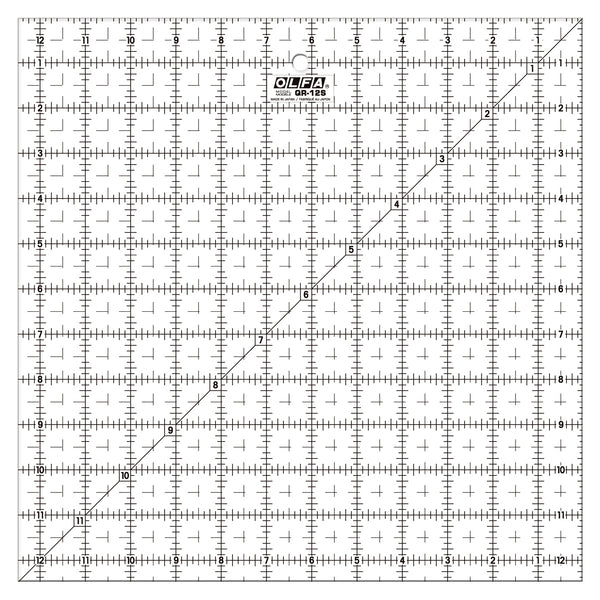
OLFA QR-12S 12 1/2" Square Frosted Acrylic Ruler
(Optional) OLFA RM-12S-01 12" Rotating, Self-Healing Cutting Mat
Fabric & Supplies:
Two Fabrics – Fabric A & B
Thread
Pins
Sewing Machine
Iron and Ironing Board
Using your ruler, cut (1) 7 ½"” x 7 ½" square from Fabric A and (1) 7 ½"” x 7 ½" square from Fabric B.

On the wrong side of one of your squares, mark a diagonal CUTTING line.
Pair your two squares right sides together (RST).

You can choose to pin the two squares together, or just sew as is! I personally don’t pin at this point - but it’s totally up to you!
Sew a ¼” seam on each side of the marked line.

Cut along the marked line to create (2) HSTs. Press the seams towards the darker fabric.


On the wrong side of one HST, mark a diagonal cutting line perpendicular to the seam.

With right sides together, align your HSTs so contrasting fabrics are facing each other and nest the seams. Pin in place.
TIP! Fold back one corner to ensure your placement is correct!


Again, sew a ¼” seam on each side of the marked line.

Cut along the marked line to create (2) QSTs. Press the seams based on your preference – I like to press this seam open to help the block lay flat.


When trimming a QST, you want to trim on all four sides of your block, as well as ensure that the centre point of your block is in the correct. We will be trimming this block to 6 ½" x 6 ½" so the centre point is 3 ¼".
Using your 6 ½" square ruler, align the 45-degree line with the seam of your QST and check that the centre point is at 3 ¼" on your ruler.

With your rotary cutter, trim the right-hand side and top of the QST.

Now turn your QST or rotate the cutting mat 180 degrees. Again, place the ruler so the 45-degree line on the ruler is in line with the seam and centre point is aligned with 3 ¼". The previously cut edges should be at 6 ½".
Trim the right side and top edge.

That’s all there is to it... you made a Quarter Square Triangle block!
Now that you understand the basics, it's time to get creative and explore other potential combinations!


