How to Make a 9-Patch Block!

Designer: Erin Kroeker
Website: www.theblanketstatement.ca
Instagram: @theblanketstatement
------------------------------------------------------
Skill Level: Beginner
Finished size: 9” x 9” and 18” x 18”

The first time I saw a checkered quilted, I assumed the quilter cut out millions of tiny little squares and spent weeks upon weeks sewing them together one-by-one. Which is why I was pretty sure I was never going to make a quilt like that. But when I learned about strip piecing and that there was a much faster way, I was all in!
In this tutorial, I'll be making the 9-Patch block with two fabrics, natural and black for a modern look. However, you can use any colour or fabric you’d like, or go for a scrappy look. I will also be combining four smaller 9-Patch blocks into an oversized, 18” block to complete a series of quilt blocks we’ve been working on.

Tools:
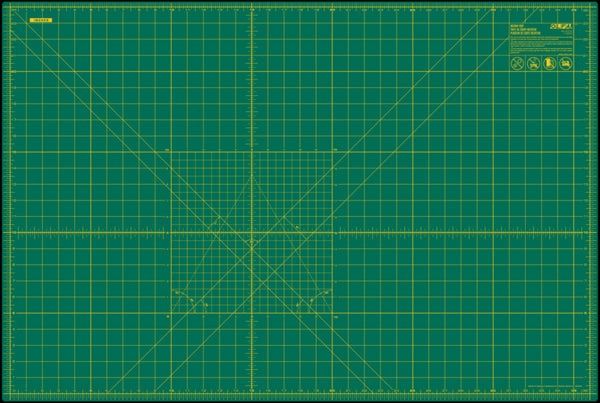
OLFA RM-MG-01 24" x 36" Green Double-Sided, Self-Healing Rotary
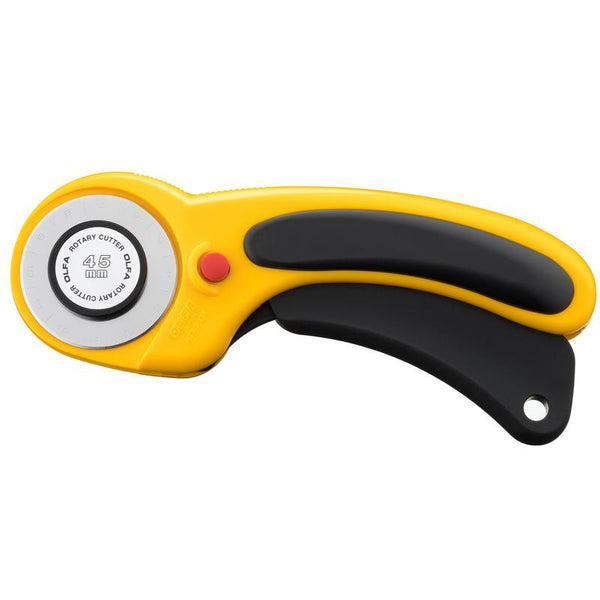
OLFA 45mm Ergonomic Rotary Cutter
OLFA 45mm Tungsten Steel Endurance Rotary Blade, 1 or 2 pack
OLFA 6” x 24" Frosted Acrylic Ruler
Fabric & Supplies:
Width of Fabric Strips in 2 colours – I will be using Natural (A) and Black (B)
Thread
Pins
Sewing Machine
Iron and Ironing Board

For an in-depth tutorial on strip piecing, make sure to check out this blog post!
Step 1: Cutting Fabric
From the Fabric A (Natural) cut:
(3) 3 ½"” x WOF strips
From the Fabric B (Black) cut:
(3) 3 ½"” x WOF strips

Step 2: Sew Strips
Lay out strips into two sets so they alternate A, B, A in the first and B, A, B in the second.

Sew strip sets together along the long edges with a scant ¼” seam allowance. Press seam to the side towards the darker fabric.


Step 3: Sub-Cut
Sub-cut each strip set into 3.5” x 9.5” segments. Each strip set should yield 12 segments.


Step 4: Assemble the Blocks
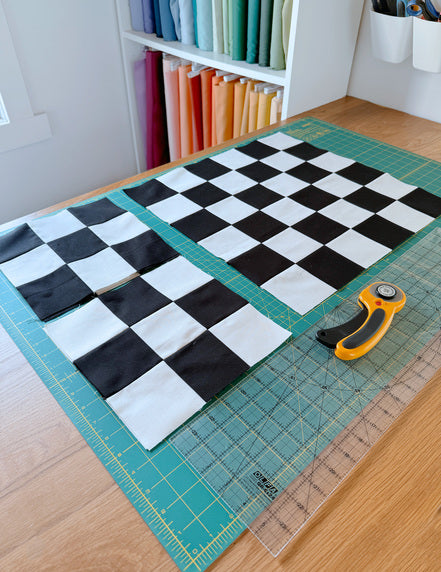
Arrange your segments into the 9-Patch block arrangement alternating light and dark fabrics. You will be able to create two different block arrangements with these segments, often called positive and negative blocks.
Positive blocks have the darker fabric in the corners, while negative blocks have the lighter fabric in the corners.

Sew segments together one row at a time using a scant ¼" seam allowance, nesting the seams and press.

Repeat for the remaining blocks.
Finished block should measure 9.5” x 9.5”. Trim if necessary.


Optional Step 5: Make an 18” Block
I plan on using this block to complete a Sampler Style Quilt tutorial where I will be combining multiple different 18” blocks into one quilt. Check out the Bear Paw Block, Sawtooth Star Block, Diamond Block and Ohio Star Block to see the other blocks I’ll be using!
To create an 18” block, you will need to sew four 9-Patch blocks together.
Take two positive and two negative 9-patch blocks and arrange them as shown, alternating the blocks.

First sew the rows together using a scant ¼" seam allowance. Press seams.

Now sew your rows together to complete the block. Take your time to carefully pin and match the seams to line up your points! Press all seams and give the block a good press!
Finished block should measure 18.5” x 18.5”. Trim if necessary.


And there you have it! You’ve made the classic 9-patch quilt block and it didn’t take you a month and half! These blocks are featured in hundreds, probably thousands of quilt patterns, used as a key element or as an accent in the sashing. This is a great skill to have in your back pocket!


