How to Strip Piece!

Designer: Erin Kroeker
Website: www.theblanketstatement.ca
Instagram: @theblanketstatement
------------------------------------------------------
Skill Level: Beginner

Strip piecing is a game-changer for quilters! By sewing long strips of fabric together and then cutting them into smaller units, you can save a ton of time compared to working with tiny pieces individually. This technique helps keep your seams consistent and your blocks uniform, making the whole process smoother and more enjoyable. Whether you're a beginner or a seasoned quilter, strip piecing lets you create beautiful, precise quilt blocks with less effort and more fun.
Tools:
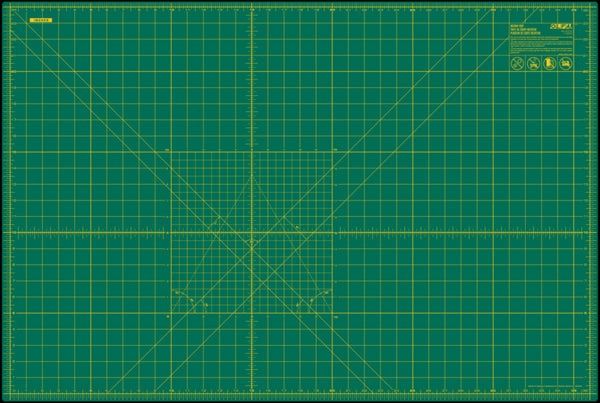
OLFA RM-MG-01 24" x 36" Green Double-Sided, Self-Healing Rotary Matat
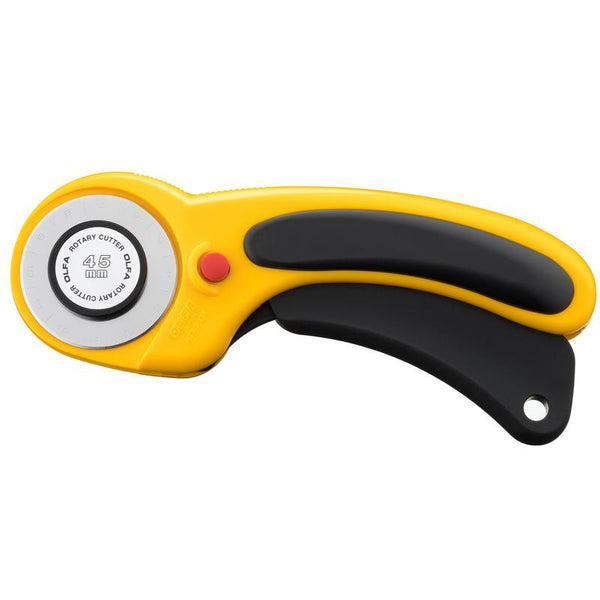
OLFA 45mm RTY-2/DX Ergonomic Rotary Cutter
OLFA 45mm Blades
OLFA QR-6x24 6" x 24" Frosted Acrylic Ruler
Fabric & Supplies:
Width of Fabric Strips in various colours – I will be using Black & Natural
Thread
Pins
Sewing Machine
Iron and Ironing Board

Before starting let’s go over a few tips for successful Strip Piecing:
- Accurate Cutting: Ensure your fabric strips are cut accurately and on grain. Before you start cutting the strips, ensure your fabric is square. Check out this blog post for more tips!
- Consistent Seam Allowance: Maintain a consistent ¼” seam allowance or even a scant ¼" seam allowance (slightly less than ¼" inch).
- Pressing Matters: Press seams carefully to avoid stretching the fabric or distorting the seams.
- Starch Your Fabric: Using spray starch on your fabric before cutting can add stability and reduce stretching.
- Check Alignment: Regularly check the alignment of your strips as you sew.
Select your fabrics according to your project or quilt pattern.
I will be using Natural (A) and Black (B) as I continue to work on a series of 18” quilt blocks for a sampler style quilt tutorial coming soon.
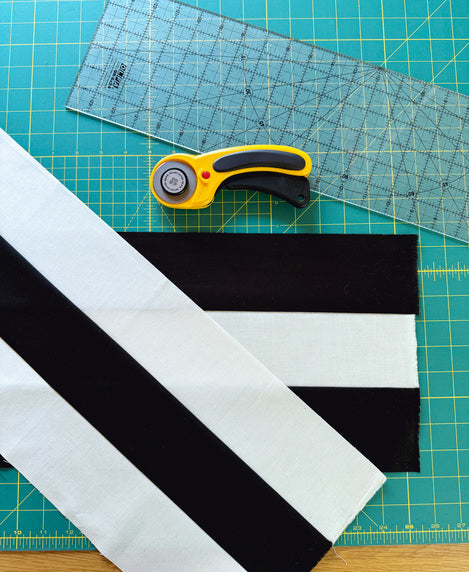
Cut width of fabric (WOF) strips using a rotary cutter and 6” x 24” ruler, ensuring the strips are of the same width. I will be cutting 3 ½” strips that are perfect for an upcoming 9-Patch Quilt Block tutorial.

Cut (3) 3 ½"” x WOF strips from Fabric A and (3) 3 ½"” x WOF strips from Fabric B.

Lay out strips into two sets so they alternate A, B, A in the first and B, A, B in the second.

Place an A and B strip RST. You can pin or clip in place to prevent shifting, however with practice you might not need to pin.
Sew together with a scant ¼” seam allowance. If you use a true ¼" seam allowance you may find that your blocks are slightly undersized in the end.

Press seam to the side towards the darker fabric.

Place remaining B strip RST together, ensuring the correct placement and order of fabrics. Sew together with a scant ¼" seam allowance and press to the dark side.


Repeat these steps for the remaining B, A, B strips and press.

You may be looking at your finished set and notice it's not perfectly straight... I can help! Bowing is a common issue in strip piecing where the strips curve or bend rather than staying straight. Here are some additional tips to help prevent bowing and keep your strips straight and accurate:
- Grain Direction: Pay attention to the grain of the fabric. Cut strips along the straight grain (parallel to the selvedge) whenever possible, as these are less likely to stretch and bow.
- Pressing, Not Ironing: Ironing can stretch and distort the fabric. Ensure you are pressing (lifting and setting the iron down) rather than dragging the iron across the fabric.
- No Steam: Use a hot, dry iron when pressing.
- Sewing Speed: Sew at a steady, moderate speed. Sewing too quickly can cause the fabric to shift and bow.
- Check the tension on your sewing machine. Incorrect tension can cause the fabric to pull and bow.
- Alternate Sewing Direction: Sew the two first strips together in one direction (from top to bottom), then change and sew the third strip starting at the opposite end (at the bottom or the end where you finished sewing your previous seam).

Once your strips are sewn together there are so many things you can do with them! They can be sub-cut into a variety of different blocks such as a Rail Fence Quilt or Irish Chain Quilt to name a few. You can also sew as many strips together as you like of all shapes and sizes! It really is a versatile and time saving technique!
Stay tuned for a 9-Patch Quilt Block tutorial coming soon!


