How to Piece Batting Scraps (aka Frankenbatting)!

Designer: Erin Kroeker
Website: www.theblanketstatement.ca
Instagram: @theblanketstatement
------------------------------------------------------
Skill Level: Beginner

Quilting can be a bit of an investment, so I’m always on the lookout for crafty cost-saving tips to keep up with my favorite hobby—without breaking the bank!
Unless you’re new to quilting, you probably have leftover pieces of batting from previous projects just lying around. Don’t toss them! You can easily join those scraps to create a larger panel, a process often called 'Frankenbatting.' It's a fantastic way to save money and reduce waste. Here's a step-by-step guide to help you piece those scraps together.
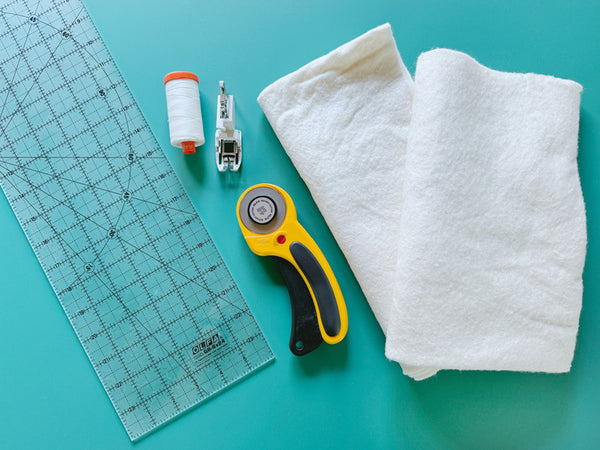
Tools:
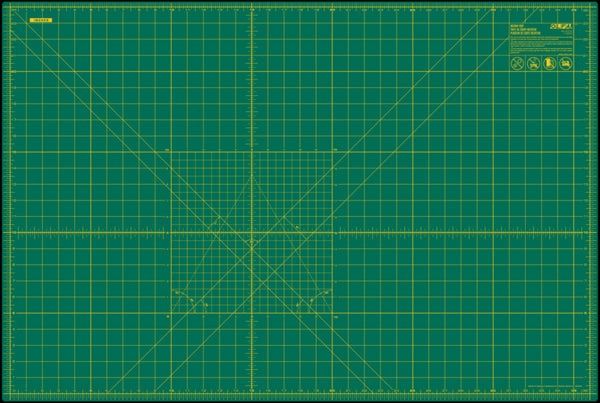
OLFA RM-MG-01 24" x 36" Green Double-Sided, Self-Healing Rotary
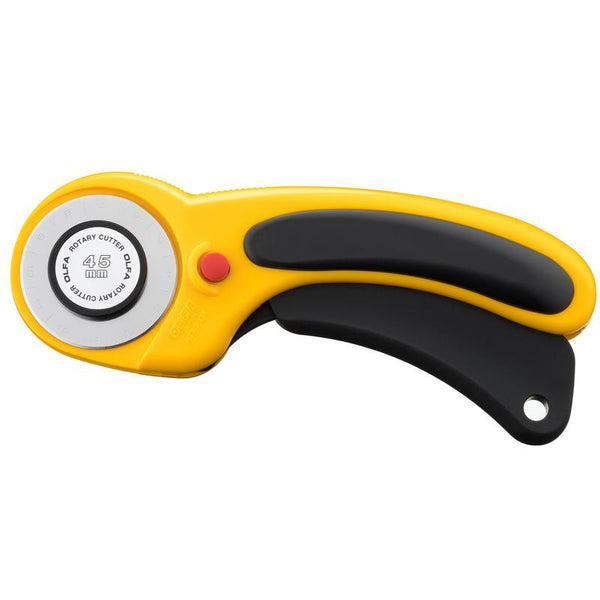
OLFA 45mm RTY-2/DX Ergonomic Rotary Cutter
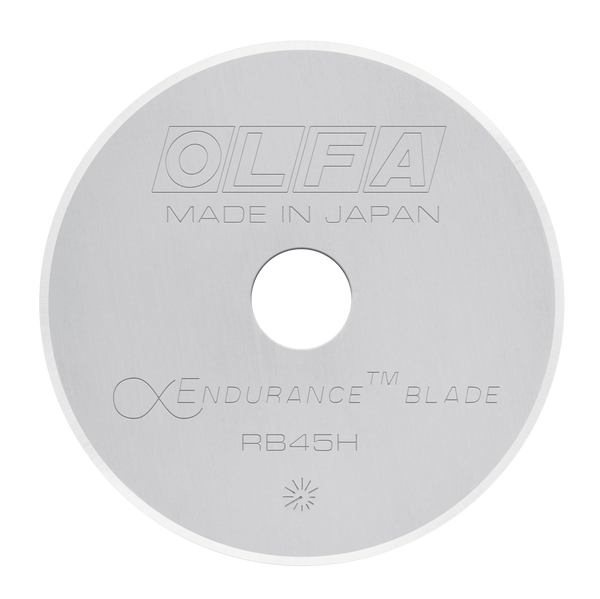
OLFA 45mm Tungsten Steel Endurance Rotary Blade, 1 or 2 pack
OLFA QR-6x24 6" x 24" Frosted Acrylic Ruler
Supplies:
Similar sized Batting Scraps
Neutral Thread
Sewing Machine
Walking Foot (optional)

Collect all your batting scraps and sort them by thickness and type. It’s best to use pieces that are similar in thickness and material to ensure the pieced batting will be uniform and lay flat when quilted.

Using your rotary cutter, ruler, and cutting mat, trim the edges of each batting piece so they are straight. This will make it easier to join them together. If you have any curved or jagged edges, trim them down to create straight edges that can easily be butted together.


Lay out the trimmed pieces of batting on your work surface, arranging them to create a finished panel large enough for your quilt top. There's no need to overlap the pieces; simply butt them up against each other.

On your sewing machine, select the widest zigzag stitch available with a normal stitch length. If you have one, using a walking foot (or even feed foot) will help the batting move through the machine more evenly and prevent puckers. Since batting can stretch and pull, go slow and steady for the best results!
TIP! Test your zigzag stitch on scrap pieces of batting to ensure it is wide enough to catch both edges. NOTE: I’ve used dark thread on this test piece for visibility, but I recommend using matching or neutral thread so the stitches blend into the batting and won’t show through the quilt top.

At your machine, align the edges of the batting pieces so they just touch, but don't overlap. Sew along the seam where the two pieces meet, allowing the zigzag stitch to catch both sides and create a secure seam.
Continue stitching until all the pieces are joined.


Your pieced batting, or “frankenbatting,” is now ready to use in your quilt project! Simply layer it with your quilt top and backing as you normally would.

This practical and economical method makes the most of your leftover batting scraps. With a bit of patience and careful piecing, you can create a batting panel that works just as well as a single, large one. Happy quilting!


