Mini Quilt _ Foundation Paper Piecing

Instagram: @daisitoegel
Website: www.flowersew.com
Shop: www.etsy.com/shop/daisiflowersew
Size or dimensions: Mini – 18” square finished
Skill level: Confident Beginner
-------------------------------------------------
This is the third mini quilt pattern from our series “Mini Quilts”. If you haven’t read the introduction post and checked the first and second mini quilt patterns, click on the links above to access them.
In this third mini quilt pattern (and the last of this series) we will work on sewing foundation paper piecing (FPP) blocks. To follow the step-by-step of how to sew using the foundation paper piecing method, check this pincushion tutorial.
This mini quilt has two different blocks, each block finishes in 4 inches as all previous mini quilts of this series. The pattern we will be working on is a simple design and beginner level of FPP.
Along with each fabric color and strip cutting instructions, you will see the FPP block number and letters assigned to the corresponding color to be used on each block in order to achieve this patterns' color combinations.
Let’s get started.
Use ¼” seam allowance, or otherwise noted.
Use FQ = fat quarter = 18” x 21”
Use WOF = width of fabric
Tools Needed:
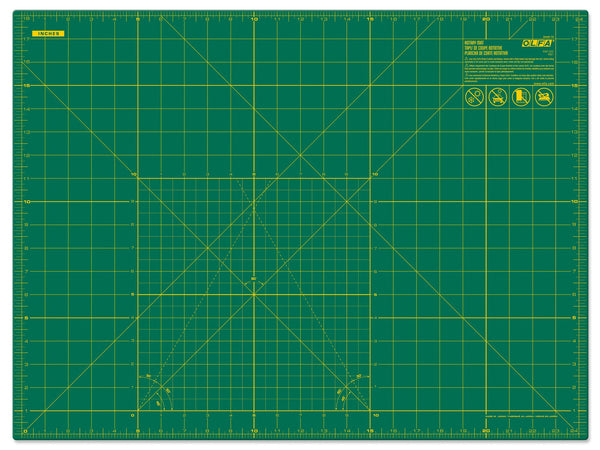
- OLFA RM-SG 18" X 24" Green Double-Sided, Self-Healing Rotary Mat
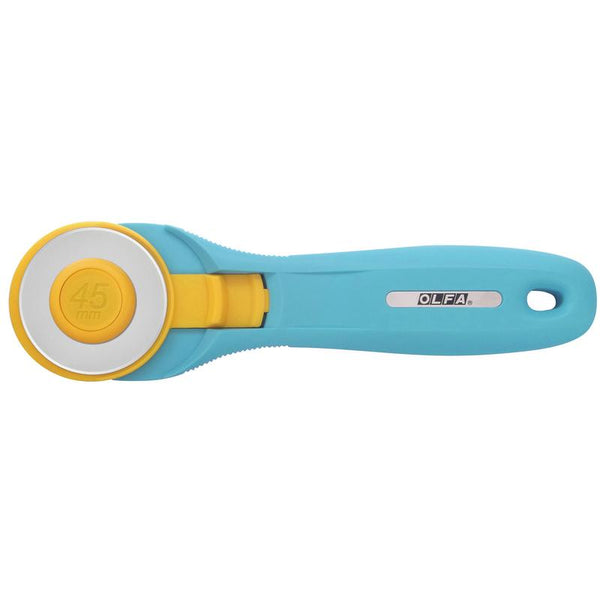
- OLFA 45mm RTY-2/C Quick-Change Rotary Cutter, Aqua
- OLFA 45mm Tungsten Steel Rotary Blade - 1, 2, 5, Or 10 Packs
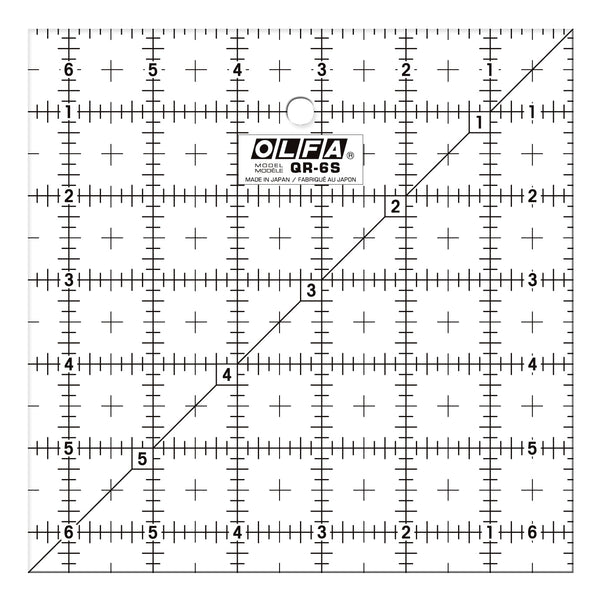
- OLFA QR-6S 6 1/2" Square Frosted Acrylic Ruler
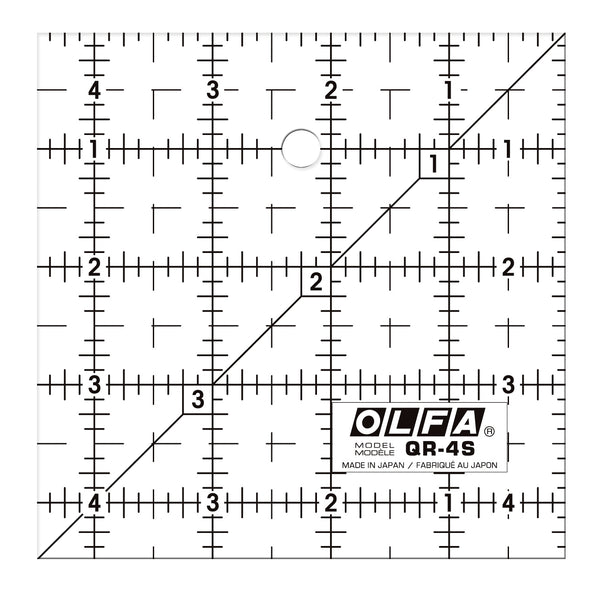
- OLFA QR-4S 4 1/2" Square Frosted Acrylic Ruler
- OLFA QR-1x12 1" X 12" Frosted Acrylic Ruler
- OLFA 5-Inch SCS-4 Precision Appliqué Scissors (to trim threads)
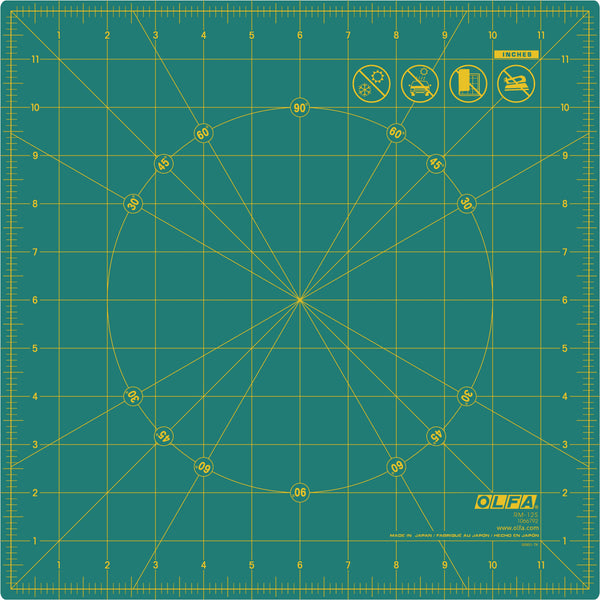
- OLFA RM-12S 12" Rotating, Self-Healing Cutting Mat
Fabric requirements:
Download the block templates HERE
*Print 8 of each Block 1 and Block 2. All pieces of Block 1 (1 through 7) are highlighted in Blue. All pieces of Block 2 (1 through 13) are highlighted in Red.
Color 1: 1 FQ = cut (8) strips of each size:
- 5.5” x 2” = sew on A7 of B1 template (7 Block 1)
- 4” x 2” = sew on A6 of B1 template (6 Block 1)
- 3” x 2” = sew on A3 of B1 template (3 Block 1)
- 2” x 2” square = sew on A1 of B1 template (1 Block 1)
Color 2: 1FQ = cut (8) strips of each size:
- 4” x 2” = sew on A5 of B1 template (5 Block 1)
- 3” x 2” = sew on A4 of B1 template (4 Block 1)
- 3” x 3” square = sew on A2 of B2 template (2 Block 2)
Color 3: 1 FQ = cut (16) strips of each size:
- 5” x 1” = sew on A10 and A11 of B2 template (10 and 11 Block 2)
- 4.5” x 1” = sew on A7 of B2 template (7 Block 2)
AND cut (8) strips of each size:
- 2” x 2” square = sew on A2 of B1 template (2 Block 1)
- 4” x 1” = sew on A6 of B2 template (6 Block 2)
- 3.5” x 1” = sew on A3 of B2 template (3 Block 2)
- 3” x 1” = sew on A1 of B2 template (1 Block 2)
Color 4: 1 FQ = cut (16) strips of:
- 5.5” x 1” = sew on A12 and A13 of B2 template (12 and 13 Block 2)
- 4” x 1” = sew on A5 of B2 template (5 Block 2)
AND cut (8) strips of each size:
- 5” x 1” = sew on A9 of B2 template (9 Block 2)
- 4.5” x 1” = sew on A8 of B2 template (8 Block 2)
- 3.5” x 1” = sew on A4 of B2 template (4 Block 2)
(PHOTO 3)
1) Sew the individual blocks:
Download, print (at 100% scale) and cut out the paper templates, I suggest leaving an allowance of 1/4” all around to trim later with more precision without the risk of missing any edge.
Reduce the machine’s stitch length to 1.6mm or 1.8mm. This will help to remove the paper later on.
Trim all threads from each strip sewn and trim the blocks following the paper template 4.5” edges.
2) Sew the quilt top:
Make 8 pairs of Blocks 1 and Blocks 2 as the photo below shows. Sew each pair (chain piece if preferred).
Remove the paper from the 1/4" sewn seam and press seams open. I recommend using a Tailor’s Clapper in this step to help flatten the seams.
Piece the pairs according to the pattern below. As you sew the pairs and then the rows, for each step don’t forget to remove the paper from the 1/4" sewn seams and press all seam open.
Finish and press the quilt top.
Use “That Purple Thang” tool and gently pull the edges of the paper on the back to remove. Remove all the paper and press the quilt top again.
Baste and quilt using the method of your preference.
And there you have it! Congratulations!! I hope you enjoyed this tutorial and that you make more blocks like these to try different patterns by rotating the blocks!!
Created by Daisi Toegel


