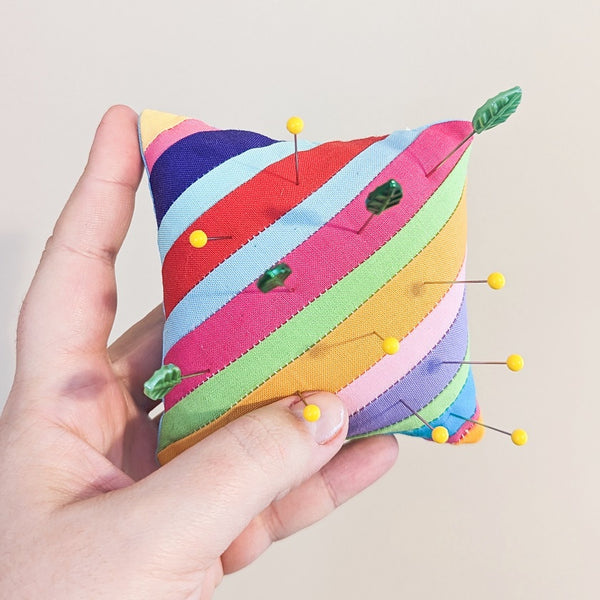
Striped Pincushion

Instagram: @daisitoegel
Website: www.flowersew.com
Shop: www.etsy.com/shop/daisiflowersew
Size or dimensions: 4in square
Skill level: Confident Beginner
--------------------------------------------------------
Foundation paper piecing is a fun way of creating non-traditional patchwork piecing on paper. In this tutorial you’ll make a simple striped 4 ½” (unfinished size) foundation paper piecing block for a 4” finished size pincushion.
Gather all your skinny strips of scrap fabric and let’s get started.
Tools needed:
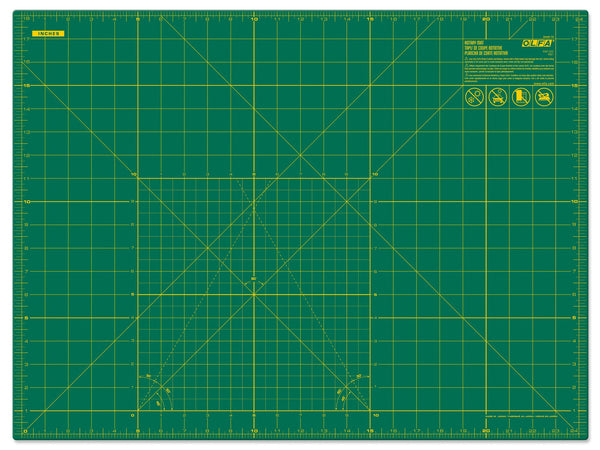
- OLFA RM-SG 18" X 24" Green Double-Sided, Self-Healing Rotary Mat
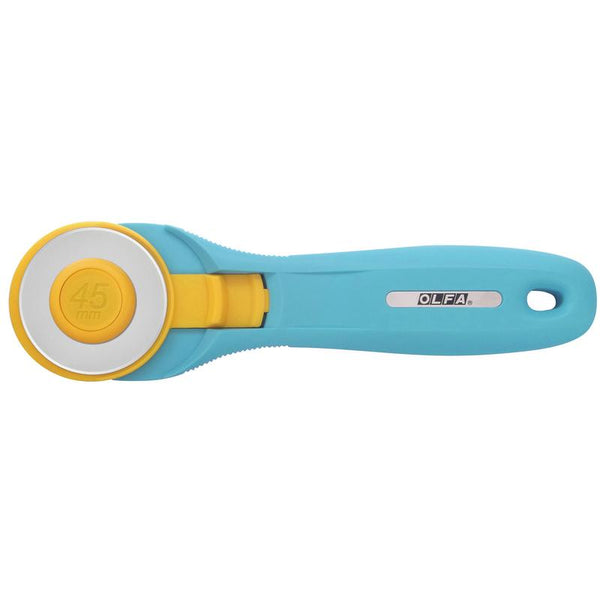
- OLFA 45mm RTY-2/C Quick-Change Rotary Cutter, Aqua
- OLFA 45mm Tungsten Steel Rotary Blade - 1, 2, 5, Or 10 Packs
- OLFA QR-1x12 1" X 12" Frosted Acrylic Ruler
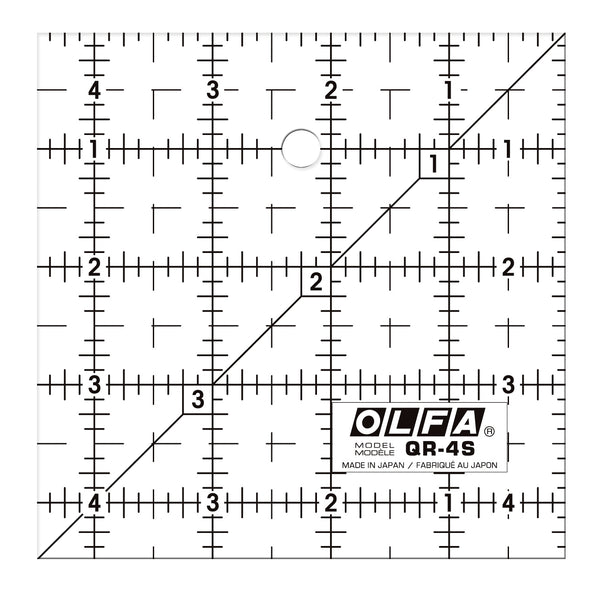
- OLFA QR-4S 4 1/2" Square Frosted Acrylic Ruler
- OLFA 5-Inch SCS-4 Precision Appliqué Scissors (to trim threads)
Fabric requirements:
- print the template, download it HERE
- 15 strips of scrap fabrics from 2 ½”x1 ½” to 7 ½”x1 ½” – take each strip from A1 to A15 and measure by placing the strip on top of the paper template to see if it fits the area to cover it completely on all sides.
- (1) 4 1/2" fabric square
- poly-fil stuffing
- sewing machine, thread and needle (to close, final step)
1. Sew the block
Working on a foundation paper piecing block requires a few particular steps to make the process easier. One great tool to help is to use a light box, or to always check the back of the project against any the light for a better fabric placement visualization.
To start, cut out the printed block with 1/4 of an inch allowance along the sides of the entire block, so there’s room to trim it in the end when it’s finished. Place the fabric that will go on A2 area on the back of the template and above the line between A2 and A1 by 1/4 of an inch.
Place the fabric that will cover A1 area right on top of A2 fabric, with right sides of the fabrics together and aligned as in the picture below.
With the fabrics facing down on the sewing machine plate, sew on the line in between A1 and A2. I recommend lowering the stitch length to 1.6mm, this will make it easier to tear the paper later on when the block is finished.
After sewing, take the project to the pressing table open the two pieces of fabric that were sewn and press.
Next, with the block lying flat on the cutting mat, and fabrics facing down, align the 1/4" mark on the ruler with the next line between A2 and A3. Fold the paper back on top of the ruler, making sure the ruler is safely held in place while you do this.
Cut the excess of fabric.
Align the fabric piece to cover A3 area right with the fabric that is covering A2 area.
Sew on top of the line between A2 and A3, repeating the process that was done for the first portion.
Take the project to the pressing table, open the fabrics flat and press.
Repeat this process until you’re finished sewing all 15 spaces. Trim the thread tails as you go, so you don’t risk tangling while you’re in process. Press the entire block on the fabric side when it’s done.
For the backing fabric (4 1/2" fabric square), if you use a label, sew it on this step as in the picture below.
Place the block with fabrics facing down on the cutting mat and trim around the block’s outer dotted line (trim to 4 1/2"). Carefully remove the paper from the back. Press the block again once the paper is removed.
2. Finish the pincushion:
With right sides together, align the block with the backing fabric (4 1/2” fabric square), and sew using 1/4” along all sides and leave a 2” opening to fill the pincushion. I recommend backstitching when you start and finish this entire seam to reinforce the edges, so it doesn’t risk ripping the seam while stuffing it.
Fill the pincushion without stretching it (approximately 0.7oz – in case you have a kitchen scale to weigh it). Use a pin or clip to hold the opening together and sew it closed using invisible stitch.
And you’re all done!!! Hope you enjoy playing with different pincushion colors besides the scrappy version, you can make it 2-colorway or rainbow, and you can also hand quilt some running stitches in between the colors, what about that?
Have fun!!! And come back to check the next pincushion pattern that will be soon available!
Created by Daisi Toegel


