Mini Quilt _ Basic techniques

Designer: Daisi Toegel
Instagram: @daisitoegel
Website: www.flowersew.com
Shop: www.etsy.com/shop/daisiflowersew
Size or dimensions: Mini – 18” square finished
Skill level: Confident Beginner
--------------------------------------------------------
This is the first mini quilt pattern step-by-step from our series “Mini Quilts”. If you haven’t read the introduction post, click HERE to access it.
For the first mini quilt I want to teach you very basic skills, this pattern is for those that have some knowledge about quilting and have finished a few projects. We’ll use two different types of blocks, the most traditional ones: four-patch and half-square-triangle.
The basic four-patch block consists of 2 colors (4 fabric squares) placed on opposite directions so in one single four-patch block two of the same colors never touch. This basic four-patch can include up to 4 colors, because it’s made of 4 squares. In this pattern we’ll use 2-color and 3-color four-patch blocks.
The half-square-triangle block is based on 2 squares joined with right sides together, sewn on the diagonal twice. We cut it in half, in between the sewn lines, and open the blocks to have a 2-color half-square-triangle block. In this tutorial, you’ll learn how to make a 2-block method, but there are methods to make 4-block and 8-block at time, for example. For this pattern we’ll keep it simple! Let’s get started.
Use ¼” seam allowance, unless otherwise noted.
Use FQ = fat quarter = 18” x 21”
HST = half-square-triangle
Tools Needed:
- OLFA RM-SG 18" X 24" Green Double-Sided, Self-Healing Rotary Mat
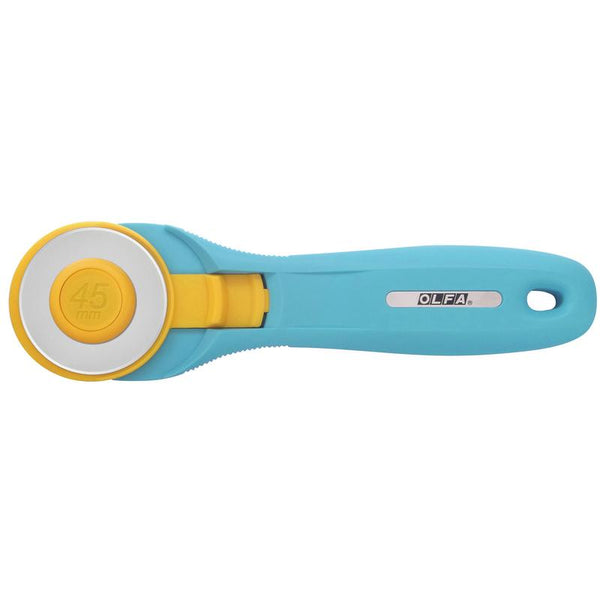
- OLFA 45mm RTY-2/C Quick-Change Rotary Cutter, Aqua
- OLFA 45mm Tungsten Steel Rotary Blade - 1, 2, 5, Or 10 Packs
- OLFA QR-1x12 1" X 12" Frosted Acrylic Ruler
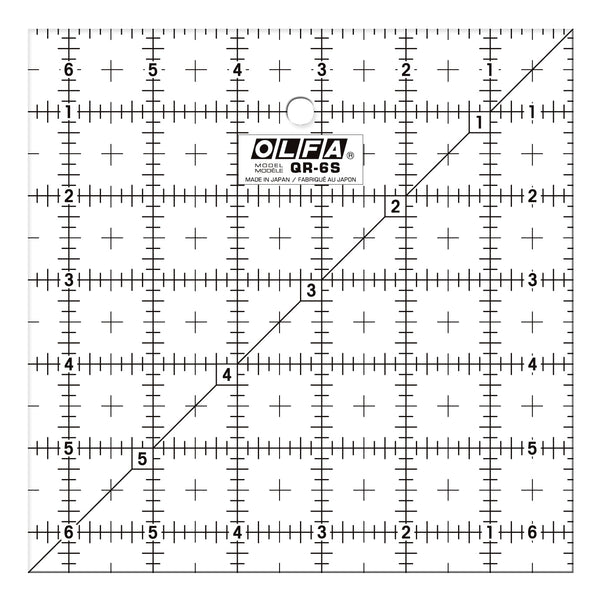
- OLFA QR-6S 6 1/2" Square Frosted Acrylic Ruler
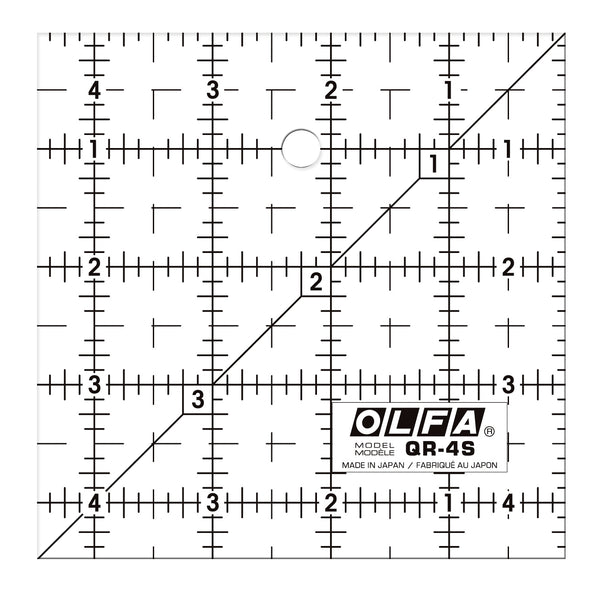
- OLFA QR-4S 4 1/2" Square Frosted Acrylic Ruler
- OLFA QR-6x24 6" X 24" Frosted Acrylic Ruler
- OLFA 5-Inch SCS-4 Precision Appliqué Scissors (to trim threads)
- OLFA RM-12S 12" Rotating, Self-Healing Cutting Mat
Fabric requirements:
- C1 (yellow) = (1) FQ, cut (2) strips 2 ¾” x WOF; sub-cut (8) 2 ¾” squares; AND cut (2) 5 ½” squares.
- C2 (pink) = (1) FQ, cut (3) strips 2 ¾” x WOF; sub-cut (16) 2 ¾” squares; AND cut (1) 5 ½” square.
- C3 (white - background) = (1) FQ, cut (4) strips 2 ¾” x WOF; sub-cut (24) 2 ¾” squares; AND cut (1) 5 ½” square.
- 20” square or 1/2yd of fabric for backing.
- 20” square of ThermoWeb fusible fleece (or batting if preferred).
- Binding: (1) FQ, cut (5) 2 ½” x WOF strips; join each strip in a 45 degrees angle, fold in half (right sides out) and press.
1) Make the four-patch blocks:
This mini quilt has 2-color and 3-color four-patch blocks. Let’s call the 2-color block B1 and the 3-color block B2. All B1 and B2 blocks in this mini quilt will be identical in their respective colors, only when placing the blocks to form the pattern, some blocks will rotate.
Start sewing B1. Sew a C1 + C3 and a C3 + C2. Press each section of 2 sewn squares to the darker side. Then sew these two units together to form the full block. Press seams open. Repeat it to make 8 blocks B1.
Make the B2 block. Sew a C2 + C3 and a C3 + C2. Follow same steps above to make B2 blocks. Repeat it to make 4 blocks.
The four-patch blocks don’t need trimming as they finish on the exact size the pattern needs, each block finishes at 5” square if using an accurate ¼” seam allowance.
2) Make the HST blocks:
To prepare the half-square-triangle blocks, lay right sides together (1) C3 + (1) C2 5 ½”fabric squares, and (1) C3 + (1) C1 5 ½” fabric squares. On the back of each C3 squares, trace a diagonal line.
Sew using 1/4” seam allowance on each side of the previously traced line on the back of each C3 squares.
Cut each square on the line previously traced, each pair of squares leads to 2 half-square-triangles. Press seams open.
On the rotating mat, and using the QR-12S 6 1/2" Square Frosted Acrylic Ruler, align the diagonal line on the ruler to the diagonal line on the block, and observe the mark to 5” on each side. Trim the block on both sides on top and right first, lift the ruler, rotate the mat 180 degrees, lay the ruler on top of the block in the same previous manner, align to the previous trimmed corners and trim the other 2 remaining corners.
Repeat for all half-square-triangle blocks.
3) Quilt top:
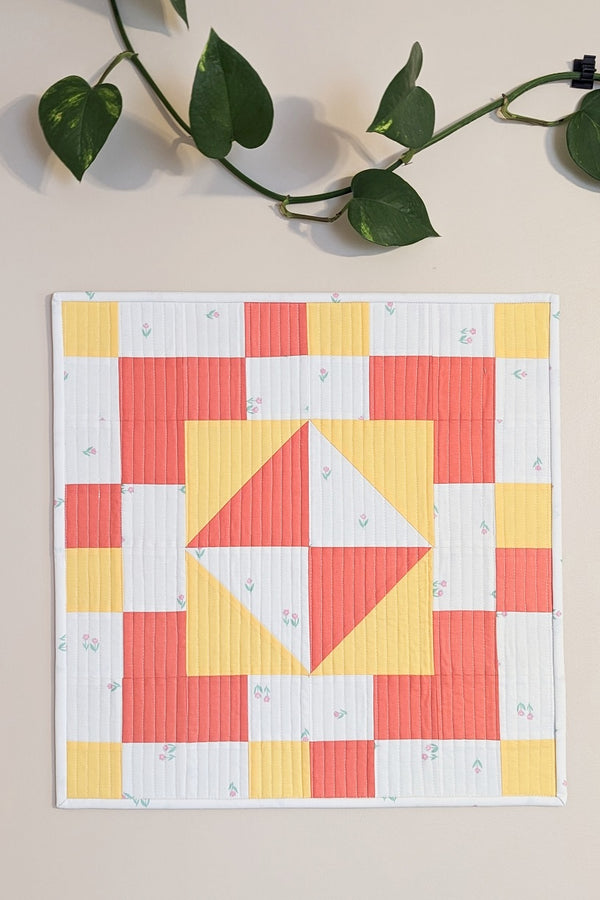
Organize the blocks as in the picture and chart below and start sewing in rows, from top to bottom. Press all seams open as you go, this will help reduce bulk when you quilt.
Once you’re done making the quilt top, give it a good press!!
4) Quilting and finishing:
The mini quilt project is something commonly used on walls, so it’s better to use a thicker, less soft interfacing like Thermoweb fusible fleece, it has the right thickness needed for small projects like this, you can press your quilt top on the fusible side and pin or spray glue the backing fabric to prepare for quilting.
Quilt using your favorite pattern and threads. I quilted simple straight lines spaced by half an inch.
Square up your project and bind it.
Congratulations!!! You’ve made your first mini quilt of the series! Don’t forget to come back to check the second mini quilt. We’ll be working on sewing with curved piecing, you don’t want to miss it.
Created by Daisi Toegel


