Mini Quilt _ Intermediate techniques

Instagram: @daisitoegel
Website: www.flowersew.com
Shop: www.etsy.com/shop/daisiflowersew
Size or dimensions: Mini – 18” square finished
Skill level: Confident Beginner
-------------------------------------------
This is the second mini quilt pattern step-by-step from our series “Mini Quilts”. If you haven’t read the introduction post and checked the first mini quilt pattern, click on the links above to access them.
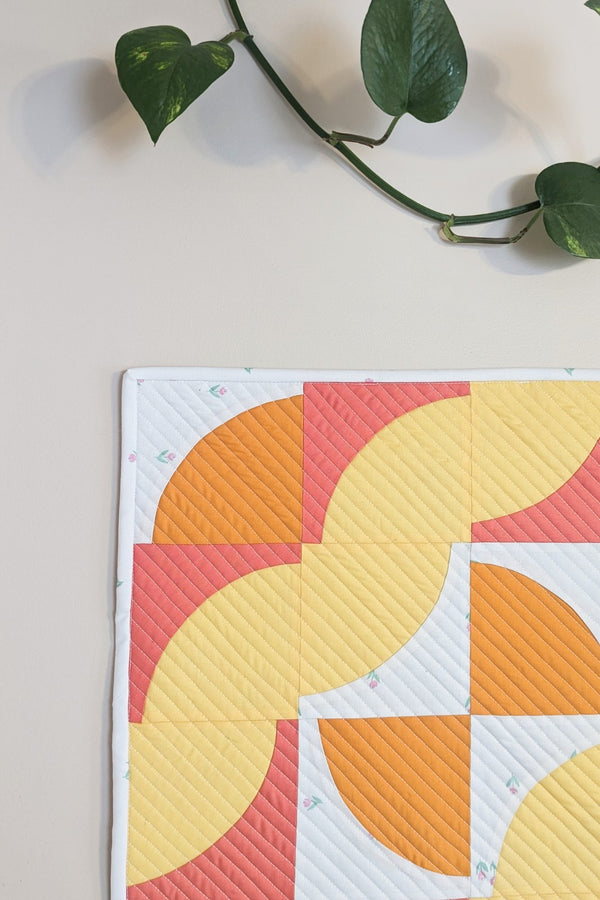
In this second mini quilt pattern we will work on sewing curves. Curved piecing dates from ages ago, traced back to Ancient Egypt where the Drunkard’s Path pattern has its origins. The Drunkard’s Path block, also known as Solomon’s Puzzle pattern, consists of a one quarter circle in a square with contrasting colors. This same block is what we will be sewing today, and you can make any type of pattern by just rotating it!!!
Sewing curves is still feared by many, but I will teach you a very simple and straightforward way that doesn’t require pinning!
Let’s get started.
Use ¼” seam allowance, or otherwise noted.
Use FQ = fat quarter = 18” x 21”
Tools needed:
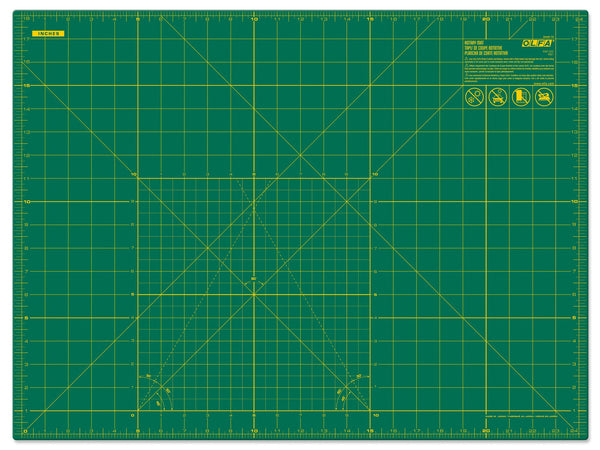
- OLFA RM-SG 18" X 24" Green Double-Sided, Self-Healing Rotary Mat
- OLFA 45mm RTY-2/C Quick-Change Rotary Cutter, Aqua
- OLFA 45mm Tungsten Steel Rotary Blade - 1, 2, 5, Or 10 Packs
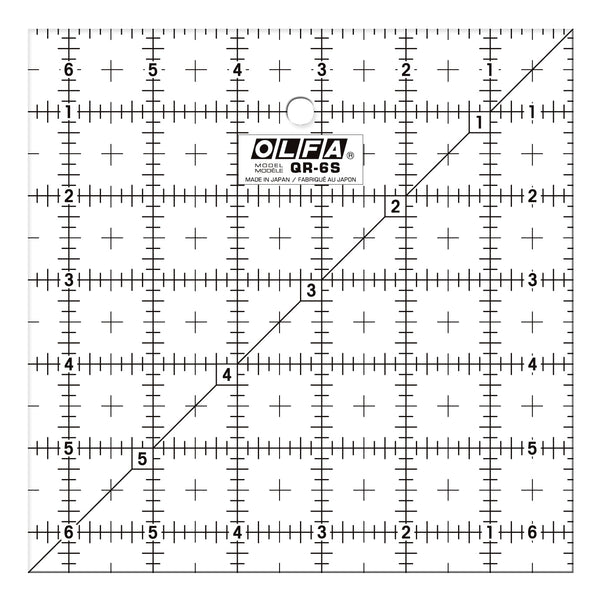
- OLFA QR-6S 6 1/2" Square Frosted Acrylic Ruler
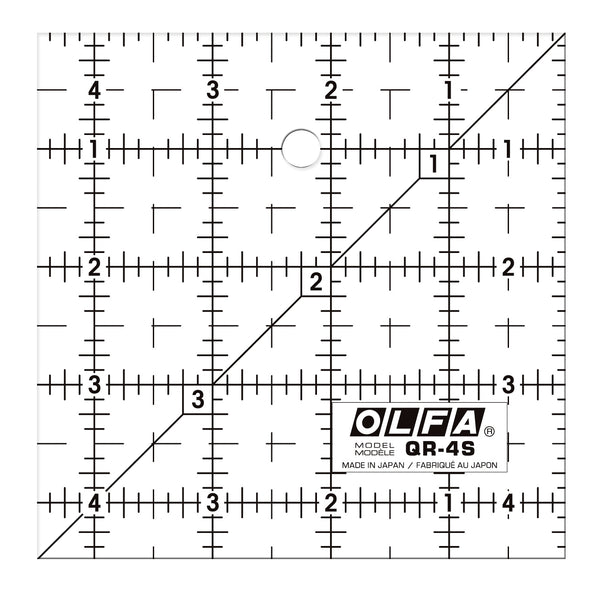
- OLFA QR-4S 4 1/2" Square Frosted Acrylic Ruler
- OLFA 5-Inch SCS-4 Precision Appliqué Scissors (to trim threads)
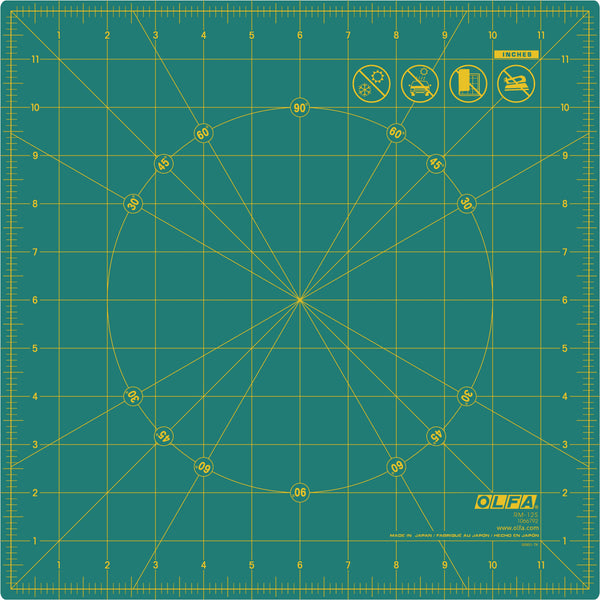
- OLFA RM-12S 12" Rotating, Self-Healing Cutting Mat
Fabric requirements:
Download the block templates HERE
- 1 FQ - C1 (orange) – template B x6
- 1 FQ - C2 (pink) – template A x8
- 1 FQ - C3 (yellow) *20” square or 1/2yd of fabric for backing – template B x10
- 1 FQ – C4 (white – background) – template A x8
- 20” square of ThermoWeb fusible fleece (or batting if preferred).
- Binding: (1) FQ, cut (5) 2 ½” x WOF strips; join each strip in a 45 degrees angle, fold in half (right sides out) and press.
Instructions:
1. Cut the fabric:
Download, print (at 100% scale) and cut out the paper templates.
Press the each FQ to be used and trace the respective template on each fabric as follows:
*adjust the templates by rotating them as you cut to maximize the use of the fat quarter. Trace all templates on the WRONG side of the fabrics.
- C1 – use template B – trace and cut (6)
- C2 – use template A – trace and cut (8)
- C3 – use template B – trace and cut (10)
- C4 – use template A – trace and cut (8)
Group the cut out shapes as in the picture below. When you start sewing, keep them grouped as they compose the 3 different blocks in this quilt.
2. Sew the blocks:
All (16) blocks in this quilt will be sewn in the same way. In the next instructions, please refer to the fabrics of template A and B that belong to the same block.
To start sewing a block, lay one template A piece right side up, then lay one template B piece right side down on top of the template A piece 1/4in after the tip edge as shown in the picture below.
Start sewing (reduce stitch length to 2mm), and slowly move the edge of the fabric from template B to meet the edge of the fabric from template A.
You will notice that at the end of the seam, fabric from template B will be 1/4in far from the edge of the fabric from template B edge.
When the seam is finished, pull and trim.
Press the seam towards template A. Repeat these steps to make all 16 blocks.
3. Trim the blocks:
Using the rotating mat, place the pressed block on the center of the mat and align the 6 1/2in ruler on the 5in square mark to cover the entire area. Trim right side and top.
Rotate the mat 180 degrees and align the 5in square mark on the ruler to the recently trimmed edges. Trim the remaining two sides.
Repeat this process to trim all blocks to 5in squares.
4. Sew the mini quilt top and finish:
Following the quilt layout below, piece the rows and then sew the rows together to finish the mini quilt top.
Press the whole top and baste using the method of your preference.
Quilt and bind using the method of your preference.
And there you have it! Congratulations!! I hope you enjoyed this tutorial and that you make more blocks like these to try different patterns!!
Don’t forget to come back to check the third mini quilt. We’ll be working with a foundation paper piecing block!
Created by Daisi Toegel


