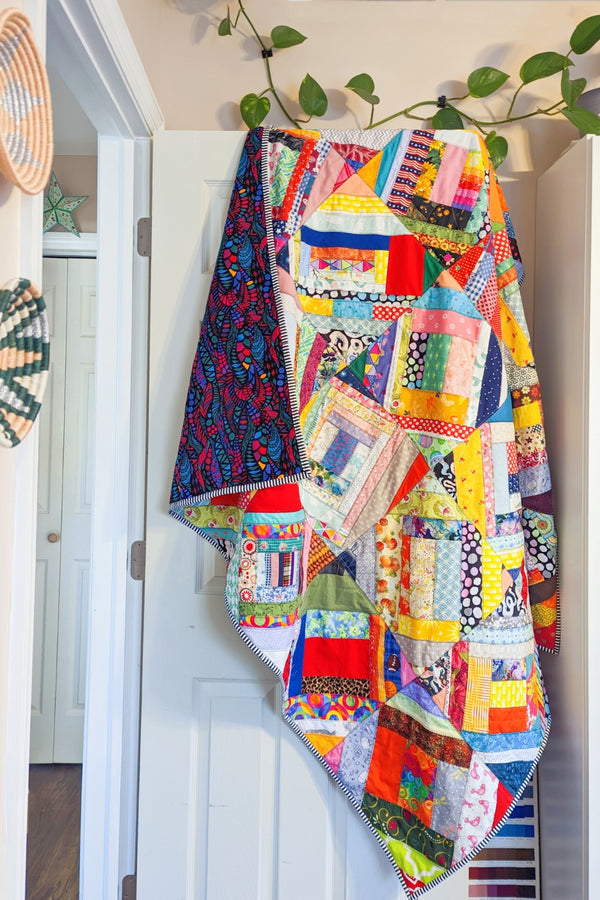
Crazy Quilt

Designer: Daisi Toegel
Instagram: @daisitoegel
Website: www.flowersew.com
Size or dimensions: Throw size - 60 1/2” x 60 1/2” finished
Skill level: Confident Beginner
---------------------------------------------------

We’ve been through many details and tips on how to organize, cut and determine the best way of using scrap fabric on the first 2 posts of the series, and we’ve made a scrappy pencil case and a scrappy drawstring bag. To wrap the series with a glorious project using larger pieces of scrap fabric, let’s make a Quilt!!!
In this tutorial you will learn how to make a THROW size quilt with 25 blocks, but you can make this quilt using as many blocks as you want! Each block measures 12 ½” unfinished. For a baby quilt for example, use 9 blocks on a 3x3 grid. For a lap size, use 4x4 grid for a total of 16 blocks. Mix and match how long and wide you want your quilt to be. The throw size is made on a 5x5 grid.
Crazy quilts got popular back in the 1800s, and this type of quilt refers to the patchwork style and not to a quilting technique specifically. This type of work rarely has batting added to it, the internal layer between the quilt top and backing fabric, this is because to construct these blocks a base fabric is needed, and the pieces are sewn on it to secure all scraps together. The extra layer of fabric that is the base of each block gives the quilt enough weight and thickness to be quilted and finished with only the backing fabric, with no necessity to add batting, so now you know, batting is completely optional for this quilt!!!
The popularity of this quilt is related to the freedom it provides when creating each block. In general, regular quilts are precisely cut and pieced to form a perfect geometric shape overall, and for the Crazy quilt this precision is not necessary.
Let’s get started creating out Crazy Quilt, always focusing on having fun and playing with fabrics, which is the reason we quilt, right?! Well, this time will be even better, you’ll make your own design as you go. Shall we?
Tools needed:
- OLFA RM-SG 18”x24” Green Double-Sided, Self-healing Rotary Mat
- OLFA 45mm RTY-2/C Quick-Change Rotary Cutter, Aqua
- OLFA 45mm RB45H-1 Tungsten Steel Endurance Rotary Blade, 1pk
- OLFA QR-1x12 1" X 12" Frosted Acrylic Ruler
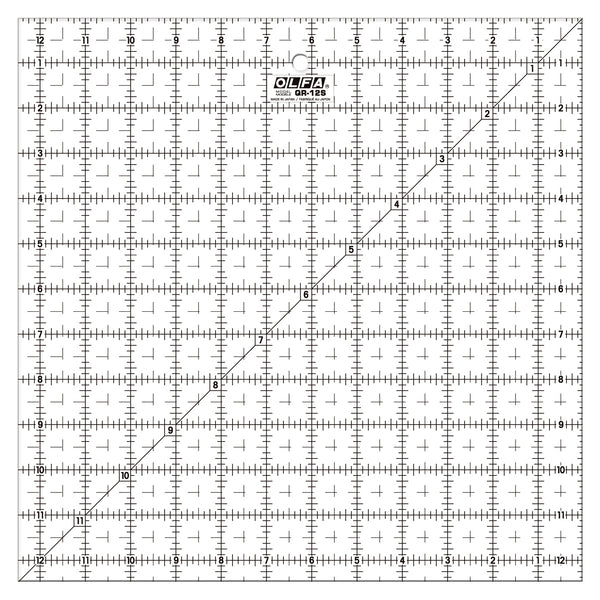
- OLFA QR-12S 12 1/2" Square Frosted Acrylic Ruler


Fabric requirements:
- all scrap fabrics larger than 1 ½” x 3”
- (25) 13” x 13” muslin fabric or light color/low volume fabric (for this, you can also piece scrap fabrics to reach the size of this base square for the blocks)
- 1/2yd binding fabric = Cut (6) 2 ½”x WOF (consider 42” WOF); sub-cut (6) 2 ½” x WOF strips. Sew the strips together using a 90 degree angle, fold in half wrong sides together and press. You should have a 252 inches long binding.
1) Start sewing the blocks:
For each block you make press each piece of fabric to be sewn on the base block. Start on the center. Lay one rectangle angled to any direction you like, and on each longer edge of the rectangle with right sides together, sew a piece of fabric of the same length, wider, same width or narrower.
After each piece you sew, open and press.
Topstitch using a zig zag stitch, or other decorative stitches on your sewing machine right by each seam you sew. Use contrasting thread colors for a fun effect. You can also do embroidery in this step instead.


Keep sewing strips of fabric as you go, pressing and topstitching (or embroidering after the block is finished) until you cover the entire base fabric square area. The rule is always to add strips (any width) matching the length of the current strip sewn to the block.

Using the QR-12S 12 1/2" Square Frosted Acrylic Ruler, trim the block with the back facing up, to 12 ½” square.

Sew a 1/8” straight seam allowance all along the 4 sides of the block to prevent the edges from stretching.


Repeat this process for all blocks you make. Stack them as you finish each one to help them lay as flat as possible.

2) Sewing the blocks together (quilt top):
When all the blocks are finished, lay the quilt on the floor to check the layout.
Start sewing the rows. Use 1/2" seam allowance to sew the blocks together.

For each row you sew, fold back the edges of the seam on the back (1/4” edge) and sew it in place through the back for a flat finish, this will avoid bulk when the backing fabric is added.
After sewing each row together, repeat the process of sewing the 1/4” edges down on the back, so the entire back of the quilt top is flat.


3) Finishing the quilt:
Once the quilt top is done, you will notice it is a heavy quilt top, or at least heavier than a regular quilt top. In this step is completely optional to add batting. Baste the quilt using the method of your choice. I quickly pin basted.

To quilt, follow the square blocks seams and use zig zag, decorative stitches or embroidery. This is a really fast and easy quilting process compared to regular quilts. Since each block was previously individually sewn, quilted and topstitched, the backing fabric won’t require heavy quilting as it will be a thin layer to the rest of the quilt.

Bind your quilt and don’t forget to add a label!!! And you’re all done!!!

Enjoy your scrappy quilt, and get creative decorating your home! Scrappy quilts are the best to add color to any room and it’s perfect to use in any weather as it’s not as warm as a regular quilt. On winter it serves as a perfect addition on top of a regular quilt or blanket.