Small, Medium and Large Scrap Pieces – How to cut them to maximize use

Designer: Daisi Toegel
Website: www.flowersew.com
Instagram: @Daisi Toegel
-------------------------
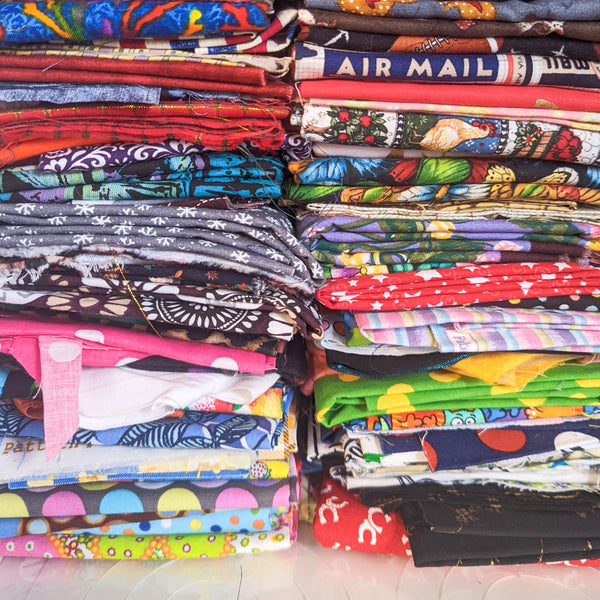
In this second post of the Scrap Series you will learn more about how I organize my scrap fabrics in order to maximize the use and have them ready to be sewn every time! No mess and no waste.
Let’s get started.

Tools needed:
- OLFA RM-SG 18" x 24" Green Double-Sided, Self-Healing Rotary Mat
- OLFA 45mm RTY-2/C Quick-Change Rotary Cutter, Aqua
- OLFA 45mm Tungsten Steel Rotary Blade - 1, 2, 5, Or 10 Packs
- OLFA QR-1x12 1" X 12" Frosted Acrylic Ruler
- OLFA QR-6x24 6" X 24" Frosted Acrylic Ruler
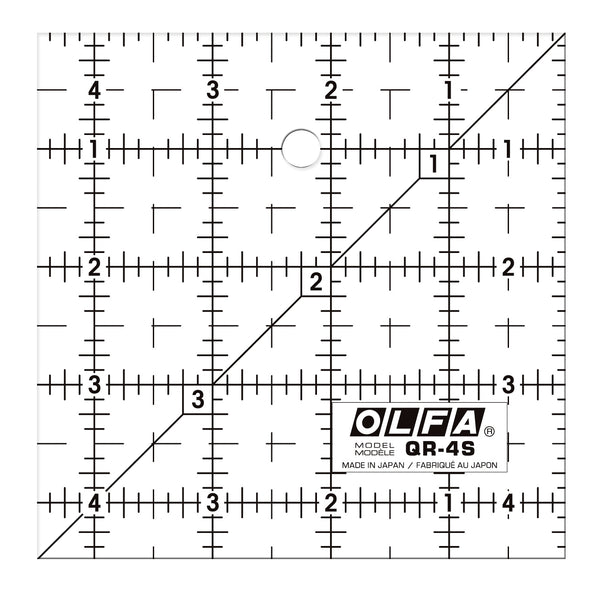
- OLFA QR-4S 4 1/2" Square Frosted Acrylic Ruler
- Fabrics requirements: All scrap fabrics smaller than a Fat Quarter.
1) Small scrap pieces - rectangles:
Before starting, to have more details into fabric scraps sorting and organization, please check the first post of the Scrap Series, here.
Once all scraps are sorted by size, and then optionally by color, it’s time to start cutting the best shape that fits the scrap piece. I like cutting squares and rectangles. The minimum size I use is 1 1/2" square and 1” wide strips. Pull the smallest pieces you have and get started cutting.
Start by making sure all fabrics are pressed before cutting. Using the OLFA Self-healing Rotary Mat, the 45mm RTY-2/C Quick-Change Rotary Cutter and the, Frosted Acrylic Ruler on the size that works best with the scrap piece you have (for small pieces, I find the 4 1/2” square ruler to work best). Start trimming 4” wide strips in different lengths. An awesome tip I have to share that I learned a few months ago is to use receipt paper roll!!! It works great to make fabric tape or fabric strips that are used on quilt blocks, sashing, border or bag making. The receipt paper is easily found online or at stores like Walmart and Staples. This technique helps you to keep various lengths of small scrap rectangles and it generally comes in 3” wide rolls.

After cutting as many rectangles as you can, it’s time to start sewing. Cut out 18” long strips of the receipt paper. It’s easier to work on sewing smaller pieces like this then trying to work with the roll as you go since it can rip as you push it through the sewing machine.
Position the paper on the machine plate, and the lay two pieces of rectangles facing right sides together 1/2" on top of the paper strip before the right end of it. Sew with 1/4” seam allowance. Open and press as you go in order to attach the next piece.
Once you get to the end of the paper strip, set it aside and start the next. After all strips are sewn, with the fabric side facing down, use the QR-6x24 6”x24” Frosted Acrylic Ruler and trim the excess of fabric on both sides of the paper strip.
To make a roll, simply sew the ends of each strip together. To see a video of how I make it please check this link.

2) Small and medium scrap pieces - squares:
Square pieces are by far the most useful when quilting. A variety of square sizes makes the most diverse quilt blocks. Start cutting the smallest fabric pieces into 1 1/2" squares, and as it fits on the pieces cut out bigger squares: 2”/2 1/2"/3” and so on. Try to maximize the scrap piece by cutting the largest pieces as possible and then cutting them into smaller as needed.

If you have plans or a pattern you’ll be working on, cut the scraps according to the cutting instructions. Use white, off-white and low volume fabrics for background, they’ll complete your project with an extra scrap look and most of times once you look from afar it’s a bit difficult to tell the fabrics actually all different!
It’s also a great idea to cut rectangles (I do most from fabric pieces I won’t be able to cut out a square). Even for fabric pieces that I can cut multiple squares, sometimes I prefer to cut a rectangle strip, as it may fit better on some project than a square, so I can decide at the time I am effectively working on a determined project whether I keep it a strip or cut into smaller pieces or squares.

3) Large scrap pieces – any shape:
When I have scrap fabric pieces larger than a 10” square, but smaller than a fat quarter I don’t cut them. I press and fold them as a fat quarter and have a separate space on my cabinet to pile the fat quarters in a way I can see the prints.

I believe it’s much better to treat large pieces of scrap as a fat quarter so they can be used to projects that call for all that amount at once, instead of cutting it into smaller pieces that not always will fit the fabric requirements of the same project.
4) Optional and helpful tips:
Determine a project: If you have projects in mind according to fabric color or theme then it might be a good idea to keep the scrap piece intact independently of the size, this way you can cut it according to the fabric requirements of the project you will be working with and be able to fit the same fabric into different measurements as needed.
Crumb blocks or Foundation Paper Piecing: For these projects you don’t always need a specific shape like a square, rectangle or triangle. Most times working with a crumb quilt project or foundation paper piecing, as long as you can either sew two pieces together or cover an area (FPP) that needs to be sewn, then in this case it might be a good idea to simply press and fold each scrap piece (as needed), especially if you don’t have many scraps, and keep them separate and labeled before you put it away.

Now that you have some ideas on how to cut and organize your scrap fabrics, I can’t wait to share actual projects step by step using scrap fabrics. From bags to quilts, scrap fabrics make stunning unique art pieces, and on my next post we’ll use our small fabric pieces to make a project, stay tuned!
Created by Daisi Toegel