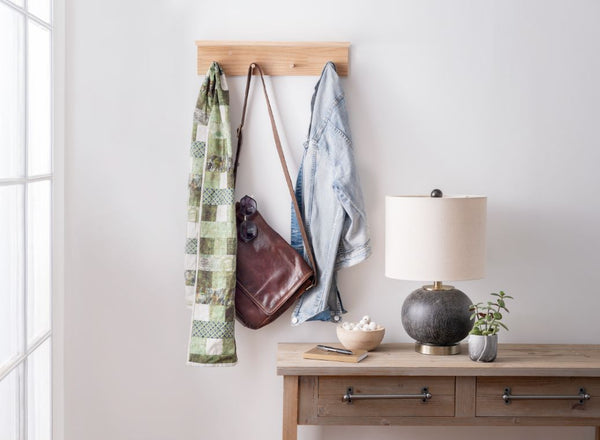
Oregon Patchwork Scarf

Designer: Daisi Toegel
Instagram: @daisitoegel
Website: www.flowersew.com
------------------------------------------------
Bonus baby quilt pattern using the Washington Shop Hop fabric here.

Oregon Patchwork Scarf
Category: Patchwork/Wearables
Size: 69.5” L x 8” W
Skill level: Beginner
Pattern notes:
- Seam allowance is ¼in unless noted otherwise.
- WOF = width of fabric: assume 18” x 21” for Fat Quarter (FQ); 9”X 21” for Fat Eight (FE); and 44” for Yardage (YD).

Tools needed:
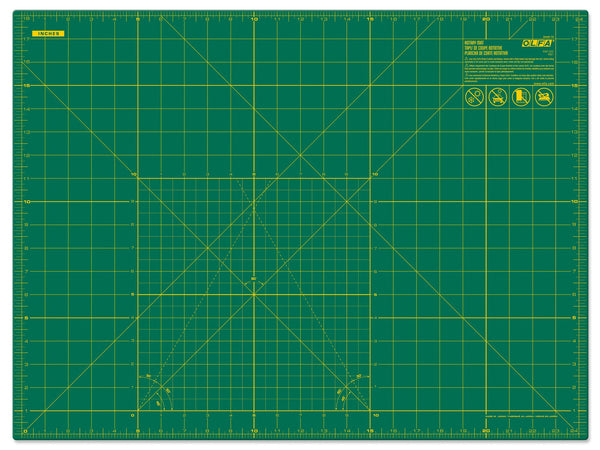
OLFA RM-SG-01 18" x 24" Green Double-Sided, Self-Healing Rotary Mat
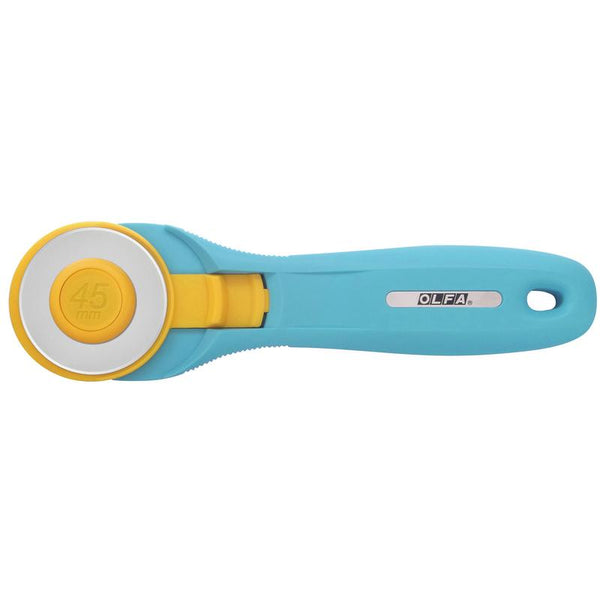
OLFA 45mm RTY-2/C Quick-Change Rotary Cutter, Aqua
OLFA QR-6x24 6" x 24" Frosted Acrylic Ruler
OLFA QR-6x12 6" x 12" Frosted Acrylic Ruler
Fabric Requirements:
- Color A (cA) – backing and front = Blender Sand
- 2/3yd
- Color B (cB) – front = Blender Pine
- 1/6yd or 1 FQ
- Color C (cC) – front = Blender Moss 1/6yd or
- 1 FQ
- Color D (cD) – front = Plaid
- (1) 2.5” x WOF strip or (1) FE
- Color E (cE) – front = Trees
- (1) 2.5” x WOF strip or (1) FE
- Color F (cF) – front = Stamps
- (1) 2.5” x WOF strip or (1) FE

Cutting instructions:
Color A = For the backing, cut (2) 9.5” x WOF strips (assume 44”) and join both on the short edge, trim to 70.5”.
Use the remaining scrap piece and cut (6) 2.5” x 9.5” rectangles, and sub-cut (18) 2.5” squares.
Color B = From YD, Cut (2) 2 1/2in x WOF and sub-cut (25) 2.5” squares and (2) 2.5” x 8.5” rectangles.
From FQ, cut (4) 2.5” x WOF strips (assume 21”) and sub-cut (25) 2.5” squares, and (2) 2.5” x 8.5” rectangles.
Color C = From YD, Cut (2) 2 1/2in x WOF and sub-cut (25) 2.5” squares and (2) 2.5” x 8.5” rectangles.
From FQ, cut (4) 2.5” x WOF strips (assume 21”) and sub-cut (25) 2.5” squares, and (1) 2.5” x 8.5” rectangle.
Color D = From YD, Cut (1) 2 1/2in x WOF and sub-cut (5) 2.5” x 8.5” rectangles.
From FE, cut (3) 2.5” x WOF (assume 21”) and sub-cut (5) 2.5” x 8.5” rectangles.
Color E = From YD, Cut (1) 2 1/2in x WOF and sub-cut (5) 2.5” x 8.5” rectangles.
From FE, cut (3) 2.5” x WOF (assume 21”) and sub-cut (5) 2.5” x 8.5” rectangles.
Color F = From YD, Cut (1) 2 1/2in x WOF and sub-cut (5) 2.5” x 8.5” rectangles.
From FE, cut (3) 2.5” x WOF (assume 21”) and sub-cut (5) 2.5” x 8.5” rectangles.

*TIP: Use the 6”x24” ruler to cut the 2 ½” x WOF strips; then align the strips side by side and place the ruler on top of the 2 ½” mark to sub-cut (1) 2 ½” square from each strip at once, and repeat.
To sub-cut the rectangles, use the 12 ½” square ruler. (PHOTO 4)
Now, for the front you have:
Fabric A = (18) 2.5” squares
Fabric B = (25) 2.5” squares + (2) 2.5” x 8.5” rectangles
Fabric C = (25) 2.5” squares + (1) 2.5” x 8.5” rectangle
Fabric D = (5) 2.5” x 8.5” rectangles
Fabric E = (5) 2.5” x 8.5” rectangles
Fabric F = (5) 2.5” x 8.5” rectangles
Use all (68) 2.5” squares to piece (17) units of 4 each. There are (18) 2.5” x 8.5” rectangles that will be sewn besides the square pieced units.
There is no order in particular to follow, the only rule is that two of the same fabric shouldn’t touch.

Sew (17) units as below, then sew them together to make the scarf front.

At the end sew the remaining 2.5” x 8.5” rectangle on the short edge besides the square pieced unit.

Press and with right sides touching start pinning the backing fabric.
Pin each side of the backing fabric (9.5” wide) to each side of the pieced front (8.5” wide). There will be a space and won’t be flat as you pin. To make it easier to pin, simply pinch the fabrics together and insert the pin.

The entire extension of the sides of the scarf should be pinned and sewn.

Turn the project right side out and press, each side should have a thin self-binding edge as the backing becomes flat. Clip or pin this edge in place and stitch-in-the-ditch to finish the sides.

To finish the short edges, fold it towards the front of the scarf twice, clip it in place and sew. Backstitch at the beginning and end to secure the seams, and you’ll be all done! Congratulations!


