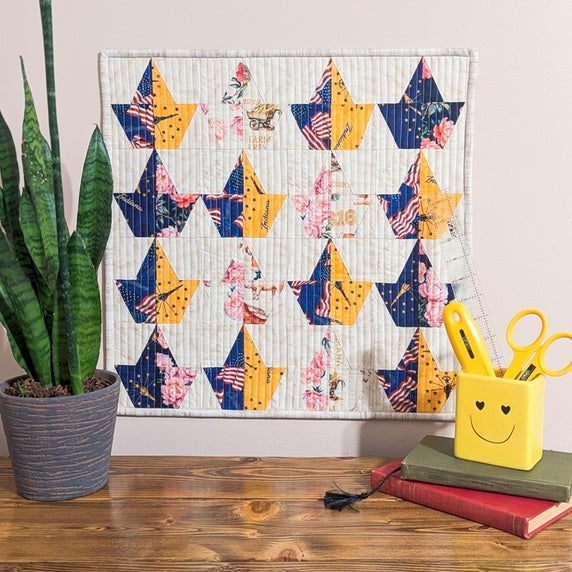
Indiana boats mini quilt

Designer: Daisi Toegel
Instagram: @daisitoegel
Website: www.flowersew.com
------------------------------------------------
Category: Foundation paper piecing
Size: 18” square
Skill level: Confident Beginner
Pattern notes:
- WOF = width of fabric, assume 42in

Tools
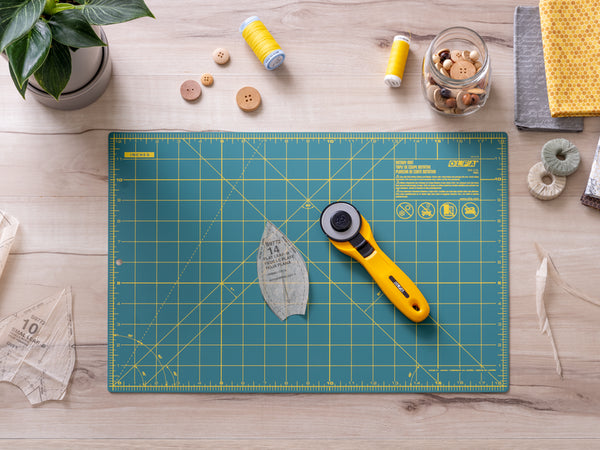
OLFA RTY-2CYEL/ST-01 Fabric Cutting Kit, Yellow
OLFA QR-1x12 1" x 12" Frosted Acrylic Ruler
Fabric Requirements:
Color 1 (c1) = Wheat |
2/3 yd |
Color 2 (c2) = Indiana torch yellow |
(1) 4in x WOF |
Color 3 (c3) = Flags |
(1) 4in x WOF |
Color 4 (c4) = Flowers cream |
(1) 4in x WOF |
Color 5 (c5) = Icons cream |
(1) 4in x WOF |
Color 6 (c6) = Indiana torch navy |
(1) 4in x WOF |
Color 7 (c7) = Flowers navy |
(1) 4in x WOF |
Backing = Flags |
2/3yd |
Binding = Blender oyster |
(2) 2 1/2in x WOF |
Cutting instructions:
Color 1: Cut (4) 3in x WOF strips; sub-cut (32) 4 1/2in x 3in and (2) 4in x 2 1/2in.
Cut (3) 2 1/2in x WOF; sub-cut (30) 4in x 2 1/2in.
Color 2 and 3: Cut (1) 4in x WOF; sub cut (8) 4in x 2 1/2in.
Cut (1) 3 1/2in x WOF; sub-cut (8) 3 1/2in squares.
Colors 4 through 7: Cut (1) 4in x WOF; sub cut (4) 4in x 2 1/2in and sub-cut (4) 3 1/2in squares from the same strip.
***adjust the cut fabric pieces above on each space in the foundation paper piecing space accordingly.
Binding: Cut (2) 2 1/2" x WOF and join in the 45-degree angle, press lengthwise with wrong sides together and set aside.
You’ll also need:
(1) 20in square of quilt batting;
***the estimated fabric requirements are with room for beginners, to help with fabric placement while sewing. If you’re not a beginner please feel free to use the fabric piece sizes to fit your preferred method of sewing foundation paper piecing.

Tools needed:
RM-SG 18”x24” Green Double-Sided, Self-healing Rotary Mat
45mm RTY-2/C Quick-Change Rotary Cutter
QR-6x24 6”x24” Frosted Acrylic Ruler
QR-6S 6 1/2" Square Frosted Acrylic Ruler
Sew the individual blocks:
Download and print (at 100% scale) 16 copies of the paper template sheet HERE (PLEASE ADD LINK).
For each block you sew, cut the two parts of the template and sew them individually first, then sew the two parts together. Reduce the machine’s stitch length to 1.6mm or 1.8mm. This will help to remove the paper later on.
To follow the step-by-step of how to sew using the foundation paper piecing method, check this pincushion tutorial.
Trim all threads from the edges of the block, and following the paper template dotted lines, trim the block to 5in square, keeping the seam allowance edges.
Don’t remove the paper from the individual blocks yet.

Sew 16 blocks according to the photo below.
There are (3) different blocks, with different color combinations. Of course this is a suggestion, and you can make the boats any colors you want with as many combinations as you want!

When all blocks are sewn, trimmed and pressed, play with the layout of your preference. The tip here is to keep alike colors far from each other to distribute it as much as possible.

Sew (4) rows of 4 blocks, then sew the rows together.
Remove all the paper and press the patchwork top.

Baste, quilt and bind using the method of your preference and you’re all done.


