Rectangular Pincushion and Clip holder

Instagram: @daisitoegel
Website: www.flowersew.com
Shop: www.etsy.com/shop/daisiflowersew
Size: 8 1/2in x 4 1/2in
Skill level: Confident Beginner
--------------------------------------------------------
Do you like working on fabric manipulation? In this project we’ll play with some easy and fun fabric manipulation by adding folds to create a beautiful and functional effect on our pincushion. This pincushion is a large one for large pins, and clips can also be held on it. If you haven't yet, check out the first part of this series, here!
In this project I suggest that you use your leftover binding strips (2 1/4in or 2 ½in wide), let’s have some scrap fun!
Tools Needed:
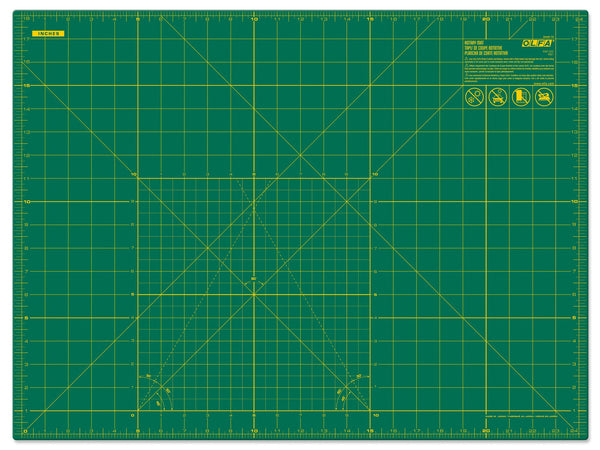
- OLFA RM-SG 18" X 24" Green Double-Sided, Self-Healing Rotary Mat
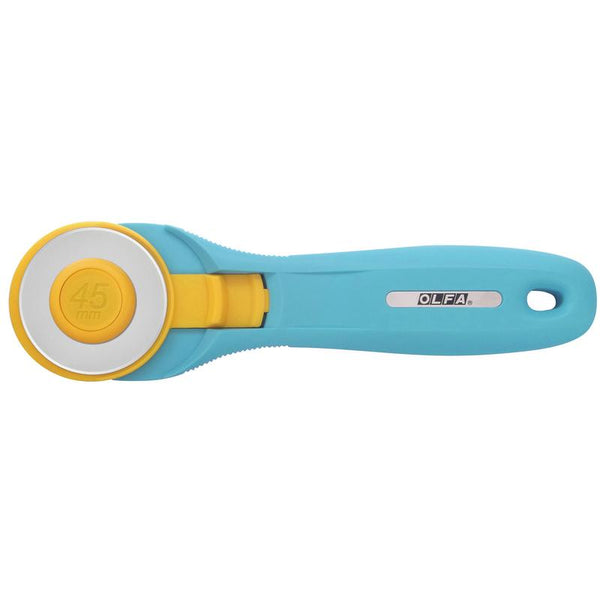
- OLFA 45mm RTY-2/C Quick-Change Rotary Cutter, Aqua
- OLFA 45mm Tungsten Steel Rotary Blade - 1, 2, 5, Or 10 Packs
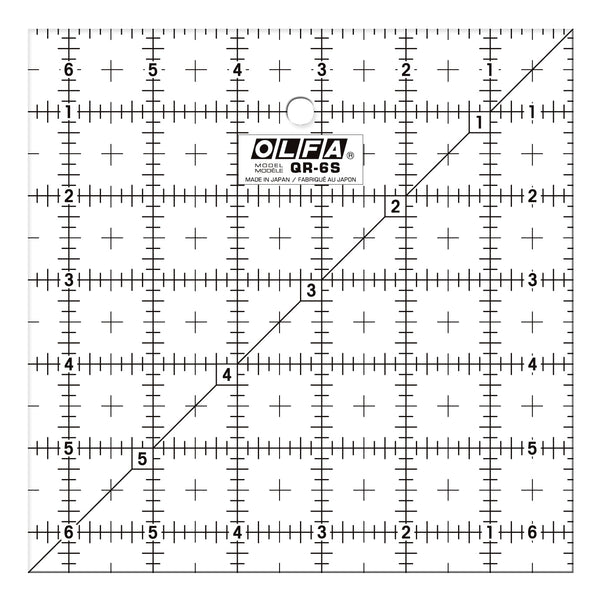
- OLFA QR-6S 6 1/2" Square Frosted Acrylic Ruler
Fabric requirements:
- (16) 5 1/4in long strips of scrap binding fabric, from 2 1/4in to 2 1/2in wide folded in half and pressed.
- (2) 5in x 9in rectangles
- poly-fil stuffing
- sewing machine, thread and needle (to close, final step)
1) Sew the fabric strips
On the right side of one of the whole rectangles, place one strip on the base with the opening facing up. Sew the strip in place using 1/4in seam allowance.
Lay the QR-12S 6 1/2in Square Frosted Acrylic Ruler on the 1/2in mark on top of the first strip on the base rectangle, and position the next fabric strip on top of the first one, right above the ruler 1/2in mark.
Sew it in place and keep adding the other strips in the same way.
When you’re done sewing the strips, press and sew the long edges using 1/8in seam allowance to hold all strips down flat.
On the sewing machine plate, lay the strip rectangle with the finished edge of the strips towards you. Slightly fold back the center edge of the first strip close to the sewing machine needle (fold back about 1/4in) and sew a straight line in the center up to the moment the needle touches the next fabric.
Stop with the needle down, and do the same process on the next strip, slightly fold it back (about 1/4in), hold with your fingers to keep it down, and sew until the needle touches the next strip.
Keep following this process to sew all strips back.
2) Finish the pincushion:
Once you’re done, DON’T press the folds. With right sides together, lay the backing fabric on top of the main piece and clip along the edges. Sew using 1/4in seam allowance, and leave a 2in opening in the center of one of the shorter edges. Backstitch at the beginning and end of the seam.
Once you’re done sewing, clip all 4 corners diagonally before the seams.
Fill the pincushion with poly-fil about 2.5oz. Close the opening with invisible hand stitch.
You’re done!!! Now you can keep your clips and pins all in one place!!!
I hope you enjoyed this scrap busting and functional project. Don’t forget to come back to check the next pincushion pattern that will be soon available!
Created by Daisi Toegel


