Lap Quilt Part 3: Simple squares with Yo-yo details _ Easy piecing

Designer: Daisi Toegel
Instagram: @daisitoegel
Website: www.flowersew.com
Size: Lap size– 58” x 58” finished
------------------------------------------------------------

This is the third of three lap quilt tutorials of this series. If you'd like to start at the beginning check out part 1, here.
For a super quick make and fun details added, let’s work with 10” precut squares (of course you can also cut your own 10” squares from yardage, fat quarters or scraps) and piece a 6 x 6 grid lap size quilt. We’ll also add yo-yos in between each four-patch connection for a different look and a bit of a vintage twist.
Let’s get started.
Note: Use ¼” seam allowance, or otherwise noted.
Tools Needed:
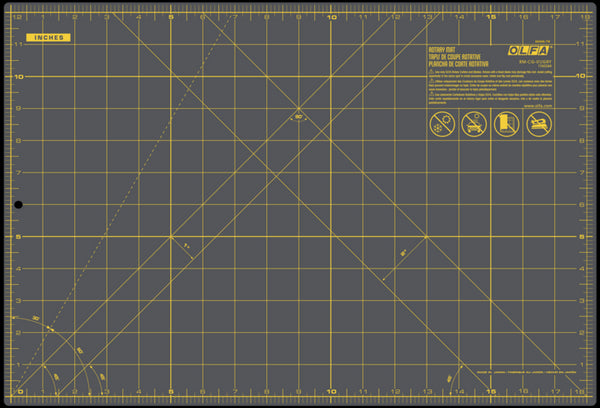
- OLFA RM-CG-01/GRY 12”x18” Double-Sided Self-Healing Rotary Mat, Gray
- OLFA RTY-2DX/MAG 45mm Ergonomic Rotary Cutter
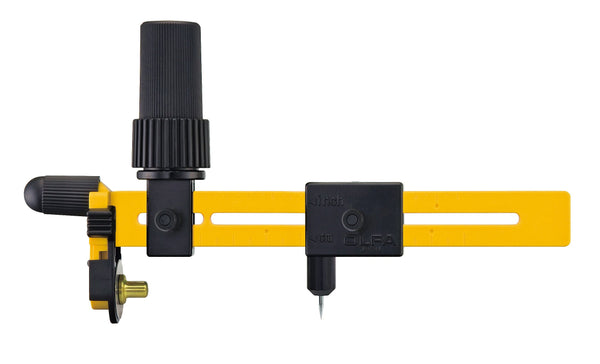
- OLFA CMP-3 Rotary Circle Cutter
- Quick Yo-Yo Maker (Jumbo) – or you can sew the yo-yos by hand
Fabric requirements:
- (2) 10” fabric stacks; we’ll use (36) background squares (florals) and (25) low-volume squares (yo-yos).
- Backing and batting: 62” x 62”
- Binding: (6) strips 2 ½” x WOF; join each strip on a 45 degrees angle, fold in half (right sides out) and press.

1) Preparing the fabrics:
Plan out what you want your rows to look like, if you have a design board or on the floor, lay down the rows and once you have decided the order of the fabrics, pin each (6) squares together for easy sewing.

Looking at the chart below, I tried to mock-up what mine would look like, it’s simply the mixed colors for the prints I chose without a particular color order, I made it just colorful.

Piece the squares and then the rows, baste and quilt using your favorite methods.

Completely finish the quilt, so then it’s prepared to have the yo-yos added.

2) Making the yo-yos:
For each single yo-yo square, first fold the square in half twice and crease the corner to mark the center of the square.

Adjust the circle cutter to the MAX size.

Place the pivot point on the center of the crease previously made and using the ratchet handle, cut out the circle.
If you need to check how to work with the circle cutter, OLFA has the perfect video on YouTube, check it out here.


Make the yo-yos. You can either use the Quick Yo-Yo Maker (Jumbo – finished at 3 ½”) or you can sew it by hand. You’ll need 25 yo-yos.

3) Sewing the yo-yos:
I highly recommend sewing the yo-yos by hand, this will guarantee a beautiful finish. If you prefer, you can still sew them by machine, using the free motion quilting foot will make this process easier, since you won’t have to twist the quilt around.

Take the time to enjoy the yo-yo applique process, once you’re done, congratulations!!! You’ve made a sweet and simple quilt with a super cute vintage twist!
I hope you enjoyed this tutorial!


Created by Daisi Toegel