How to Make a Simple Flower Block

Designer: Erin Kroeker
Website: www.theblanketstatement.ca
Instagram: @theblanketstatement
------------------------------------------------------
Skill Level: Beginner
Finished size: 6”, 12” or 18” Finished Block

Flower blocks are a timeless favourite in quilting, bringing warmth and personality to any project. This one is simple to sew, yet has a fresh, modern feel that shines in any colour palette. Whether you go for soft and subtle or bold and bright, it’s a design that always feels joyful and full of life.
In this tutorial, I’ll walk you through how to make this block, with examples in different colour combinations and measurements for three block sizes so you can choose the one that fits your project best. I’ll be making the 18" version, which makes a stunning pillow front or a beautiful statement block in a larger quilt.
This tutorial also continues the series we started in 2024, where we explored a collection of blocks to create a sampler-style quilt. You can find the full round-up of those blocks here. This is just the beginning of a brand-new series featuring six new blocks and the techniques behind them, so stay tuned for what’s next!

Materials and Tools
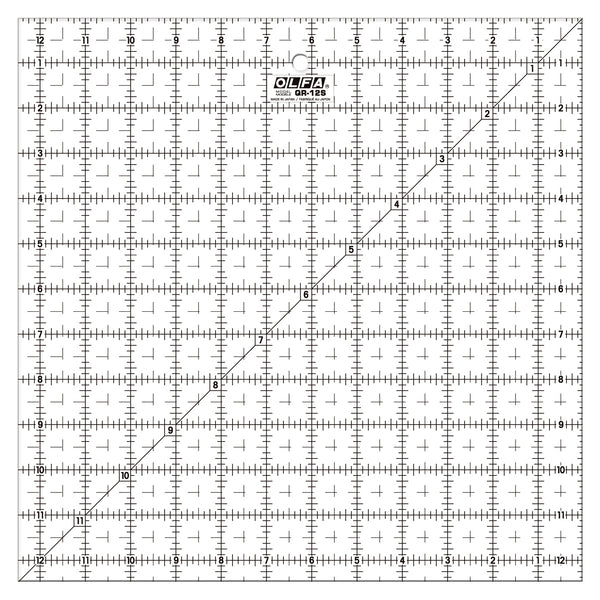
OLFA QR-12S 12 1/2" Square Frosted Acrylic Ruler
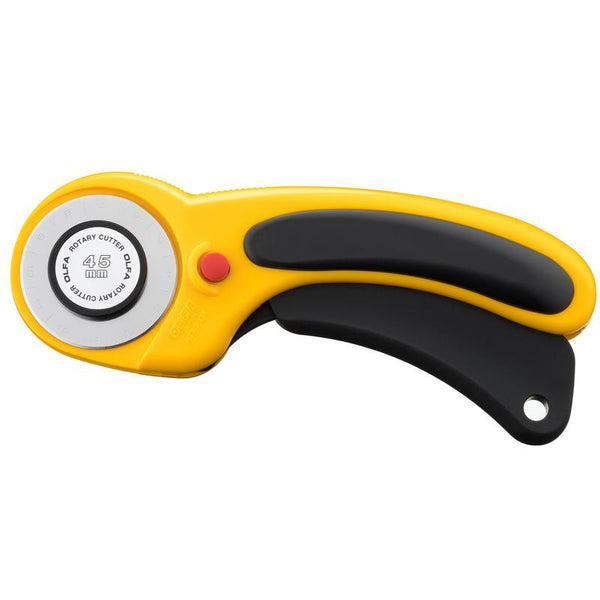
OLFA 45mm RTY-2/DX Ergonomic Rotary Cutter
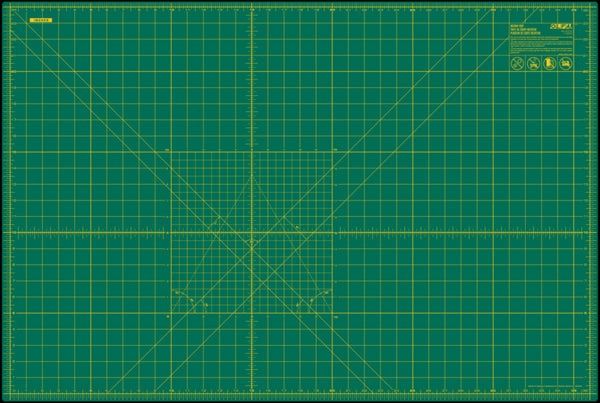
OLFA OLFA RM-MG-01 24" x 36" Green Double-Sided Rotary Mat
OLFA SCS-4 Precision Appliqué Scissors
(4) Main Fabric Squares*
(16) Accent Squares*
Iron and pressing surface
Sewing machine
Thread
*Reference the cutting sizes below for each quilt size.
Step 1: Cut Fabric
For a 6” finished flower block:
· Main - (4) 3 ½” x 3 ½”
· Accent - (16) 1 ½” x 1 ½”
For a 12” finished flower block:
· Main - (4) 6 ½” x 6 ½”
· Accent - (16) 2 ½” x 2 ½”
For an 18” finished flower block:
· Main - (4) 9 ½” x 9 ½”
· Accent - (16) 3 ½” x 3 ½”


Tip! You can see in these examples how the look of the block changes depending on your fabric choices. You can use the same fabric for all of the main fabric (or petals) and all of the accent fabric. Or you can create beautiful designs using different colours and fabrics or even go scrappy!
Step 2: Make Snowball Corners
For this block, you need to make (4) Snowball Corner blocks.

Tip - check out this blog post for an in-depth tutorial on how to make and trim Snowball Corners!
On the wrong side of the accent squares, mark a diagonal SEWING line.

Place an accent square in the corner of a main square RST with the marked line running from corner to corner.

Sew directly on the marked diagonal line.

Repeat steps for all 4 corners.

Using your ruler and rotary cutter, trim ¼" seam allowance away from the sewn line towards the corner.

Press the corner fabric out toward the corner.

Repeat these steps to complete 4 snowball corner blocks.

Your finished snowball corner block should measure:
· For a 6” finished flower block:
o Snowball Corner block - 3 ½” x 3 ½”
· For a 12” finished flower block:
o Snowball Corner block - 6 ½” x 6 ½”
· For an 18” finished flower block:
o Snowball Corner block - 9 ½” x 9 ½”
If it’s slightly oversized, trim all 4 sides, so the block is the required size.
Step 3: Assembling the Block
Arrange the (4) snowball blocks into the final block layout.

Sew together one row at a time. Take your time to carefully pin and match seams. Press seams.


Sew the rows together and give the block a good press.


Measure your completed block and if necessary, trim to the correct size (6 ½”, 12 ½” or 18½”), ensuring all sides are straight and corners are square!
Now give yourself a pat on the back... you did it!


