How to Make a Log Cabin Block!

Designer: Erin Kroeker
Website: www.theblanketstatement.ca
Instagram: @theblanketstatement
------------------------------------------------------
Skill Level: Beginner
Finished size: 6”, 12” or 18” Finished Block

The Log Cabin block is a timeless classic, built by adding fabric “logs” around a centre square to create a beautiful spiral of colour and contrast. It is one of those blocks that is relaxing and rhythmic to make.

The simple construction makes it beginner-friendly, while the endless layout options keep it inspiring for seasoned quilters! This two-colour version highlights the strong graphic lines that make the Log Cabin such a beloved staple in quilt design.

For the best accuracy with this block, you'll want to use a scant ¼" seam allowance. Because log Cabin blocks are built outward, even tiny variations can really add up by the time you reach the outer rounds.
If you’re new the scant ¼" seam allowance, check out this blog post on how to master it!

Tools:
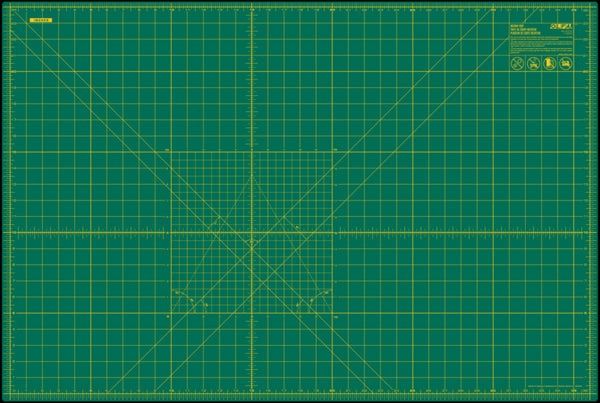
OLFA 24” x 36” Self-Healing Rotary Mat
OLFA 45mm Ergonomic Rotary Cutter
OLFA 45mm Endurance Blades
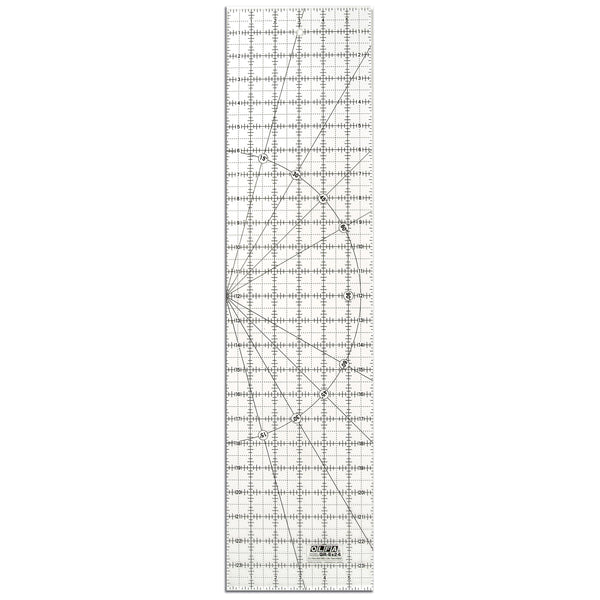
OLFA 6” x 24” Frosted Acrylic Ruler
Fabric & Supplies:
(2) Fat Quarters – I'm using Natural (A) and Black (B)
Thread
Sewing Machine
Iron and Ironing Board
Pins

Step 1: Cut Fabric
For a 6” finished Log Cabin block:
Black:
A1- (1) 1.25” x 1.25”
A2 - (1) 1.25” x 2”
A3 - (1) 1.25” x 2.75”
A4 - (1) 1.25” x 3.5”
A5 - (1) 1.25” x 4.25”
A6 - (1) 1.25” x 5”
A7 - (1) 1.25” x 5.75”
Natural:
B1 - (1) 1.25” x 1.25”
B2 - (1) 1.25” x 2”
B3 - (1) 1.25” x 2.75”
B4 - (1) 1.25” x 3.5”
B5 - (1) 1.25” x 4.25”
B6 - (1) 1.25” x 5”
B7 - (1) 1.25” x 5.75”
B8 - (1) 1.25” x 6.5”
For a 12” finished Log Cabin block:
Black:
A1 - (1) 2” x 2”
A2 - (1) 2” x 3.5”
A3 - (1) 2” x 5”
A4 - (1) 2” x 6.5”
A5 - (1) 2” x 8”
A6 - (1) 2” x 9.5”
A7 - (1) 2” x 11”
Natural:
B1 - (1) 2” x 2”
B2 - (1) 2” x 3.5”
B3 - (1) 2” x 5”
B4 - (1) 2” x 6.5”
B5 - (1) 2” x 8”
B6 - (1) 2” x 9.5”
B7 - (1) 2” x 11”
B8 - (1) 2” x 12.5”
For an 18” finished Log Cabin block:
Black:
A1 - (1) 2.5” x 2.5”
A2 - (1) 2.5” x 4.5”
A3 - (1) 2.5” x 6.5”
A4 - (1) 2.5” x 8.5”
A5 - (1) 2.5” x 10.5”
A6 - (1) 2.5” x 12.5”
A7 - (1) 2.5” x 14.5”
A8 - (1) 2.5” x 16.5”
A9 - (1) 2.5” x 18.5”
Natural:
B1 - (1) 2.5” x 2.5”
B2 - (1) 2.5” x 4.5”
B3 - (1) 2.5” x 6.5”
B4 - (1) 2.5” x 8.5”
B5 - (1) 2.5” x 10.5”
B6 - (1) 2.5” x 12.5”
B7 - (1) 2.5” x 14.5”
B8 - (1) 2.5” x 16.5”


Step 2: Sew Strips
Place A1 and B1 squares RST. Sew together along one side, using a scant ¼" seam allowance.
Tip! Remember, you will use a scant ¼" allowance throughout the entire block!


Press open or towards the outside of the block, based on your preference.

Place B2 on the top of the sewn unit RST. Stitch along the long edge and press.


Next add A2 to the side of the unit RST, sew and press.
Tip! When adding this piece, make sure to go in either a clockwise or counterclockwise order and then continue with that pattern throughout the whole block. I will be moving clockwise.

To complete the first round, add A3 to the bottom of the unit and press.

You can now see that the centre square is surrounded. It's also easy to note which side will be fabric A and which side will be fabric B.

Place B3 RST, sew and press.
Tip! When starting the next round of strips, always be sure to start on the side with the shortest piece from the previous round.

Continue to add pieces B4, A4 and A5, maintaining the clockwise or counterclockwise direction previously chosen, to complete the second round.


Now repeat these steps until all the strips have been added.


Measure your completed block and if necessary, trim to the correct size (6 ½”, 12 ½” or 18½”), ensuring all sides are straight and corners are square!


Now give yourself a pat on the back... you did it!
Once you get the rhythm of adding each log, these come together quickly, so don’t be surprised if you find yourself making another one or a whole stack. Have fun trying out new colour pairings, playing with contrast, or exploring different layout ideas to see how the block transforms each time.


