Mastering the Scant ¼" Seam Allowance

Designer: Erin Kroeker
Website: www.theblanketstatement.ca
Instagram: @theblanketstatement
------------------------------------------------------
Skill Level: Beginner

If you’ve spent time piecing quilt blocks, you’ve probably heard the term “scant ¼" seam allowance.” It may sound fussy, but this tiny adjustment is one of the best ways to make sure your blocks finish at the correct size, especially in designs with lots of seams or intricate piecing.

So, what Is a scant ¼" seam allowance?
A scant ¼" seam allowance is just a thread or two smaller than a true ¼". It’s not enough to notice by eye, just a smidge less. This tiny adjustment makes up for the thickness of your thread and the fabric that’s taken up when you press your seams open or to the side.
When you sew a true, perfect ¼" seam and then press, the folded edge of the fabric “eats up” a sliver of space. Over several seams that can really add up, and your finished block might be smaller than it should!
Think about it this way: if each seam is off by only 1/16”, it doesn't seem like much, right? But do that 16 times and suddenly, you’ve lost an entire inch!
That’s why a scant ¼" seam allowance matters, especially when piecing multiple blocks together. Even small inaccuracies can add up quickly, and getting your seams just right helps everything fit perfectly in the final quilt top.

When It Really Matters
While it’s good practice to use a scant ¼" seam allowance for most quilt piecing, there are some situations where it becomes especially important:
· Blocks with many small pieces: In patterns like log cabins, checkerboards, flying geese units, or nine-patches, even slight variations can add up quickly.
· Precision piecing: If your design relies on perfect alignment, a scant seam allowance keeps your points crisp.
· Blocks with multiple seams meeting at one point.
· Sampler quilts: When combining blocks with different numbers of seams, consistency keeps everything fitting together neatly in the final layout.

Cutting Accuracy: The Foundation of Good Piecing
Even the most precise seam allowance can’t make up for inaccurate cutting! Your piecing success truly starts with cutting.
Clean, sharp cuts ensure that every piece begins at the right size, so you’re not fighting tiny inconsistencies later.
· Use a sharp rotary blade:
A dull blade can drag or fray the fabric, leaving uneven edges that throw off your measurements. Replace your blade regularly!
· Non-slip ruler:
OLFA® Frosted Advantage acrylic rulers are designed to keep the ruler firmly on your fabric without moving when pressure is applied. This can prevent subtle shifts as you cut.
· Care for your mat:
o Occasionally clean your cutting tools with light detergent and a soft, damp cloth.
o If fibers have become imbedded into your cutting mat, use a lint roller or heavy tape to remove them. An art gum eraser found at art supply stores will help pull out fibers, too.
o Store mats flat, don’t leave in a warm or cold vehicle and keep out of direct sunlight.
o Move your cuts around - Resist cutting over and over in the same place on your mat. It inhibits the self-healing properties in the mat, causing a groove that will make your cuts less accurate and dulling your blade.
Accurate cutting + a scant seam allowance = quilt blocks that come together easily and measure exactly as they should.

How to Test for a Scant ¼" Seam
Before you dive into a project, take a few minutes to test your seam allowance, it’s time well spent!
Tools Needed:
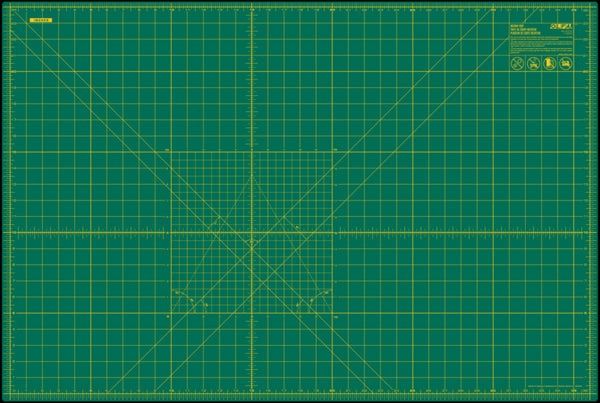
OLFA 24"x36" Self-Healing Rotary Mat
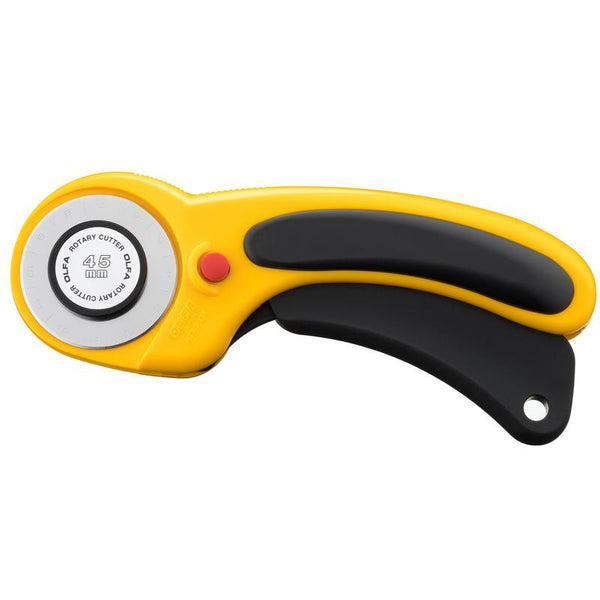
OLFA 45mm Ergonomic Rotary Cutter
OLFA 45mm Endurance(tm) Blades
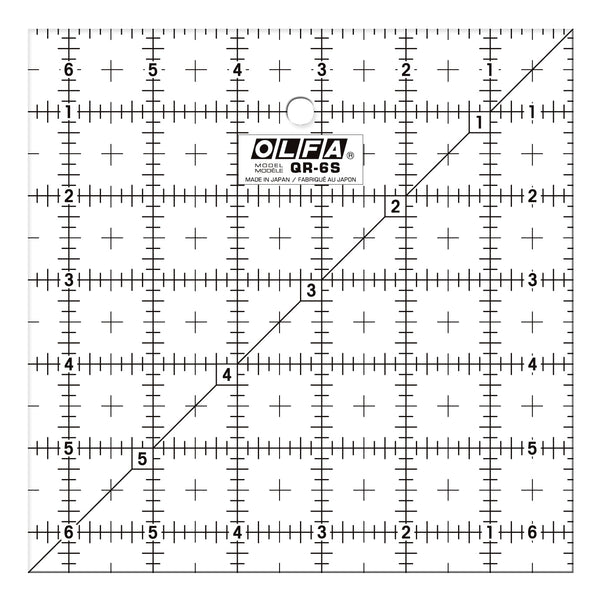
OLFA 6.5” x 6.5" Frosted Acrylic Ruler
Fabric & Supplies:
Scrap Fabric
Thread
Sewing Machine
Iron and Ironing Board

1. Cut (3) 2½" x 6" fabric strips from your scraps.


2. Sew them together along the long edges using what you think is a scant ¼" seam allowance.

3. Press the seams using your preferred method (open or to the side), so the strip set lays flat.

4. Place your ruler across the strip set. The center strip should measure exactly 2" wide, and the outer strips should each measure 2¼" wide.


TIP! If your center strip measures less than 2", your seam allowance is too wide.
If it measures more than 2", your seam allowance is too narrow.


5. You can adjust your seam in a few simple ways:
· Shift your needle position: If your machine allows it, move your needle one notch to the right for a slightly narrower seam. Or to the left for a slightly wider seam.

· Use a seam guide or tape: Apply a piece of painter’s tape, washi tape, or a magnetic seam guide to your machine bed to help you maintain a consistent distance from the needle.

· Adjust your ¼" foot: Some ¼" presser feet are designed for a true ¼" seam, not a scant one. Try sewing just barely inside the edge of the foot instead of aligning the fabric exactly with it.
o Note: Over time, ¼" feet can shift, bend, or loosen slightly with use, which can affect accuracy. It’s a good habit to measure your seam allowance every so often to make sure it’s still true. Some feet also have a small screw or guide that can be tightened or adjusted for better precision.


4. Retest until it’s perfect
Repeat your strip test and re-measure until your center strip measures exactly 2". Once you’ve found your perfect scant ¼", take note (or a picture!) of your setup so you can easily repeat it next time.


Extra Tips for Success
· Be consistent: Whether you use a guide, tape, or marked line on your machine, consistency is more important than perfection.
· Thread weight makes a difference: Heavier thread takes up more space in the seam. If you change thread brands or types, recheck your accuracy.
· Pressing matters: Press gently without stretching the fabric; distortion can throw off even the most accurate seams.
· Re-test occasionally: Check your seam allowance again when you start a new project, change fabrics, replace the needle or clean your machine.

A scant ¼" seam allowance might seem like a tiny detail, but it’s the key to blocks that fit together beautifully and quilts that lie flat. Combine that precision with accurate cutting, a sharp OLFA blade, and quality tools, and you’ll set yourself up for success from the very first cut to the final seam.
Taking the time to test, adjust, and cut accurately will save you frustration later, and help your finished quilt look as polished and professional as it deserves to be.


