Hand Embroidered Easter Bunny From Upcycled Goodwill Find

Designer: Mary Stanley
Instagram: @whatmommamakesig
-------------------------------------------------
Tools Needed:
OLFA 5-Inch SCS-4 Precision Appliqué Scissors
Supplies needed:
-Woven Fabric for creating your Bunny stuffie!
-Embroidery Hoop
-Embroidery Thread + needle
-Blushing Bunny pattern from Violette Field Threads
Easter is coming early this year, and a handmade bunny stuffie is one of my most favorite gifts to add to Easter baskets! Now combine that with the fact that I found the perfect item to upcycle into an Easter themed bunny, and that makes me one happy Momma! So lets get to work!
I’ve shared sewing up a fox stuffie as a blog post that you can find that here. So while I’m creating this bunny today I want to specifically share how easy it is to use hand embroidery for details on your stuffies (and other items as well!). The very first thing to do is to PUT DOWN your rotary cutter or shears! Before we ever begin with cutting out our fabric, we need to add our embroidery FIRST! I know so many people who have cut everything out and then went to embroider something and realized their fabric is too small to fit in their embroidery hoop. So, before we ever begin cutting our fabric, we first want to trace the shape of our bunny body that we will EVENTUALLY cut out.
This not only leaves the extra fabric around it so that it ensures we have a nice piece for using in our embroidery hoop, but it also helps us to visualize the placement of the fabric on the bunny body.
Now that we have our placement for our bunny body, we can trace on the shape for our eyelashes and nose (this template is included with the pattern).
Now we get to work on our sweet little embroidered face! And if you notice here, had I cut out this bunny piece before I embroidered it, the fabric would have been smaller than my hoop, which would have made it much more difficult to embroider.
Before I begin with the stitching, I like to separate my embroidery floss down to 3 strands from the standard 6 strands. Using 3 thread strands still gives it a bold line, without having the bulk/difficulty in pulling it through your fabric if you had left it as all 6 strands.
Now lets get started on our stitching! The first stitch we are going to use to create our little eyes and eyelashes is called a backstitch. So we will begin by knotting the end of our thread and then creating a single stitch at the edge of our eyes.
Now, push your needle up, about one stitch length in front of the first stitch. Pull your needle all the way through and then insert it again back at the end of your first stitch.
Repeat this “backstitch” all the way across your eyelid and eyelashes. Then flip it over and knot your thread as close to your fabric as possible, as you do not want to have lots of long threads in the back that can get tangled. Using your 5-Inch SCS-4 Precision Appliqué Scissors
helps you to trim this thread as close to the knot as possible.
Now we can repeat that process with the second eye.
Next up, we will learn how to do a satin stitch for the nose. A satin stitch is a great stitch to use when you are wanting to fill in shapes with solid, smooth lines. To start off, we will knot our embroidery thread and create a single stitch along one side of the nose.
Now create a second stitch keeping it as close to the first stitch as possible.
Continue creating as many stitches as necessary to complete the nose, being sure to keep your threads flat and not twisted as you sew.
Once you have the nose all filled in, you can knot it in back and clip the thread close to the fabric just like we did after the eyes.
Now we will go ahead and use our backstitch method to outline the nose and create the little mouth as well.
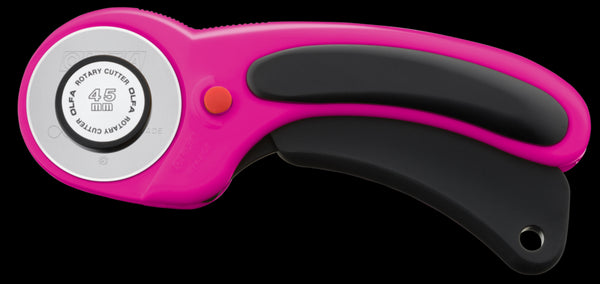
NOW that we have our sweet, embroidered face all finished up, we can finally use our rotary cutter to cut out our pattern pieces!
Stuffed animals can have lots of small pieces for cutting out, but the OLFA rotary cutters make this a breeze!
Now we can continue with the instructions shared in the pattern to create this darling stuffed bunny!
And voila! A custom made, heirloom style gift! All from upcycled materials of course J I hope you love this fun pattern as much as I do for Easter and also baby shower gifting year-round and would LOVE for you to tag me (@whatmommamakesig) in your creations so I can see them as well!


