Curvetastic Quiltalong Month 8

Instagram: @myfabricheart
Size or dimensions: 46” x 60”
Skill level: Intermediate
------------------------------------
I can’t believe this is our last block! Don’t worry if you have just found us now, you can always jump in. Check out Month 1, here! I (Amanda) would love to see your quilt come to life! If you aren’t already following me on Instagram please do @myfabricheart and give me a tag in your progress posts!
At first I thought we would tackle this block with 1/4 circles. However, at the end of this QAL we have practiced 1/4 circles so much and I think we need to show our growth. We have dabbled with 1/2 circles but this month we go all in. Half circles give us a nice consistent trim around each coloured curve. Remember you can always use glue or as many pins as needed to make sure you are successful.
The design of the pieced block means there are 45 curves to sew. This means a lot of practice sewing a half circle. If you feel overwhelmed by this check out the appliquéd version. You could even merge the two together and make it all your own! There are no rules here. I love a good deviation from a pattern
Tools Needed this Month:
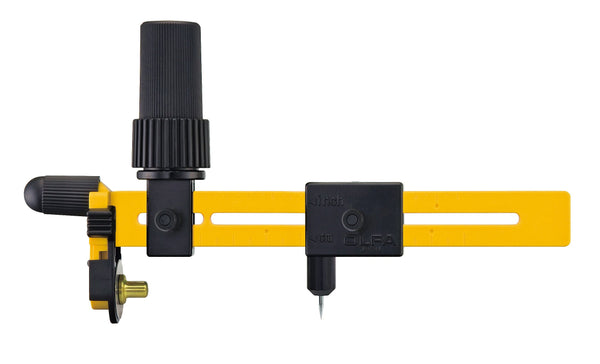
- OLFA CMP-3 Rotary Circle Cutter
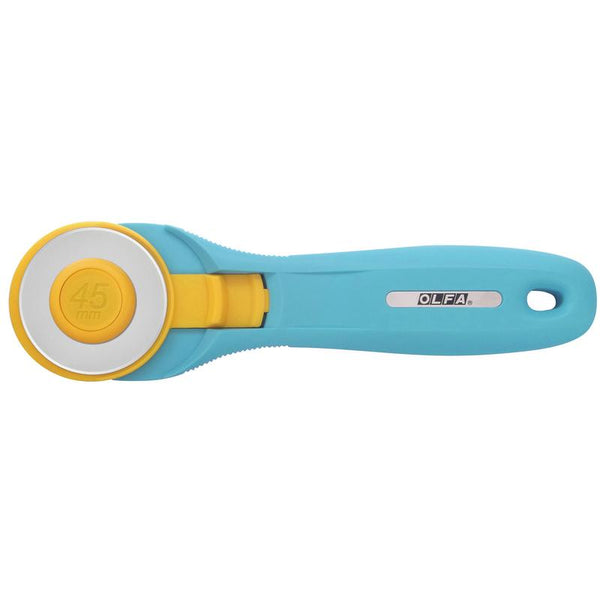
- OLFA 45mm RTY-2/C Quick-Change Rotary Cutter, Aqua
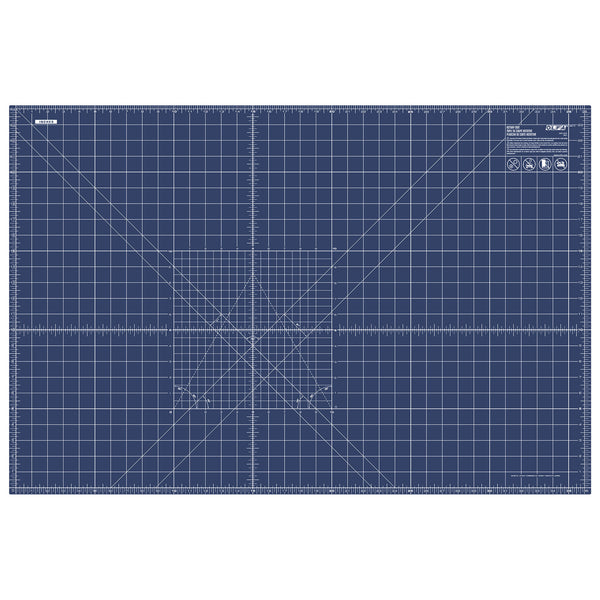
- OLFA RM-MG/NBL 24"X36 Double-Sided, Self-Healing Rotary Mat, Navy
- OLFA 5-Inch SCS-4 Precision Appliqué Scissors
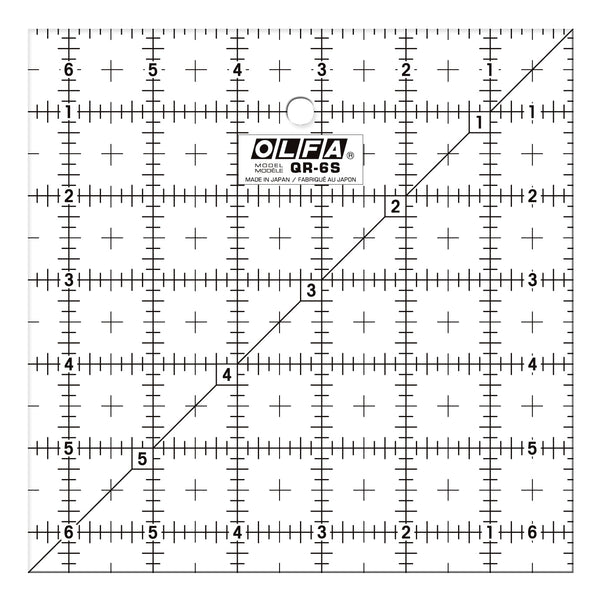
- OLFA QR-6S 6 1/2” Square Frosted Acrylic Ruler
- OLFA QR-6x12 6" X 12" Frosted Acrylic Ruler
- Pins or clips
- Washable Glue Stick
- Masking Tape or Washi Tape
Ironing Tip:
Before we move on to making the block I wanted to talk to you about the difference ironing makes in a block like this. You can see in the photo above the back of my block was a mess and it looked like a mess from the front too. Make sure at every step you are taking time to iron everything nice and flat. When the block is done spend extra time ironing the back flat first. Then flip it over and iron from the front.
I often spray it with water first and get wrinkles out and then use starch or starch alternative for a final pass. Don’t worry if there are still wrinkles they will quilt out or be lost in the beautiful crinkle of the quilt. In this next photo I have the first 2 rows well on their way to being nice and flat.
Planning your Block
Chances are you have been making this quilt all your own and you probably won’t be using the same colours as I am. Here is a graphic you can colour in yourself to help plan out your colours.
As always, the appliqué version of this block is included below the pieced version.
Pieced Block
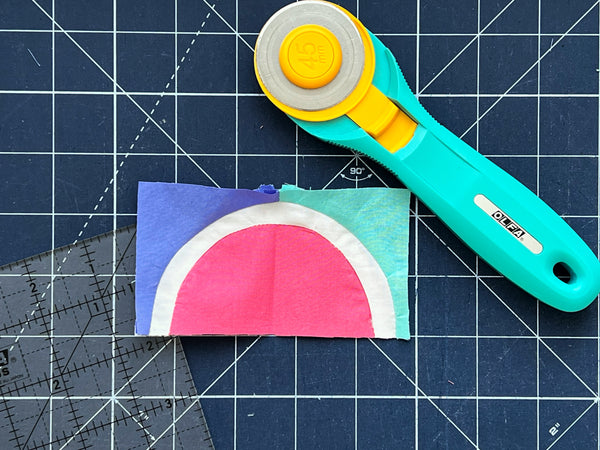
To put this block together we will be making a bunch of individual rectangular units which you will then stitch together in rows. Each unit is made up of this 4 pieces.
Then they are put together like this.
If you are using your own colours you will want to take the time to figure out the number of pieces of each colour you need.
Cutting Directions:
This is the perfect time to go through your scraps and see what you can use up.
Using the chart below cut your fabric.
|
|
A (2.5”x4.5”) |
B( 2.75”x5”) |
C (3”x3”) |
|
Dark Pink |
3 |
|
4 |
|
Lt Pink |
2 |
|
5 |
|
Orange |
4 |
|
6 |
|
Yellow |
3 |
|
4 |
|
Dark Blue |
4 |
|
7 |
|
Lt Blue |
2 |
|
4 |
|
Purple |
3 |
|
6 |
|
White |
|
21 |
|
Also cut the following for borders:
- (2) 12.5x1.5 Side borders
- 75” 1.5 Bottom
- 25” x 14.75 Top
Before we start cutting curves we need to stitch our 3”x3” squares together. Even though on the edges of the block you see half units, make a whole unit using the same colour for both C parts. This allows for some lea way with piecing.
|
Left Colour |
Right Colour |
|
Dark Red |
Orange |
|
Orange |
Dark Blue |
|
Purple |
Dark Blue |
|
Dark Blue |
Light Red |
|
Light Red |
Orange |
|
Light Red |
Yellow |
|
Yellow |
Purple |
|
Light Blue |
Orange |
|
Orange |
Light Blue |
|
Dark Blue |
Purple |
|
Purple |
Dark Red |
|
Light Red |
Light Red |
|
Orange |
Orange |
|
Yellow |
Yellow |
|
Dark Blue |
Dark Blue |
|
Light Blue |
Light Blue |
|
Purple |
Purple |
Cutting Curves:
The pivot point placement for all these are along the middle of the long edge of the rectangle 1/4” from the edge.
|
|
Circle Cutter Setting |
Curve to keep |
|
A |
2” |
Inside Curve |
|
B |
1.5” |
Outside Curve |
|
C units |
1.75 |
Outside Curve |
Assembly:
- Match each A inside curve with an outside curve B.
- Mark the halfway and quarter way points on each curve to make piecing together easier
- Pin or glue curves together
- Sew together with a 1/4” seam allowance
- Clip your curves using your OLFA Precision Appliqué Scissors
- Press seam allowance to the outside curve
- Recut this unit using the OLFA Circle Cutter with the setting of 25”
Tip: Use masking tape to tape the top two corners so the fabric doesn’t move while cutting. Pull the fabric just taunt but don’t stretch it.
- Using the diagram of the block match up the newly created units with the C outside curve units.
- Mark the halfway and quarter way points on each curve to make piecing together easier
- Pin or glue curves together
- Sew together with a 1/4” seam allowance
- Press seam allowance to the outside curve
- Trim until to 2.5”x4.5” (trim the top and bottom first and then the sides)
- Sew together in rows
- Sew the rows together
- Square up the block
- Attach borders first to opposite sides and then top and bottom
Applique Block
Cutting Directions:
For the circles below I don’t cut out squares first. I tend to cut them from a larger piece of fabric so I can fit more circles in and waste less fabric.
- 5”x15” White
- (21) 2.5”x4.5” White
-
(21) OLFA Circle Cutter set to 1.75” Circles in desired colours
- Dark Red - 2
- Light Red- 3
- Orange - 4
- Yellow - 3
- Dark Blue - 4
- Light Blue - 2
- Purple - 3
Assembly:
- Take each white rectangle and line up the short edges and press to make the middle of the long edge
- Take each circle and fold in half and press and repeat so you have divided the circle into quarter and marked the centre
- Position one circle on the white background lining up the vertical centre and place the horizontal centre line of the circle along the bottom edge of the rectangle
- Pin or glue in place
- Using your favourite appliqué stitch secure the edge of the circle along where it meets the background
- Repeat with all circles
- Using your OLFA Rotary Circle Cutter set to 2.125” with the pivot point placed in the middle of the circle cut the white rectangle on each of these units
- Fold the 5”x15” rectangle in half lengthwise to mark the middle
- Use this middle mark to line up the middle top piece with the middle horizontal line of the circle on the bottom edge of the rectangle.
- Pin in place and applique the white curved edge down on the rectangle
- Add the circles on either side of this middle unit with the white curves just touching making sure they are square to the bottom of the rectangle

- Keep adding in all the circle units from top to bottom lining up the middle of each circle where the two circles above meet at the sides and the bottom of the white curve at the bottom of the middle circle from above. The key points are circled in red in the photo below.
- Square up the block
- Attach borders first to opposite sides and then top and bottom
Just like that we are done all the blocks for the Quilt! Yay us! Do not fear we still have 2 more months together finishing up the quilt!
See you next month,
~ Amanda


