Curvetastic Quilt-Along Month 6

Instagram: @myfabricheart
Size or dimensions: 46” x 60”
Skill level: Intermediate
-------------------------------------

I love that we have been working through this quilt together for a half a year now! If you are just finding us now please jump right in! Check out Month 1, here! I (Amanda) would love to see your quilt come to life! If you aren’t already following me on Instagram please do @MyFabricHeart and give me a tag in your progress posts!

This month we get a bit of a break from a ton of curve piecing with all the X’s. However, we do piece our first half circle. Do not fear! You can do this for sure! This month’s block reminds me of the hours I spent playing tic tac toe with a friend during University Biology classes. He was so good at it and I rarely won. I like to blame it on the 8am class time and being half asleep but I may just be a horrible tic tac toe player.

You may notice that I’ve chosen to have both versions appliqué the middle circle of the O’s. Sometimes in life, the easy way is the best way and tackling a full circle when it is so little is a recipe for disaster and frustration. Remember, there are no rules in quilting and there are no right or wrong ways to do things.
Tools needed this month:
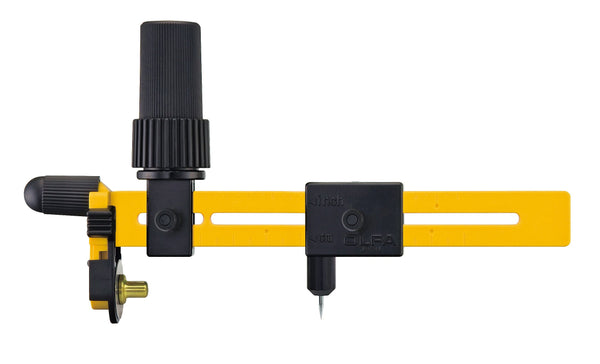
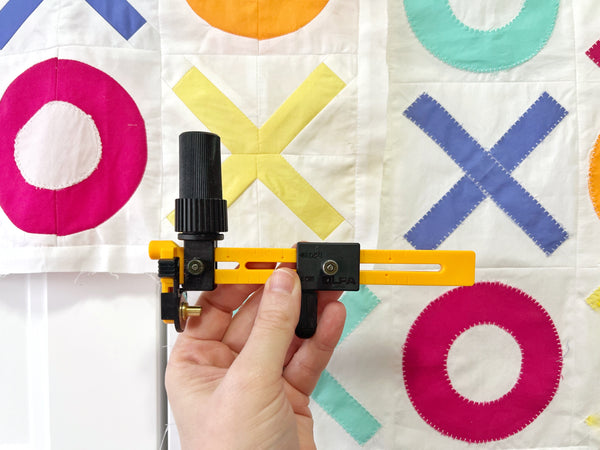
- OLFA CMP-3 Rotary Circle Cutter
- OLFA 45mm RTY-2/C Quick-Change Rotary Cutter, Aqua
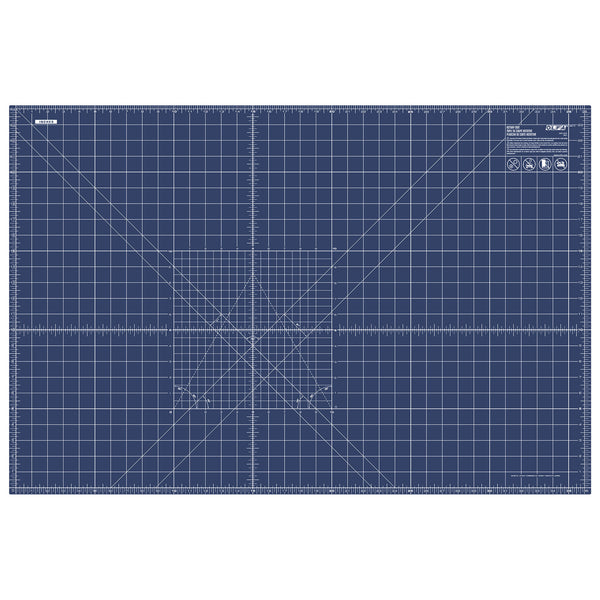
- OLFA RM-MG/NBL 24"X36 Double-Sided, Self-Healing Rotary Mat, Navy
- OLFA 5-Inch SCS-4 Precision Appliqué Scissors
- OLFA QR-6S 6 1/2” Square Frosted Acrylic Ruler
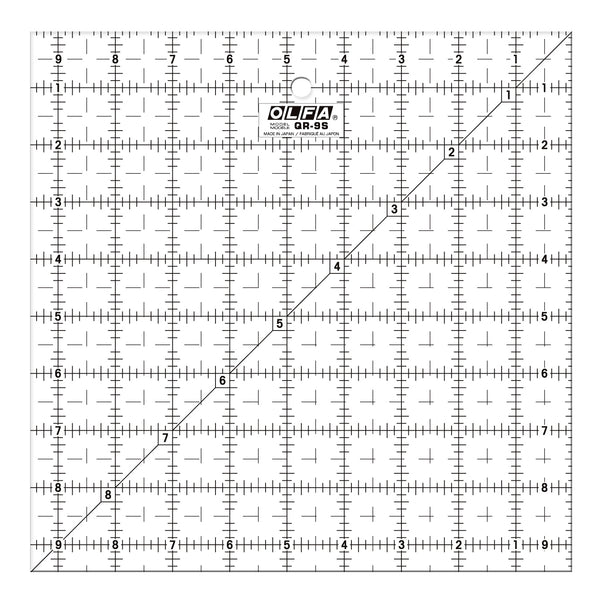
- OLFA QR-9S 9 1/2" Square Frosted Acrylic Ruler
- Pins or clips
- Washable Glue Stick
As always the appliqué version of this block is included below the pieced version. I have to say I LOVE how the appliqué version looks this month.
Pieced Curves
I’ve made a video on the pieced ‘O’ Block to help make sure my instructions don’t confuse you.
Cut:
- (2) - 1” x 14” - Background
- (2) - 1” x 15” - Background
‘O’ Block:
- (8) 3”x5.5” - 2 Rectangles in 4 different colours
- (8) 3”x5.5” - Background
- (4) 2.5”x2.5” - Background

‘X’ Block
- (20) 2.75” x 2.75” - Four per ‘X’ in 5 different colours
- (40 ) 2.25” x 2.25” - Background
- (20) 1.5” x 1.5” - Background

Using your OLFA Circle Cutter cut the following:
- From ‘O’ Block 3”x5.5” colour rectangles:
(8) Inner Half Curves
- Pivot point 1/4” from edge at the middle of the long side
- Circle Cutter Setting 2.25”

2. From ‘O’ Block 3”x5.5” Background Rectangles:
(8) Outside Half Curves
- Pivot point 1/4” from edge at the middle of the long side
- Circle Cutter Setting 1.75”

3. From ‘O’ Block 2.5”x2.5”:
(4) Inside Full Curve
- Pivot Point in middle of Square
- Circle Cutter Setting 1”

Assembly:
- ‘O’ Blocks (make 4)
- Piece an Outer Background Half Curve with an Inside Half Curve
- Using OLFA Appliqué Scissors make small vertical snips into the seam allowance of the curve making sure not to cut the stitches

- Press seam allowance to outside
- Repeat with all Half Curves
- Piece 2 Half Curves of each colour together to make a full circle
- Center a Full Curve in the centre of each ‘O’ pieced above and appliqué in place using your favourite appliqué stitch

- Trim each ‘O’ block to 5”x5”

2. X’ Blocks (make 5)
- Draw a diagonal line on a 1.5” x 1.5” Background Square
- Place on one corner of a coloured 2.75” x 2.75” Square
- Stitch along the diagonal line
- Trim seam allowance to 1/4” and press to the outside

- Draw a diagonal line on (2) 2.25”x2.25” Background Squares
- Place one on the right corner of the coloured square lining up 2 edges
- Stitch along the diagonal line
- Trim seam allowance to 1/4” and press to the outside

- Repeat the last 4 steps with the second Background Square and place it on the Left Corner
- Repeat with the other 7 Coloured 2.75” Squares
- Group these units together by colour

- Arrange so the coloured corners are pointing towards each other and stitch together in groups of 4. Pay close attention to where the background fabrics join.
- Lay out ‘O’ and ‘X’ Blocks in the desired 3x3 layout and sew together

- Add the 1” x 14” strips to the opposite sides of block
- Press seams to the outside
- Add the 1” x 15” strips to the two other sides of block
- Press seams to the outside
- Trim block to 14.5”x14.5”

Applique Version
Cut:
- (2) - 1”x 14” Background
- (2) - 1” x 15” Background
‘O’ Block
- (4) 5”x5” - Background
- 5”x5” - 1 square in 4 different colours (4 Squares total)

‘X’ Block
- (5) 5”x5” - Background
- (2) 5”x0.75” - 2 each in 4 different colours (8 rectangles total)

Using your OLFA Circle Rotary Cutter cut the following:
- From ‘O’ Block 5”x5” colour squares:
- Find the middle point of the block which is the pivot point
- Circle Cutter set to 2”
- Cut out a full circle

- Keep the inside curve
- Adjust Circle Cutter to 1”
- Use the centre pivot point again
- Cut out another full circle.

- Keep the outside curve which is your ‘O’
Assembly:
- ‘O’ Block
- Centre ‘O’ on the 5”x5” background square

- Using your favourite appliqué stitch secure the ‘O’ down
- Start with the outside edge and then the inside edge
2. ‘X’ Block
- On each background square fold and lightly press on each diagonal
- Find the middle of the long rectangles by folding in half with short edges touching and lightly pressing

- Using these guidelines line up one of the rectangles on a background block on the diagonal and appliqué down

- Then place the second rectangle of the same colour along the other diagonal and appliqué down

- Lay out ‘O’ and ‘X’ Blocks in the desired 3x3 layout and sew together

- Add the 1” x 14” strips to the opposite sides of block. Press seams to the outside.
- Add the 1” x 15” strips to the two other sides of block. Press seams to the outside.
- Trim block to 14.5”x14.5”

Make sure to come back next month! You are going to LOVE the next block.
~ Amanda