Curvetastic 10 Month OLFA Circle Cutter Quilt Along - Month 4

Instagram: @myfabricheart
Size or dimensions: 46” x 60”
Skill level: Intermediate
---------------------------------
Are you ready for your next block in the Curvetastic Quilt Along? If you are just joining us, you can catch up no problem! Here’s a link to the very first part so you can join in. I (Amanda) would love to see your quilt come to life! If you aren’t already following me on Instagram please do @MyFabricHeart and give me a tag in your progress posts!

This month we are making a block full of rainbows! I’m really excited to see how you put this block together because there are so many opportunities to change up. If your accuracy on piecing is very important to you and not having your units match up perfectly would stress you out, choose a layout where no edges match up.
You may notice that I’ve switched up the original design for this block. I originally had an extra white arc as the smallest arc. You absolutely can add that back in. If you are piecing the block I highly suggest appliquéing this last arc on as tiny curves are really fiddly to piece. Next month we are going to tackle piecing tighter curves. I’ve also switched up the colour placement.


Terminology Refresher
In the instructions below I refer to the inner and outer curve Circle Cutter measurements.

When Inner Curve is mentioned cut out an Inner Curve at this setting and keep the Inner Curve. When Outer Curve is mentioned cut out an Inner Curve at this setting and keep the Outer Curve piece.
Materials and Tools needed this month:
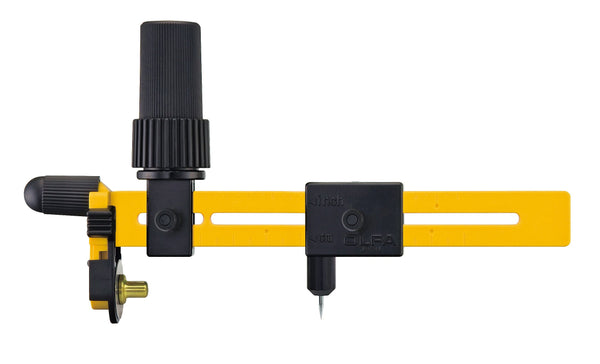
- OLFA CMP-3 Rotary Circle Cutter
- OLFA 45mm RTY-2/C Quick-Change Rotary Cutter, Aqua
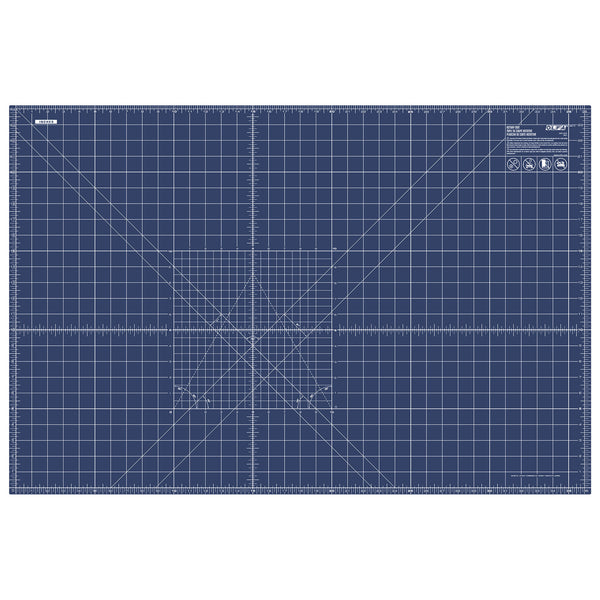
- OLFA RM-MG/NBL 24"X36 Double-Sided, Self-Healing Rotary Mat, Navy
- OLFA 5-Inch SCS-4 Precision Appliqué Scissors
- OLFA QR-6S 6 1/2” Square Frosted Acrylic Ruler
- OLFA QR-6x12 6" X 12" Frosted Acrylic Ruler
- Pins, Clips or Washable Glue Stick
- 1/4” Pivot Point Template

*** All Rotary Circle Cutter Cuts start 1/4” from the corner. Use your Pivot Point Template to mark this point*****
If you are choosing to Appliqué this block please skip to the Appliqué section.
Pieced Curves
This block is built from the smallest arc to the largest. Do not be tempted to cut all the arcs and then piece them together. While piecing you want to leave the Outer Curve squared off so any inaccuracies in piecing can be made up for while cutting the next Inner Curve.
The cutting information below is what I used for the block pictured. If you are changing the block up alter this cutting information accordingly.
Cut:
- (8) 2.5”x2.5” Purple (Layer 1)
- (8) 2.5” x 2.5” Dark Yellow (Layer 1)
- (8) 3”x3” Aqua (Layer 2)
- (8) 3”x3” Orange (Layer 2)
- (8) 3.5”x3.5” Dark Aqua (Layer 3)
- (8) 3.5”x3.5” Light Pink (Layer 3)
- (8) 4”x4” Light Yellow (Layer 4)
- (8) 4”x4” Dark Pink (Layer 4)
- (16) 4.5”x4.5” White (Layer 5)
- (2) 1.25”xWOF White; sub cut into (2)1.25”x14.5” & 1.25”x 13.25”
Piecing:
- Set Rotary Circle Cutter to 2” and cut out an Inner Circle from each Layer 1 fabric.
- Set Rotary Circle Cutter to 1.5” and cut out Outer Circle from each Layer 2 fabric.
- Pin or Glue right sides of curves together and press seams to the outside.

- Set Rotary Circle Cutter to 2.5” and cut out an Inner Circle from units pieced above.
- Set Rotary Circle Cutter to 2” and cut out Outer Circle from each Layer 3 fabric.
- Pin or Glue right sides of curves together and press seams to the outside.

- Set Rotary Circle Cutter to 3” and cut out an Inner Circle from units pieced above.
- Set Rotary Circle Cutter to 5” and cut out Outer Circle from each Layer 4 fabric.
- Pin or Glue right sides of curves together and press seams to the outside.

- Set Rotary Circle Cutter to 3.5” and cut out an Inner Circle from units pieced above.
- Set Rotary Circle Cutter to 3” and cut out Outer Circle from each Layer 5 fabric.
- Pin or Glue right sides of curves together and press seams to the outside.

- Trim all Units to 3.5” x 3.5” by first trimming the 2 edges with the pieced parts to square up but take as little off as possible. Then trim off the rest of the white.


- Arrange blocks as desired and piece together.

- Add 1.25”x13.25” to opposite sides and press seams towards outside
- Add 1.25”x14.5” to other opposite sides and press seams towards outside.

Appliquéd Curves
This block is worked from the outside arc to the inside. When placing each arc onto the Background square line up the bottom of the arcs on the sides of the block. Attempt to not distort the curve of each arc while placing. Each arc should be 1/2” wide when finished.

Cut:
- (8) 3.75”x3.75” Light Yellow (Arc 1)
- (8) 3.75”x3.75” Dark Pink (Arc 1)
- (8) 3”x3” Dark Aqua (Arc 2)
- (8) 3”x3” Light Pink (Arc 2)
- (8) 2.5”x2.5” Light Aqua (Arc 3)
- (8) 2.5”x2.5” Orange (Arc 3)
- (8) 2”x2” Purple (Arc 4)
- (8) 2”x2” Dark Yellow (Arc 4)
- (16) 3.75”x3.75” White (Background)
- (2) 1.25”xWOF White; sub cut into (2)1.25”x14.5” & 1.25”x 13.25”
Using the chart below cut out each of the arcs. The Cut outside measurement before inside measurement.
|
|
Outer Circle Cutter Setting |
Inner Circle Cutter Setting |
|
Arc 1 |
3 |
2.25 |
|
Arc 2 |
2.5 |
1.75 |
|
Arc 3 |
2 |
1.25 |
|
Arc 4 |
1.5 |
0.75 |
Applique:
- On each background piece line up an Arc 1 and either pin or glue in place.

- Using your favourite appliqué stitch secure the outer edge of the Arc to the background.
- Add each subsequent arc to the background pieces one at a time until all are attached
- Piece units together as desired.
- Add 1.25”x13.25” to opposite sides and press seams towards outside
- Add 1.25”x14.5” to other opposite sides and press seams towards outside.

Check out Month 5, HERE!
See you next month!
~ Amanda