
Curved Emotions Quilt

Designer: Amanda Brown
-----------------
Skill level: Intermediate
Check out this blog about using the OLFA Circle Cutter: BLOG

For the last 4 years I’ve attempted to take part in the 100 day art project (https://the100dayproject.org). This is where you pick a creative project and do it for 100 days. I usually last a few weeks and then life happens. This year was different, I not only managed to make it 100 days but I also got over my fear of working with curves.

In the midst of the pandemic, deep into lockdowns, with kids stuck learning from home and the long cold grey days of winter my emotional health was taking a beating. I figured if I tracked my emotions I would be able to find a pattern in them and maybe figure a way to find peace with it all. For 100 days I tracked my predominant emotions I was feeling 3 times a day and on a scale of 1 to 4 recorded how intensely I was feeling this emotion.
Every day I took the 3 recorded emotions from the day before and using my predetermined color key I made a curved 1/4 circle block. The inner ring was morning, middle was afternoon and outer was evening. At first I wasn’t sure how I was going to piece them all together and came up with a few ideas but in the end settled on rainbows. Rainbows always bring me joy and I figured that the rainbows would bring me joy even my hardest days.

This project really helped me in so many ways. Every day, 3 times a day I took a moment to really think about my day and it gave me time to make small changes to try to improve it. Also, having something small to sew daily made sure that even on days where I was overwhelmed with life that I got a least a few moments with my sewing machine. AND my curved piecing ability has improved so much!

Before starting this project you may want to check out our post on using the OLFA Rotary Circle Cutter to piece curves. This will go a little more in detail on how to sew your curves together.

Curved Emotions (45.5” x 74”)
Tools:
OLFA RM-MG/NBL 24"X36 Double-Sided, Self-Healing Rotary Mat, Navy
OLFA RM-12S 12" Rotating, Self-Healing Cutting Mat
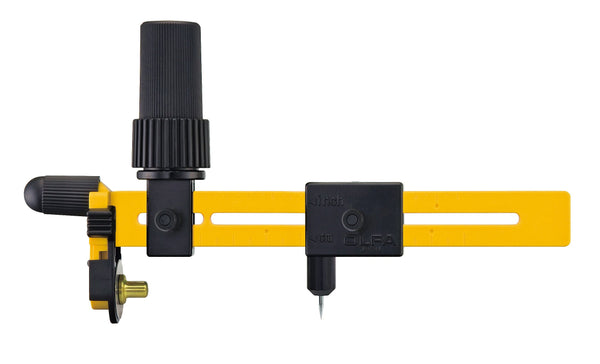
OLFA CMP-3 Rotary Circle Cutter
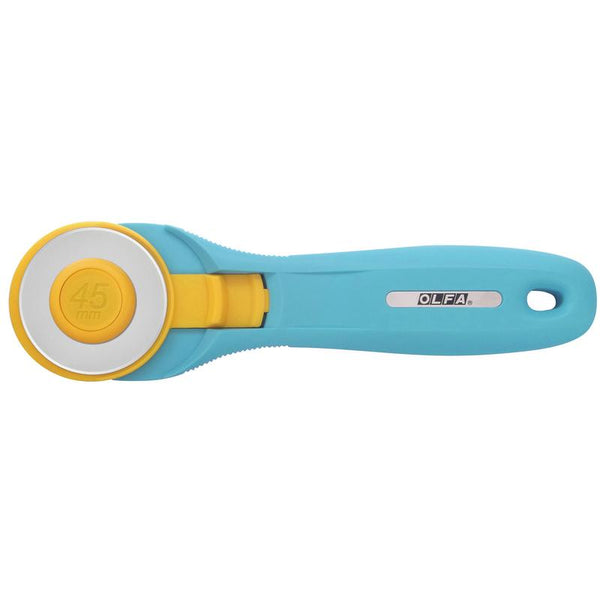
OLFA 45mm RTY-2/C Quick-Change Rotary Cutter, Aqua
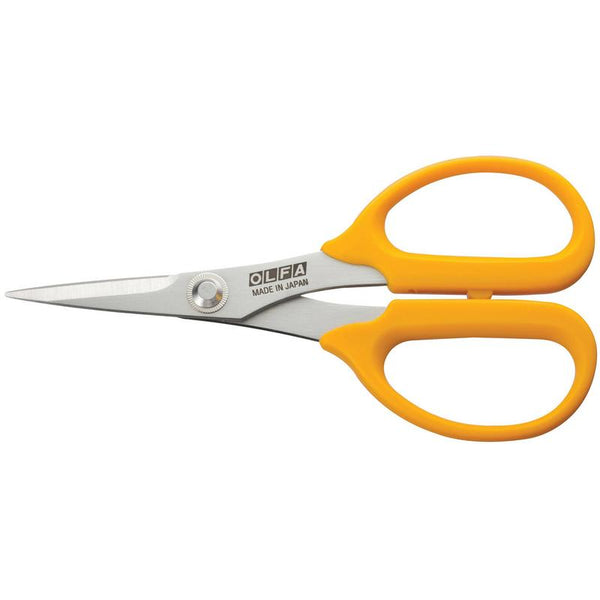
OLFA 5-Inch SCS-4 Precision Appliqué Scissors
OLFA QR-6S 6 1/2" Square Frosted Acrylic Ruler
OLFA QR-6x24 6" X 24" Frosted Acrylic Ruler
Erasable Fabric marker or Hera Marker
Washable Glue stick
Thread
Iron

Materials:
Background - 4 yards
Arcs - 3 1/4 yards (made up of a variety of fabrics)
Binding - 1/2 yard (based on 2.5” binding strips)
Backing - 3 to 4.5 yards depending on how you want to layout the back
Batting - at least 50” x 80”
Cutting:
Inner Arc: We will cut these from our Outer Arcs to maximize fabric usage
Middle Arc: (100) 4” x 4” squares
Outer Arc: (100) 5” x 5” squares
Background Fabric: (100) 5.5” x 5.5” squares
(10) 5”x5” (will be added to the ends of rows with 4 rainbows)
(14) 2.5” WOF strips
Machine Setup:
- Use a shortened stitch length
- Attach your favorite 1/4” foot
- If you have a needle down foot up stop option activate it
- Don’t be afraid to stop and adjust regularly sewing around the curve
Directions:
*** Use a 1/4” seam allowance throughout ***
Prep Outer Arc pieces and inner circle pieces:
- Take an Outer Arc 5” x 5” square and mark 1/4” at one corner along both sides. The point where they cross over is where you will place the pivot point of the circle cutter.

- Set your circle cutter to 2.75”, place your circle cutter pivot point on the mark you made and cut out arc. Set aside convex piece you cut out to recut for inner arcs.

- Take the concave piece and fold in half with wrong sides facing, along the curved edge and give a press. This mark you will use for piecing the curve later. Set aside outer concave arc for Step 14.

Repeat for all 100 Outer Arcs
Prep Inner Arc Pieces:
- Take off cut you saved from step 2, set your circle attachment to 2.25”, place the pivot point in the pre-marked place and cut out arc.

- Take the convex arc and fold in half along the curve, with right sides facing and give a press. These will be used in step 9.

Repeat for all 100 Inner Arcs
Prep Middle Arc Pieces:
- Take your 4” x 4” squares and mark a 1/4” at one corner along both sides like in step 1.
- Set you circle cutter 1.75”, place your circle cutter pivot point on the mark you made and cut out arc. Discard (or save for another project) the smaller convex piece.

Repeat for all 100 Middle Arcs
Piece Inner and Middle Arc Pieces: (Repeat this with all your inner pieces)
- Take Inner Arc piece and apply a thin line of glue to the curved edge with in the seam allowance.
- Choose a Middle Arc Piece and with right sides facing and with raw edges together line up the middle pressed markings and the ends of both pieces. Then ease the rest of the curves together and pinch along edge to make sure they stick together. Be careful during this process to not stretch out your curves.


- With the convex piece down sew around the curved edge.

- Press the seam towards the smaller piece
- Set your Circle cutter to 3.25”, place your circle cutter pivot point on the mark on the Inner Arc piece and cut out the new outside convex arc.

- Repeat Step 5 to mark the middle with your Inner/Middle units.
Piece Inner/Middle Arc with Outer Arc: (Repeat this part with all your Inner/Middle Arc Units)
- Take an Inner/Middle Arc and an Outer Arc piece and using the same technique in Steps 9-12 sew them together.
- Set your Circle cutter to 4.25”, place your circle cutter pivot point on the mark on the Inner Arc piece and cut out the new outside convex arc.

- Repeat Step 5 to mark the middle of the Inner/Middle/Outer units
Set Inner/Middle/Outer Arc into Background: (Repeat with all the Arc units)
- Take a 5.5” x 5.5” background unit, and mark 1/4” at one corner along both sides to make your pivot point.
- Set your circle cutter to 3.75” and cut out and discard the concave pieces.

- Take the convex piece and mark the middle like in step 3.
- Repeat steps 9 - 12 to sew these pieces together.

Trim Blocks
- We want our blocks to be trimmed to 5”. Start with trimming off excesses background fabric. Line up the 4.75” mark on the outer most line of the largest arc. Keep the 5” lines as close to the edge of the block as possible. Then trim the two sides removing excess background.


- Now rotate the block and square up the other two sides.
Assemble Rainbows
- Pair up Arc blocks then with right sides facing. Pay attention to arc intersections, you can pin them to make sure they line up. Using a 1/4” seam piece them together.

- Press seams to one side.
- Make 50 Rainbows
Assemble Quilt Top
- Organize your rainbows in alternating rows of 5 and 4. You will have 11 rows. Sew the rainbows together in each row.

- On the rows with 4 rainbows stitch a 5”x5” background square on each end.

- Take your 2.5” Background strips and join them together on the bias. To do this cross over two ends.
- Mark a diagonal line from where they cross over each other (see photo below) and sew on the line.

- Trim ends off 1/4” from strip and press seams on one side.

- Take the long strip and cut (12) 45.5” sections out of it.
- Add a 2.5” strip in between the rows and stitch together. Also add a 2.5” to the top and bottom your assembled top.

Quilt and Bind
33. Using your favorite technique layer your quilt and baste it and quilt.
- Trim up quilt and add your binding.