Using OLFA’s Rotary Circle Cutter for Piecing Quilt Blocks

Designer: Amanda Brown
-----
Skill level: Confident beginner
Hi! I’m Amanda of Fabric Heart and I’ve declared 2021 the year where I become an expert at piecing curves! Of course I would never keep all my knowledge to myself, I’m here to share with you how OLFA’s Rotary Circle Cutter makes cutting your curves and piecing them so easy! This cutter is easy to use AND has measurement markings right on it to make the whole process seamless (well there will be some seams but you get my point).

There is some math involved but I promise nothing that needs a calculator. This works for quarter, half and full circles. If you are new to sewing curves the quarter circle is a perfect place to start.
What you need:
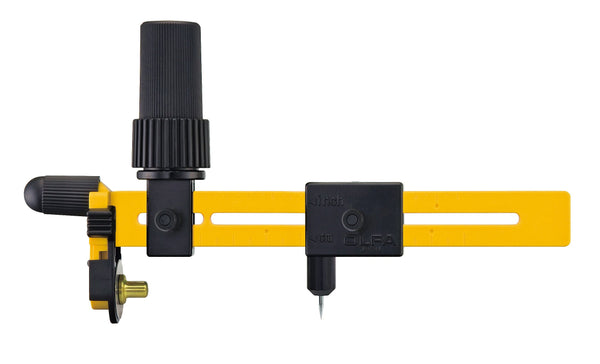
OLFA Rotary Circle Cutter (CMP-3)
OLFA 24"x36 Double-Sided, Self-Healing Rotary Mat (RM-MG/NBL)
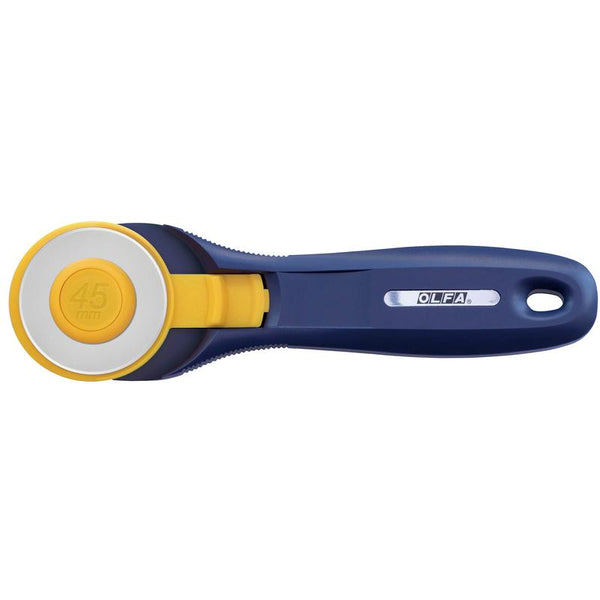
OLFA 45mm Quick-Change Rotary Cutter. Navy (RTY-2C/NBL)
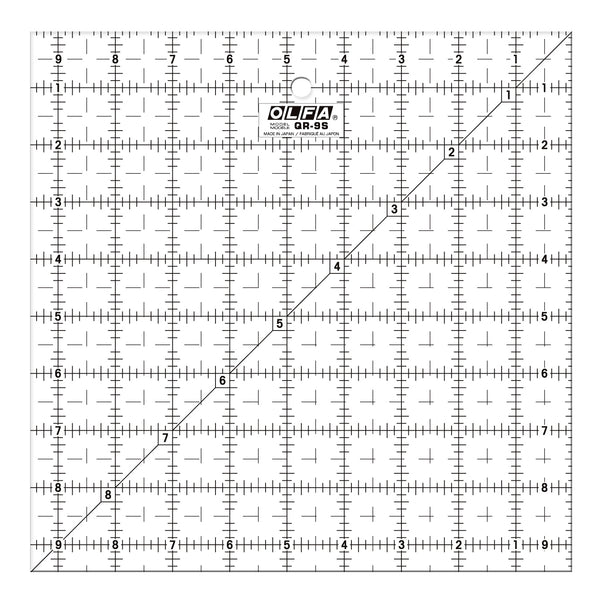
OLFA 9 1/2" Square Frosted Acrylic Ruler (QR-9S)
Various scraps
Washable Glue Stick or Pins
Non-permanent marking tool
Iron

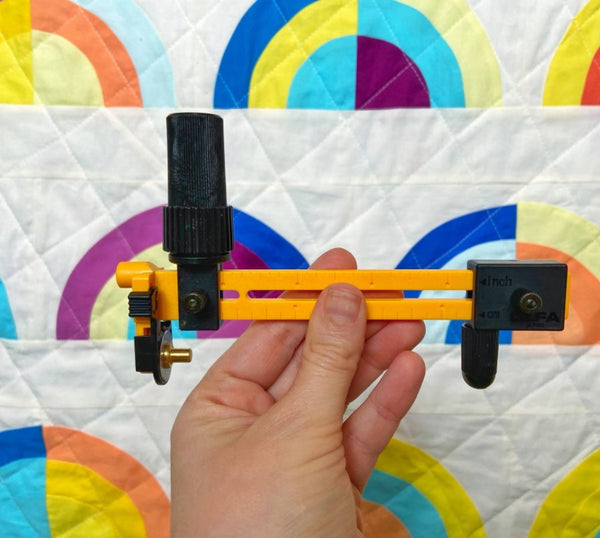
Using the Circle Cutter Measurement Markings
On OLFA’s Rotary Circle Cutter there are a series of markings, we are going to use the inch scale. Each longer line with a dot at the bottom is an Inch. These 1” sections are then broken into 1/8th segments.

These measurements indicate the radius of the circle, so if you want a 4” diameter circle you would think you use the 2” marking on the cutter for the radius right? Close, we just have to take add in seam allowances.
There are two parts to each circle/curve, the inner circle and the background. If we are wanting a 2” finished radius we are going to cut our inner circle piece 1/4” larger than your finished circle radius size. You would adjust the guide to 2.25”.

For the background of the circle you are going to set your OLFA’s Rotary Circle Cutter 1/4” smaller than your finished circle size AND (pay attention to this part) you are going to use the cutter to cut out a concave piece of your background fabric and then use the resulting convex piece.

This math works for all 3 types of circles so the settings on OLFA’s Rotary Circle Cutter will be the same for each type of circle. The only difference is where you place the pivot point of the Rotary Circle Cutter.
Quick Reference:
X is the finished radius of the circle/curve you are making. (Real life Algebra happening here!)
Finished circle radius size: X
Inner circle piece: X + 1/4”
Background Piece: X - 1/4”
Cutting Instructions:
Quarter Circles
Cut squares of your inner circle fabric and your background at least 1” larger than your radius if not bigger, you can always trim the smaller later. With the quarter circle you will at some point be piecing these together with another block so you have to take seam allowances in to account. Using your marking tool mark a 1/4” from the bottom and the side in one corner on both your inner circle and background fabric. This is where you will place the pivot point of your circle cutter.

Half Circles
Cut rectangles of your inner circle fabric and your background at least one 1” taller than your radius and 2” wider than your diameter. Fold your fabric in half along the long edge to find the middle point. Similar to the quarter circle you will be piecing your half circle with another block at some point so you need to take the seam allowance into account. To do this mark 1/4” above the bottom edge of your fabric along the middle line on both your inner circle and background fabric.

Full Circles
Cut squares of your inner circle fabric and your background at least 1” larger than the diameter of your circle. Fold your fabric in half both ways and press to find the middle point of your fabric. This is were you will place your pivot point.

Piecing Instructions:
All 3 circles are pieced the same way. The key for piecing each curve together is to make sure you line up key points of your circle and ease the rest of the fabric around the curve to match. I like using a washable glue stick to glue my edges together but you can do this with pins or if your are super pro without any pins at all! To sew together use a 1/4” foot, a shorter stitch length and stopping regularly to reposition your fabric.

Quarter Circles
Mark the centre point of the curve on the inner piece and the background by folding them in half along the curve and give them a quick press. Add glue to the 1/4 seam allowance to the inner piece. With right sides facing match up both ends and the centre point along the curved edge. Then ease the rest of the fabric around the edge.

Half Circles
Mark the centre point and quarter points of the curve on the inner piece and the background by folding them in half along the curve and folding it in half again and giving each fold a quick press. Add glue to the 1/4 seam allowance to the inner piece. With right sides facing match up both ends and the centre point and the quarter points along the curved edge. Then ease the rest of the fabric around the edge.

Full Circles
Mark the centre point and quarter points of the curve on the inner piece and the background by folding them in half along the curve and folding it in half again and give a quick press. Add glue to the 1/4 seam allowance to the inner piece. With right sides facing match up all points along the curved edge. Then ease the rest of the fabric around the edge. This one is tricky, make sure not to twist the fabric as you go.


Next up stitch your curves together. Go slow and make sure you keep a consistent 1/4” seam allowance, stopping regularly to readjust. Press seams towards the inner circle piece.
Now that you have the technique down the sky is the limit for how you use them in your next project!

Stitch On!!!!
~ Amanda