Create a Fun Top with Cargo Pockets

Designer: Marcia Spencer
Instagram: @keechiibstyle
--------------------------------------
It’s no secret that I love the cargo and utilitarian trend. Whether its pockets on pants, dresses, jackets or tops. Pockets are a practical trend and I'm here for it. To learn how I create a quick and easy top with cargo pockets using my OLFA Cutting Tools, continue reading.
Materials and Tools Needed:
- 1½ yard woven fabric
- Fabric Clips
- Marking pencil
- ⅜ inch wide elastic (circumference of bust + 1 inch)
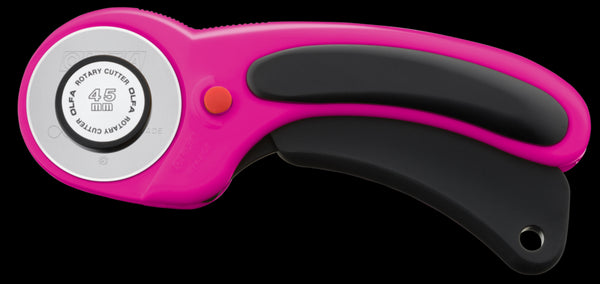
- OLFA RTY-2DX/MAG 45mm Ergonomic Rotary Cutter
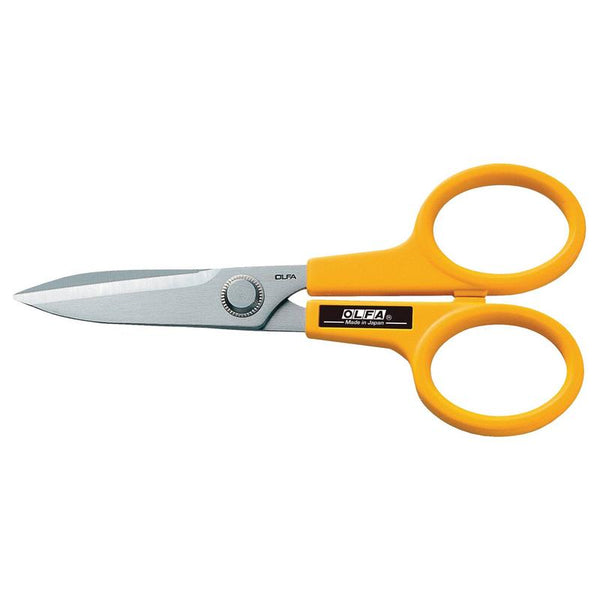
- OLFA 7-Inch SCS-2 Serrated-Edge Stainless Steel Scissors
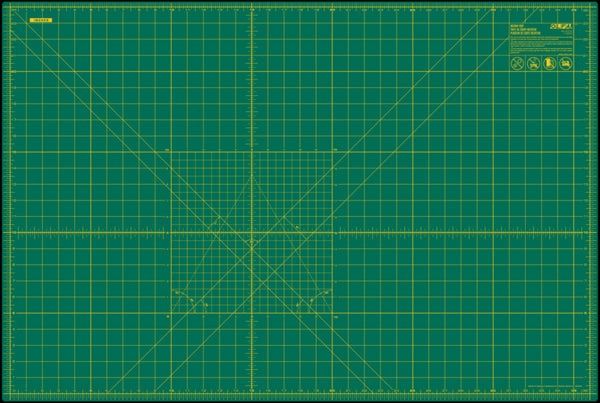
- OLFA RM-MG 24" X 36" Green Double-Sided, Self-Healing Rotary Mat
- OLFA QR-1x12 1" X 12" Frosted Acrylic Ruler
Cut Pattern Pieces
*Using your OLFA tools cut the following pieces of your fabric.
- Cut four/ 4” x 25” straps
- Cut two pocket squares 7” x 10”
- Cut two Pocket flaps and interfacing/ 6” X 4” . Apply interfacing to two of the flaps.
- Cut two/Front & Back - To get the width of your top, measure your bust and cut the circumference of your bust + ½ of your bust circumference (ex. Bust: 38 + 19 (half bust circum.) = 57 . Cut the top 26” long.
*To create cargo pockets check out my Blog post How to create Cargo Pockets below.
Sew Your Top
*Use french seam to bring together your top*
- With the wrong sides together, the pin and stitch sides seams of front & back ¼ inch.
6. Trim seam. Fold over right sides together. Stitch seams again ¼ inch on the wrong side. Press seam. Repeat on the other side.
7. Create the top hem and casing by pressing over ¼ inch around the top edge. Pin. Press.
8. Fold over again two inches. Pin. Press.
- Stitch top hem cose to the edge leaving about 1” opening for elastic.
- Stitch another row of stitches ½ inch from the previous edge stitches to create the elastic casing.
11. Create the bottom hem of the top in the same way you create the top hem. Folding ¼ inch of the raw edge over and then folding over 2 inches. Edgestitch. Press.
- To stitch the pockets to the top, with the right side up, fold your top front in half and find the middle of your top. Then fold in half again to find the middle of the again. Your pockets will be placed about 5” from the top of the casing. You can always adjust the placement if you would like your pockets higher or lower.
13. Pin your pockets to the front of the top.
14. Edgestitch your pocket close to pocket edge.
- Pin pocket flap to top front just above the pocket.
- Stitch flap ⅜ inch from the raw edge.
- Fold flap over seam and press pocket down. Stitch ¼ inch from folded edge.
18. Cut your elastic the circumference of your upper bust plus 1”.
- Using a safety pin attached to one end of the elastic, feed elastic through the length of the top through the casing opening.
- To create straps, with right sides together fold over strap pieces lengthwise. Pin. Stitch leaving only one end open.
- Turn straps right side out. Press.
- Pin your straps to the inside of your top at the casing and adjust placement to your liking.
- Stitch the raw edge of all four straps in place.
- If you haven't done so previously go ahead and make your button holes on your pocket flaps and stitch buttons in place.
Your Top is complete!


