How To Create a Cargo Pocket

Designer: Marcia Spencer
Instagram: @keechiibstyle
--------------------------------------

Cargo pants and the utilitarian style that put them on the map, are not going anywhere! It's a popular style with so many variations. The pockets come in all shapes and sizes. Some are flat and some have pleats. Here is one of my favorite ways to create cargo pockets.

Materials and Tools Needed:
- ½ yard woven fabric
- Fabric Clips
- Marking pencil
- OLFA RTY-2DX/MAG 45mm Ergonomic Rotary Cutter
- OLFA 7-Inch SCS-2 Serrated-Edge Stainless Steel Scissors
- OLFA RM-MG 24" X 36" Green Double-Sided, Self-Healing Rotary Mat
- OLFA QR-1x12 1" X 12" Frosted Acrylic Ruler

- Using your OLFA Tools measure and cut your fabric into a 10 x 15 rectangle.
- To create your folds, measure the halfway point of your rectangle and mark it. Mark 2“ in from the side and mark 2” out from the middle of the rectangle. These will be your fold lines.

- Bring the fold lines closest to the center mark in to meet the center to create your center pleat. Press with iron.

- Fold under at the 2” marks closest to the outside edge. This will create your gusset.
- Edge stitch all four creased edges.Press flat.

- With the wrong sides up, press under at the raw edge ¼ inch on both sides.
- Then fold the lower edges of your pocket under ¼” and press.

- Fold the top edge under again 1” and stitch close to the fold creating the top hem.

- With the wrong side of the pocket to the right side of the garment pin side edge of gusset to the garment and edge stitch.

- Bring the two outside edges together and pin at the corner.
- Fold the other side gusset in and pin it to the garment. Edgestitch second side gusset to garment.
- Repeat step ten for the other side.
- Edge stitch the lower edge of the pocket to garment. Press


- Next stitch the corners of the pockets down over the gusset at the top hem.
- Repeat this step for the other pocket corner.
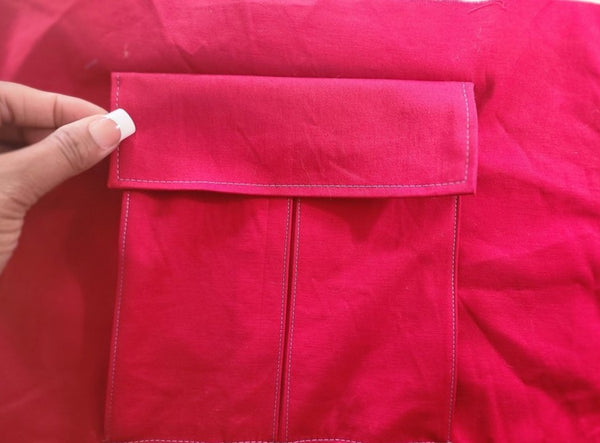
Flap


- To create the flap I measured the length of the pocket across the top and down the sides where I wanted the pocket to overlap adding seam allowance to the measurement.

- For this pocket my flap measures 3 x 8.5 . Cut two.

- With right sides together stitch the edges of the pockets leaving the top open to turn.
- Trim and turn the flap right side out.

- Top stitch close to the pressed edge of flap


- With the right side together line up the raw edge to the top of the pocket hem stitch about ¼ inch from edge.

- Press the pocket flat over the edge.

- Topstitch ⅜ from the seam of flap.

Voila! Your topstitch waistband is complete and ready to connect to your garment.