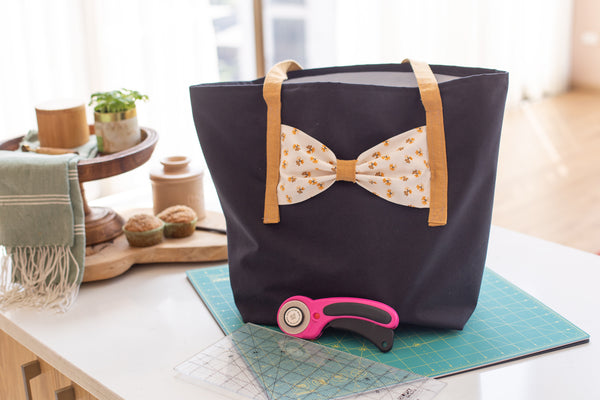
Carry it ALL Potluck Bag – No pattern needed!

Designer: Mary Stanley
Instagram: @whatmommamakesig
-------------------------------------------------
Tools and Supplies Needed:
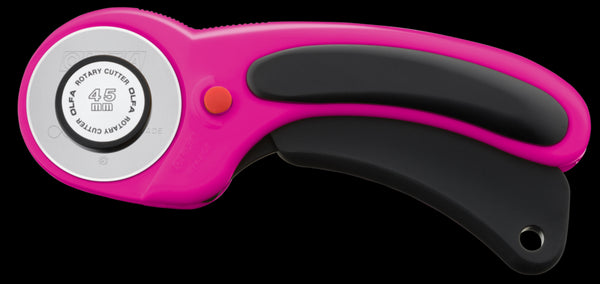
- OLFA RTY-2DX/MAG 45mm Ergonomic Rotary Cutter
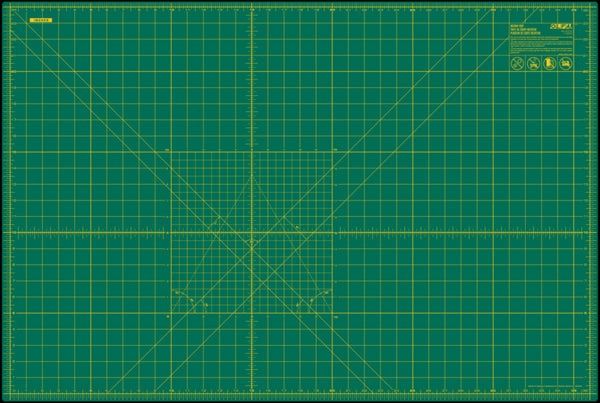
- OLFA RM-MG; RM-MG-01 24" X 36" Green Double-Sided, Self-Healing Rotary
- OLFA QR-6x24 6" X 24" Frosted Acrylic Ruler
- Approximately 3/4 yards of laminated fabric 55-60” wide. NOTE: you can also create this bag with other heavy weight fabrics as well – it just won’t be as easy to clean as the laminate fabric is.
- ¼” yard cotton or different woven fabric for straps
- Heavy duty needle for your sewing machine
- (Optionally) 10x10” fabric piece for bow main and 3x4” fabric for bow center
- (Optionally) 4” of elastic (1/2” or wider) for utensil holders
*NOTE: All seam allowances are ½” unless otherwise specified
We are in the midst of football season, and the holidays are right around the corner! Which means we are also in POTLUCK season! I don’t know about your home, but we are constantly bringing prepared dishes to one activity or another during the fall and winter months. And while tote patterns are a dime a dozen, this pattern is one I created with a very specific reason: POTLUCK SEASON!
By using this laminate fabric, it is SOOO easy to wipe out clean in case of food spills! Plus, by using the French seam method for this tote bag, there is no need for a lining…which means the assembly is a breeze! This bag is big enough for multiple Tupperware containers and is also great for a grocery shopping bag as well – trust me, once you make one, you’ll never stop! (P.S. these are also amazing for gift giving!) So, let's get started!
First off, you’ll want to make sure your machine has a heavy-duty needle in and then get your fabric pieces cut out to the correct measurements in the photo below! You need:
- 2 rectangles of your laminate fabric measuring 20” tall by 23” wide
- 2 rectangles of your strap fabric measuring 40” tall by 3.75” wide
- IF creating the optional bow on front, you’ll need (1) 10”x10” square for the bow main and (1) 3”x4” for the center of the bow.
- IF creating the optional utensil holders, you’ll need (2) pieces of elastic cut at 2” long.
INSTRUCTIONS
- We will begin with creating our straps! First off, you will iron all 4 of the shorter ends of your straps up by ½” so that the wrong sides are touching. Then you will fold the straps in half widthwise and iron flat.
- Now, open the straps back up and fold the raw edges in to meet at the center crease and iron flat. Then topstitch around all four edges of the straps to enclose them completely.
- Next up, we will create the optional bow (If you do not want to add that decorative detail, you can skip along to attaching the straps to the main panels in step 12). Begin by folding your 10”x10” square of fabric in half with the right sides touching and pin along the long raw edge.
- Next, turn the tube we just created until it is right-side facing out and iron it with the seam we just created directly in the middle of the rectangle.
- Now we need to take our bow centerpiece and fold it in half widthwise and sew together along the long raw edge.
- Next, turn the tube we just created until it is right-side facing out and iron it with the seam we just created directly in the middle of the rectangle. Then, with the seam facing out, you will fold that piece in half with the right sides touching and sew along that short edge to join the two short ends and create a circle.
- Now we can trim back the seam allowance, and serge that edge or zig zag stitch it to enclose that edge. Then you can flip your circle to bring the right side facing out with the seam we just enclosed on the inside of the circle.
- Next, we will slide this tube over our main bow piece, until it reaches the center. Be sure to have your seam from the bow and the bow center facing the same direction.
- Now we will attach our bow to the front panel of our bag. The first thing to do is mark the center of your bag on the right side of the fabric (My main bag is black on the right side and white for the laminated inside). Then you can line up the center of your bow with the bag center. Then you will measure down from the top raw edge of the bag by 3” and pin the bow in place. Then you will topstitch along the two raw side edges of the bow to secure it in place on the front of the bag.
- Now we will add the elastic for our optional utensil holders. If you aren’t creating these you can skip ahead to attaching the straps in the next step. So, we will flip this bag main piece over to the wrong side of it and we can see the stitched line from our bow attachment. Take 1 piece of your 2” long elastic and center it over the stitch line, creating a pucker of the elastic for inserting your utensil. Try and stitch both sides of your elastic ends as close to the bow stitch line as possible.
- Now we will attach our strap to the front panel of our bag main piece (if you did not create the bow option, you can skip to step 12 and follow those instructions for both the front and back panels). With the right sides facing up we are going to lay one strap with the right sides facing up on top of the raw edges of the bow extending 1” past the bottom edge of the bow. Now we will topstitch directly on top of the stitch lines we already created on the strap pieces, attaching the straps to the bag main piece. You will want to be careful to pull back the elastic loops from underneath as you sew, so that you don’t accidentally go over those and sew them shut.
- Now we will attach our strap for the back panel of the bag (if you are not creating the bow option you will continue with these instructions for both of your bag panels). From the side of the bag panel, you will measure over 6 ¼” and place one of the strap ends there, extending the bottom of it down to end 8 ½” below the top of the bag raw edge. Repeat this for the opposite side so that both ends are now attached, creating the straps/handles.
- Up next, we will lay the front and back panels together with the right sides facing out and the insides touching each other. We will be using French seams to attach the front and back bag pieces along the bottom raw edge. If you are unsure how to sew French seams, check out my previous blog on that here.
- After you have attached those two bottom raw edges with the French seam, you can open it up so that you are looking at the inside of the bag with the seam allowance facing you. Then you can fold the seam allowance towards the back panel and topstitch that down in place.
- Now we will turn the bag right-side out again, and repeat this same process of creating the French seams along both sides of the bag as well.
- When you are finished with both sides your inside corners of your bag will look similar to this:
Then when you flip it back to the right side facing out, don’t worry too much about getting those corners super crisp as we will be cutting them off:
- Now we are going to box the corners of our bag (once again using French seams) so that our bag has a nice flat bottom for our casseroles or Tupperware containers. To do this, we will place our bag right side out with one of our side seams facing up. We need to line up the side seam, with the bag bottom seam directly under it creating a 45” angle there. Using your frosted ruler, we will draw a horizontal line that is 4” from the tip of the corner.
- Next, we will sew directly on top of that line we just drew. Using your rotary cutter, cut off the triangle created, cutting close to the sewn line but being careful not to cut into it. I am using a white thread for ease in viewing the tutorial photos, but obviously a coordinating thread color would look better.
- Repeat step 18 for the 2nd side of your bag and then the exterior will look like this:
- Then we will turn the bag inside out and sew along those two seams we just created with a ¼” seam allowance to enclose the edge with a French seam as well.
- Now when we turn the bag right side out, you can see the interior is all completely enclosed in French seams!
- And now, our last step! We will hem the top raw edge of the bag. To do this, simply turn the edge under ¼” so that the wrong sides are touching each other and then turn that under ¼” again. Then you will topstitch along that top edge.
AND VOILA!! Your very own Carry-All potluck tote…ready for games and get-togethers of all types! I hope you enjoy using this bag over and over again! For reference, I have a covered ziplock container on bottom and a full cake carrier sitting on top of it and they fit very nicely inside without any bulging!
I would LOVE to see what you create with this tutorial, so don’t forget to tag me @whatmommamakesig and @OLFA_craft so we can share in your creativity!


