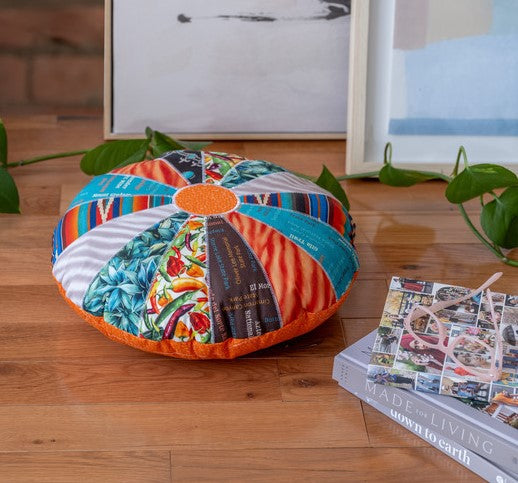
Nouveau-Mexique et Arizona - Patchwork Coussin de sol

Créateur : Daisi Toegel
Site Internet : www.flowersew.com
--------------------------------------------
Catégorie : Patchwork/Quilting
Taille : 18 pouces de diamètre
Niveau de compétence : Débutant confiant
Remarques sur le modèle :
- Lisez toutes les instructions avant de commencer.
- La marge de couture est de 1/4 po, sauf indication contraire.
- WOF = largeur du tissu : supposez 42 pouces pour le métrage (YD) ; 18 pouces x 21 pouces pour Fat Quarter (FQ); 9 pouces x 21 pouces pour Fat Eight (FE).
- RST = endroit contre endroit
Exigences en matière de tissu (tissu Shop Hop de l’Arizona et du Nouveau-Mexique)
|
Couleur 1 (c1) = Sable AZ |
1 FE |
Patchwork côté principal |
|
Couleur 2 (c2) = Sable NM |
1 FE |
|
|
Couleur 3 (c3) = Mots Sarcelle |
1 FE |
|
|
Couleur 4 (c4) = Mot marron |
1 FE |
|
|
Couleur 5 (c5) = Piments |
1 FE |
|
|
Couleur 6 (c6) = Turquoises |
1 FE |
|
|
Couleur 7 (c7) = Agave |
1 FE |
|
|
Couleur 8 (c8) = Diamants SW |
1 FE |
|
|
Couleur 9 (c9) = Mélangeur Citrouille |
1/2 verge |
Support |

Vous aurez également besoin de :
(1) copie imprimée du fichier PDF MODÈLE ICI
(2) Carré de 19 pouces x 19 pouces de molleton ou de stabilisateur de votre préférence (j'ai utilisé un molleton de courtepointe 100 % coton)
(1) cercle d'interface non fusible de 3 1/2 pouces de diamètre pour application de machine
Rembourrage en fibre pour rembourrer l'oreiller (environ 8 à 10 oz)
Outils nécessaires :
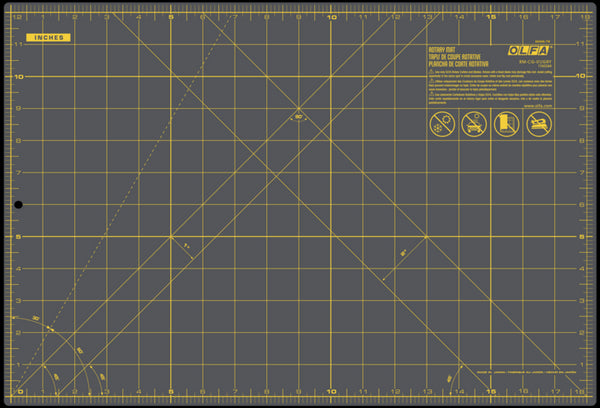
RM-CG-01/GRY Tapis rotatif double face auto-cicatrisant 12" x 18", gris
Coupeur rotatif ergonomique RTY-2DX/MAG 45 mm
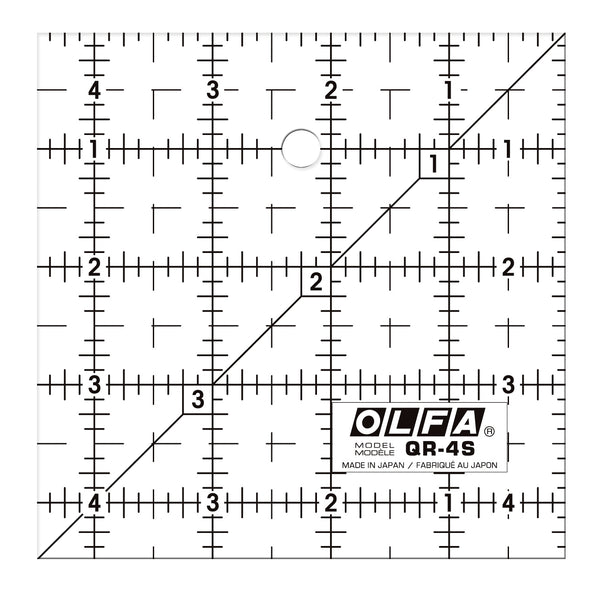
Règle carrée en acrylique givré QR-4S 4 1/2"
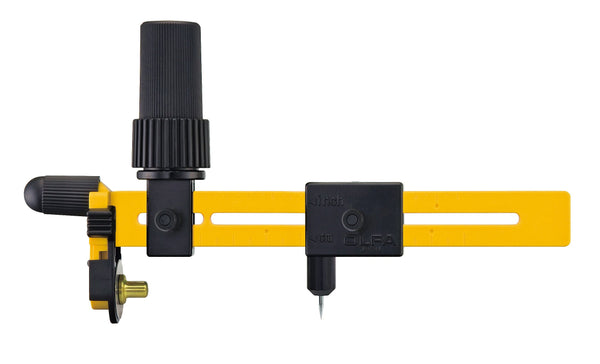
Coupe-cercle rotatif CMP-3 (en option, modèle fourni)
Instructions de coupe :
Coupez (14) morceaux du MODÈLE en utilisant les tissus assortis C1 à C8 ;
Coupez (1) cercle de 3 1/2 pouces de diamètre dans le tissu de support C9 ;
Coupez (1) carré de 19 pouces x 19 pouces dans le tissu de support C9.

Disposez les pièces découpées du modèle dans votre disposition préférée pour mélanger les couleurs et les imprimés.

Préparez le cercle central avant de commencer à coudre le patchwork.
Avec le RST du tissu C9 et l'entoilage non thermocollant, cousez tout le cercle.
Faites de petites coupes autour de tout le cercle à 1/8 de pouce de la couture.
Effectuez une coupe transversale du côté de l'interface uniquement.
Tournez le côté du véhicule vers l'extérieur et appuyez. Mettre de côté.

Cousez les (14) pièces découpées du modèle. Commencez avec deux morceaux RST. Continuez à ajouter morceau par morceau.
Lorsque toutes les pièces sont cousues, cousez les deux extrémités ensemble pour former le cercle.

Appuyez sur toutes les coutures pour les ouvrir avant de bâtir.

Donnez-lui une bonne presse dans l’ensemble.

Appliquez le cercle central à la machine avant de badigeonner le patchwork sur le molleton.

L'arrière de l'applique devrait ressembler à ceci, avec une couverture supplémentaire d'environ 1/4 po autour des bords du trou central.

Bâtissez le patchwork principal sur le molleton et le quilt selon vos envies, ou zigzaguez sur les coutures comme sur la photo.
Cousez tout le cercle en utilisant un surplus de couture de 1/8 po pour finir les bords.

Bâtissez et matelassez le tissu de support, mais ne coupez pas encore l'excédent de molleton.
Coupez l'excédent de molleton de la partie principale du patchwork uniquement.
Donnez une bonne presse aux deux parties.

Avec RST, épinglez tout le cercle à coudre. Laissez une ouverture d'environ 4 pouces.
***J'ai coupé les coins du carré initial de 19 pouces x 19 pouces pour être plus maniable lors du quilting et de la couture.

Coudre le long du bord, faire un point arrière au début et à la fin de la couture.
Coupez l'excédent de molleton lorsque vous avez terminé.

Tournez le côté droit et appuyez.
Remplissez l'oreiller de fibres et fermez le trou avec des points invisibles pour terminer.

Félicitations ! Vous avez terminé.