Carte portefeuille DIY pour la fête des pères avec pochettes pour photos et cartes cadeaux

Créateur : Marcia Izabel Marchiori
YouTube : MarciaBel Vlog
Instagram: @marciabel
----------------------------------
Niveau : Débutant
Créer des cartes faites à la main est l'une de mes façons préférées de faire en sorte que quelqu'un se sente spécial, et pour mon père’Le jour de la Saint-Valentin, je voulais concevoir quelque chose qui soit à la fois significatif et pratique. Donc aujourd'hui’s tutoriel, je’Je vais vous montrer comment réaliser cette amusante carte de vœux en forme de portefeuille, dotée de véritables compartiments à l'intérieur pour contenir une photo d'un souvenir de famille très spécial, une carte-cadeau, des notes sucrées et tout ce que votre cœur désire.

Pour rendre le processus simple et sans stress, j'ai créé des modèles prêts à découper qui facilitent grandement l'assemblage, tout en vous laissant suffisamment d'espace pour personnaliser la carte avec ses couleurs, motifs et petits détails préférés. Il’C'est le moyen idéal de créer quelque chose de fait à la main qui semble impressionnant sans être difficile à réaliser.

Que vous’Si vous créez ceci pour votre père, votre grand-père, votre mari ou quelqu'un de spécial dans votre vie, cette carte devient un souvenir qu'ils chériront.

Laissez’c'est parti !

Outils et fournitures nécessaires
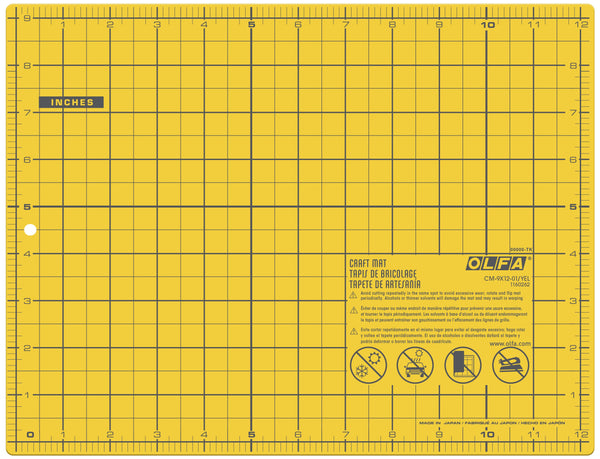
• OLFA CM-9x12-01/YEL Tapis de découpe auto-cicatrisant double face
• OLFA QR-1x12 Règle en acrylique givré 1" x 12"
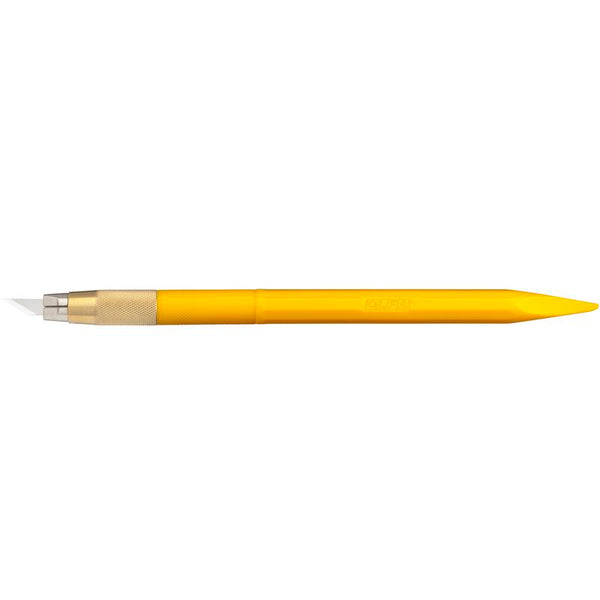
• Couteau d'art graphique design OLFA AK-5
• Acétate clair
• 2x Papier cartonné texturé à motifs - format lettre, adapté à l'impression (COULEUR 1)
• 1x papier cartonné de couleur assortie - format lettre, adapté à l'impression (COULEUR 2)
• 1x Papier cartonné fin de couleur claire pour insertion de message - format lettre (COULEUR 3)
• Points adhésifs à crochets et boucles (velcro)
• 1/4" druban adhésif double face
• 1 photo de 3,5 x 2 pouces
• Imprimante pour modèles
Jeinstructions
- Imprimez les modèles à l'échelle ici.
Pour ce projet, j'utilise deux couleurs de papier cartonné (et une blanche pour le message). Pour la pièce extérieure, j'ai choisi un papier cartonné texturé bleu (indiqué par COULEUR 1). Faites simplement attention à cela lors de l'impression des feuilles, car elles sont indiquées par COULEUR 1, COULEUR 2 et COULEUR 3.
Remarque : La dernière feuille du modèle est facultative car elle est vierge (sans texte). De cette façon, vous pouvez également utiliser le modèle pour d'autres occasions que celle du Père.’Le jour de la Saint-Valentin !
- À l'aide de votre tapis OLFA, de votre règle et de votre couteau artistique AK-5, coupez tous les rectangles (PARTIES 1 à 6 des modèles) en conséquence.

- Voici les pièces que vous devriez avoir :

- Toujours en utilisant votre règle et votre couteau artistique, découpez un rectangle de 4 x 2 1/2 pouces dans l'acétate.

- Maintenant, laissez’s assembler le portefeuille : commencer par la partie extérieure du portefeuille (PARTIE 1), en laissant le libellé “PAPA» au dos.
Remarque : Il est très important de faire attention à l'orientation du texte afin que le portefeuille ne soit pas assemblé à l'envers.
- À l'aide du côté effilé du couteau d'art OLFA, tracez une ligne à 1/2 pouce de l'un des côtés de la PARTIE 2 (rabat).


- Placez la PARTIE 2 (le rabat) au milieu du côté droit de la PARTIE 1, comme indiqué ci-dessous, en la fixant avec un petit morceau de ruban adhésif double face.

- Appliquez du ruban adhésif double face de 1/4 de pouce sur les quatre côtés au dos de la PARTIE 3 et collez-le au dos de la PARTIE 1, en laissant des marges égales en bas et des deux côtés.


- À l'aide du côté effilé de votre couteau d'art OLFA, marquez le rectangle (PARTIE 1 attachée à la PARTIE 2) au milieu pour créer le pli du portefeuille, comme indiqué ci-dessous.


- Appliquez du ruban adhésif double face en forme de « U » à l'arrière des PARTIES 5 et 6, comme indiqué ci-dessous.
Remarque : Il est très important de faire attention à l’orientation du texte (« bonne fête des pères ») afin que la pochette ne soit pas assemblée à l’envers.

- Collez ensuite la PARTIE 6 sur le côté gauche de la PARTIE 3, suivie de la PARTIE 5 sur le dessus de la PARTIE 6, formant les pochettes pour cartes, comme indiqué ci-dessous.


- Maintenant laisse’s assembler la pochette photo : coller l'acétate au dos de la PARTIE 4 :

- Attachez la PARTIE 4 sur le côté droit de la PARTIE 3 pour former la poche, en laissant des marges égales tout autour.


- Ajoutez du Velcro sur le rabat, en l'alignant avec le devant.

- À l'aide d'un tapis OLFA, d'une règle et d'un couteau artistique, découpez un rectangle de 8 1/2 x 3 pouces dans du papier cartonné blanc (pour la section message). Marquez-le et pliez-le en deux dans le sens de la longueur.


Insérez la photo, la carte-cadeau (ou tout autre souvenir spécial que vous’j'aime) dans les pochettes, écrivez un beau message sur la PARTIE 6, placez-le à l'intérieur du portefeuille, et votre carte est prête !


Je’j'adorerais voir ton travail fini! Taguez-moi @marciabel et @OLFA_craft pour que nous puissions admirer votre carte.
Père heureux’Le jour de la Saint-Valentin !
Marcia