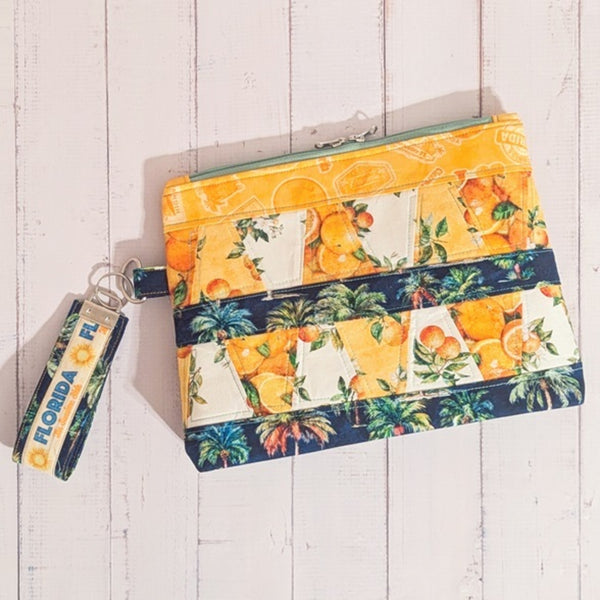
Triangle Zipper Pouch XL - Florida '24

Designer: Daisi Toegel
Instagram: @daisitoegel
Website: www.flowersew.com
------------------------------------------------
Size: 11” h x 8” W
Skill level: Confident Beginner
Pattern notes:
- Seam allowance is ¼in unless noted otherwise.
- Print templates at 100% size.
- Template 1 - Bag
- Template 2 - Tumbler
- This project is great to be made using fabric small pieces, or Fat Eights (FE).

Fabric Requirements:

*Combine and place the fabrics A through G according to your preference. Below you’ll see mentioned to each cut which fabrics were used for reference.
Cutting instructions:
*(2) 10” x 13” rectangles for the lining – fabric A
*Cut (34) tumbler pieces (use tumbler templates – click to download below)
= Cut (11) fabric B, (11) fabric C and (12) fabric D (mix and match this order according to your preference)
***to cut the tumbler pieces, cut 2 1/2 wide strips from the Fat Eights and flip the template in every other direction for minimal waste (see photo below).
*(2) 2 1/2” x 13” rectangles for the base – fabric E
*(2) 1 1/2" x 13” rectangles for the center strip – fabric E
*(1) 3” x 3” square for the side loop – fabric E
*(1) 10” x 6” rectangle for the key fob base – fabric E
*(2) 2” x 13” rectangles for the top strip – fabric F
*(2) 2 1/2” x 2 1/2” square for the zipper tabs - fabric F
*(1) 1 1/2" x 10” cut out rectangle from the Florida Panel – fabric G

You’ll also need:
*(1) 12” or longer zipper
*(2) 10” x 13” stabilizer pieces or batting (the recommended stabilizer is Pellon 926 Extra-firm) – for bag body
*(1) 3/4" x 3” stabilizer piece or batting - for bag side loop
*(1) 1 ½” x 9 1/2" stabilizer piece or batting – for key fob
*(1) 1” D ring
*Key Fob plier + 1 set of key fob hardware
Tools needed:
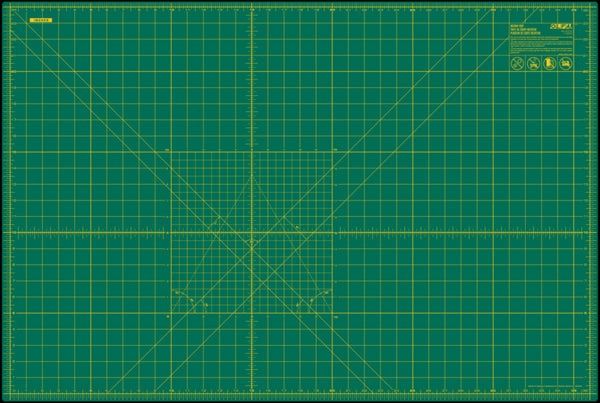
OLFA RM-MG-01 24" x 36" Green Double-Sided, Self-Healing Rotary Mat
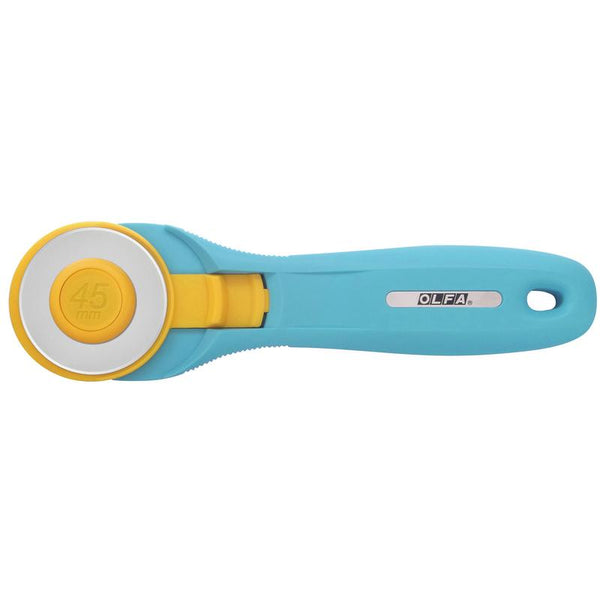
OLFA 45mm RTY-2/C Quick-Change Rotary Cutter
OLFA QR-6x24 6" x 24" Frosted Acrylic Ruler
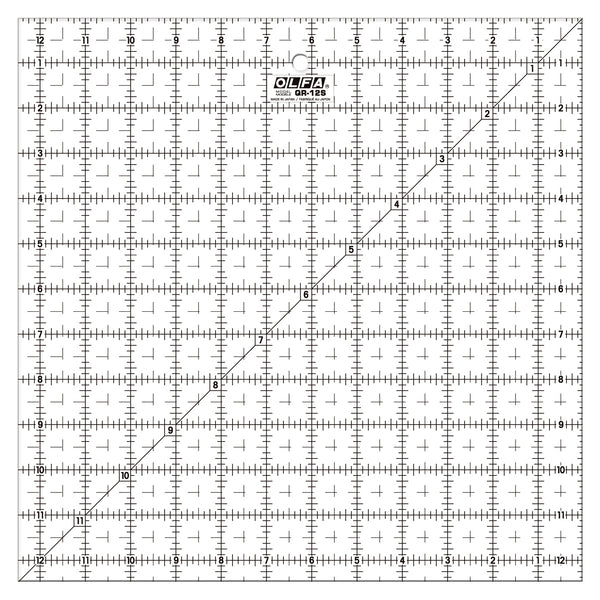
OLFA QR-12S 12 1/2" Square Frosted Acrylic Ruler


Sew the patchwork piece (bag body):
Start sewing the tumbler strips. To sew, align the short edge of a tumbler facing right sides together with the longer edge of another tumbler, and leave 1/8” of both sides above the edge line, for the top and bottom, to understand better please see the photo below:

Mixing the fabrics B, C and D, make (4) tumbler strips according to the photo below):
(2) strips with 9 tumbler pieces
(2) strips with 8 tumbler pieces

Gather each rectangle and tumbler strips to sew the patchwork top for each side of the bag.
The order for the 5 strips to be sewn is:
1) Fabric F: 2” x 13” rectangle
2) Tumbler strip with 8
3) Fabric E: 1 1/2" x 13” rectangle
4) Tumbler strip with 9
5) Fabric E: 2 1/2” x 13” rectangle
***Align each piece centralizing them. The overall width of the patchwork unit is larger than the bag template.

Sewing the bag body sides:
After sewing both patchwork units, press well.
Baste each one on the 10” x 13” stabilizer rectangles using the method of your preference and quilt.

For demonstration purpose only, check the photo below to understand how to align the template to cut the bag body.
Fold each side in half (use the stabilizer/batting) overall size to align the piece folded in half. Secure the template in place aligning to the bag FOLD side.
Check the RED lines in the template, they should all match each line of the different strips in the patchwork.

Now follow the photo below to clip the template properly to the bag, which is with the fold edges touching, and cut the bag sides to shape.

Repeat the same process to cut the lining fabrics to shape.

Prepare the zipper:
Align the zipper to the shorter edge of one of the bag body pieces on the top. Use your pointer finger or approximately 1/2” towards the inner side of the bag body side to measure and cut the zipper on both sides to shorten it.
Fold each 2 1/2” square fabric pieces of Fabric F in half two times to create a binding piece for the zipper edges.
Sew each one to the zipper edges to finish the zipper.

Sew the zipper and finish the bag:
To align the zipper and sew the first side of the bag, with right sides together, align the zipper to the top of the patchwork main side of the bag, and then on top of the back size of the zipper and right sides of fabrics touching (main patchwork piece + lining fabric), clip in place the 3 layers.

Sew using 1/4in seam allowance, and when finished trim the excess of the zipper tabs.
Repeat the process for the other side of the bag.

To make the side loop, fold the 3" x 3” fabric piece of Fabric E two times to create a binding like piece. Insert the ¾” x 3” stabilizer/batting piece in between the folds and sew along each side to finish the long edges.
Insert the D ring on the piece you’ve just sewn and fold it so the two raw edges stay together.
Insert the loop piece on one side of the main bag part by the first tumbler strip centralizing it on the center side of this strip and clip it in between both main bag parts the with the raw sides towards the edge.

To clip/pin the bag parts, both patchwork sides should be touching and both lining sides should be touching.
Leave an opening at the bottom of the lining fabric side to turn the pouch right side out later.
Sew along all edges, except on the space left for the opening. Don’t forget to backstitch each time.

After sewing all sides, align the four boxed corners with the seams facing opposite sides and sew backstitching at the beginning and end of the seams.

Make the Key fob:
Fold the 10” x 6” rectangle of Fabric E by 1/4” towards the inside of the shorter edges first.
Then, fold in half two times on the longer edges to create a binding like piece.
Insert the 1 ½” x 9 ½” stabilizer/batting piece, make sure all edges, are towards the inside of the rectangle strip to be sewn, so no raw edges can be seen. Clip and sew around all edges to enclose the stabilizer/batting piece.
Fold all edges of the FLORIDA cut out piece (1 1/2” x 10”) and press well. Lay this piece of top of one side of the previously sewn strip to create a detail on the key fob. Sew the four sides of the detail piece using 1/8” seam allowance around the edges.

Apply the key fob hardware, loop around the bag side loop and you’re all done!


