Southeast 3-set Project Bags

Designer: Daisi Toegel
Website: www.flowersew.com
----------------------------------------------
Category: Bags and accessories
Size: Large: 9” x 11” / Medium: 7” x 9” / Small: 5” x 7”
Skill level: Intermediate
Pattern notes:
- Seam allowance is mentioned step by step.
- FE = Fat Eight = 9” x 21”
- FQ = Fat Quarter = 18” x 21”
- Assume 42”-44” WOF (width of fabric) for yardage.

Fabric Requirements:
|
Small size |
|
|
Main fabric and lining fabric (each) |
1 FE |
|
Medium Size |
|
|
Main fabric and lining fabric (each) |
1 FE |
|
Large Size |
|
|
Main fabric and lining fabric (each) |
1 FQ |
|
Fabrics |
|
|
Bouquet Large |
Hydrangea |
|
Magnolia |
Texture Dk Blue |
|
Blender Deep Forest |
Blender Goldenrod |
|
Blender Pink (used as lining for all in this tutorial) |
***if using all same fabrics for main and lining, use 1/2yd of fabric for each |
Zipper and Batting/Stabilizer requirements: (this tutorial uses Pellon 926 Extra-firm)
|
Small size |
|
|
(1) 5” x 7” |
Back part |
|
(1) 4 1/2” x 7” |
Front part |
|
(1) 8” long |
Zipper |
|
Medium Size |
|
|
(1) 7” x 9” |
Back part |
|
(1) 6 1/2” x 9” |
Front part |
|
(1) 10” long |
Zipper |
|
Large Size |
|
|
(1) 9” x 11” |
Back part |
|
(1) 8 1/2” x 11” |
Front part |
|
(1) 12” long |
Zipper |
Tools needed:
RM-SG 18”x24” Green Double-Sided, Self-healing Rotary Mat
OLFA 45mm Quick-Change Rotary Cutter | RTY-2/C
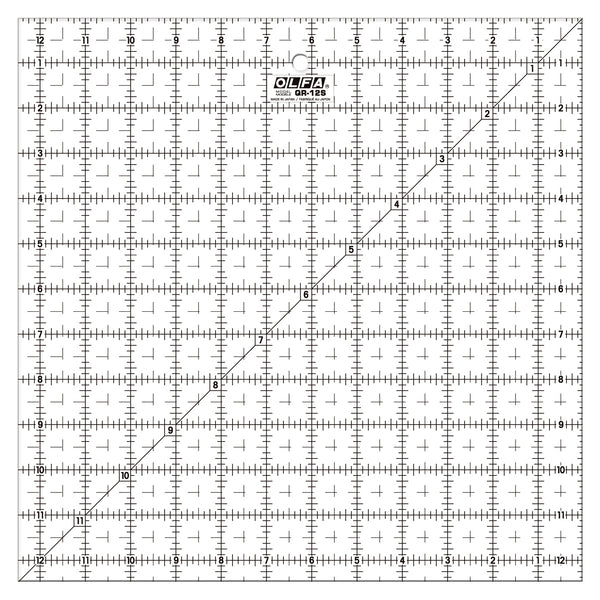
QR-12S 12 1/2" Square Frosted Acrylic Ruler

Fabric cutting instructions:
Small size:
(1) 5” x 7” (main fabric – back part)
(1) 5” x 7” (lining fabric – back part)
(1) 4 1/2" x 7” (main fabric – front part)
(1) 4 1/2" x 7” (lining fabric – front part)
(1) 2 1/2" x WOF yardage (binding)
Medium size:
(1) 7” x 9” (main fabric – back part)
(1) 7” x 9” (lining fabric – back part)
(1) 6 1/2" x 9” (main fabric – front part)
(1) 6 1/2" x 9” (lining fabric – front part)
(1) 2 1/2" x WOF yardage (binding)
Large size:
(1) 9” x 11” (main fabric – back part)
(1) 9” x 11” (lining fabric – back part)
(1) 8 1/2" x 11” (main fabric – front part)
(1) 8 1/2" x 11” (lining fabric – front part)
(1) 2 1/2" x WOF yardage (binding)

Make a sandwich of the back parts (main fabric + stabilizer + lining fabric) with all right sides out and sew around the edges using 1/8” seam allowance, or quilt if preferred, to hold the parts together.

Stack the front part pieces and cut horizontally 1 1/2" below the top.

Do not sew any parts of the front together before sewing the zipper.
To sew the zipper, place the stabilizer and main fabric with right side facing up, then the zipper teeth facing down on top of the main fabric at the top, then the lining fabric right side facing main fabric right side to form a sandwich. It’s recommended to sew the zipper first on the larger piece.

Sew using ¼” seam allowance to hold all 4 parts together.
Turn the lining fabric towards the back pulling it down so it aligns with the base of the stabilizer, pin and topstitch below the zipper and continue sewing all around to hold all parts together using 1/8” seam allowance. Quilt in this step if you prefer.

Now sew the top part of the zipper. With the main fabric facing up on top of the stabilizer, lay the zipper with the teeth facing the main fabric, and lay the lining fabric facing the back of the zipper teeth. Sew using ¼” seam allowance.
Turn the lining fabric towards the back and repeat the process done before to finish this part.
Insert the zipper pull if using a yardage zipper, and trim the excess zipper on the sides.

Sew both parts of the bag body together.
With the lining fabric touching, align both parts and clip all sides to hold. Sew all around using 1/8” seam allowance.

Sew the binding all around as done in a regular quilt.
Repeat this same process to make any size of the bags.

You’re all done!