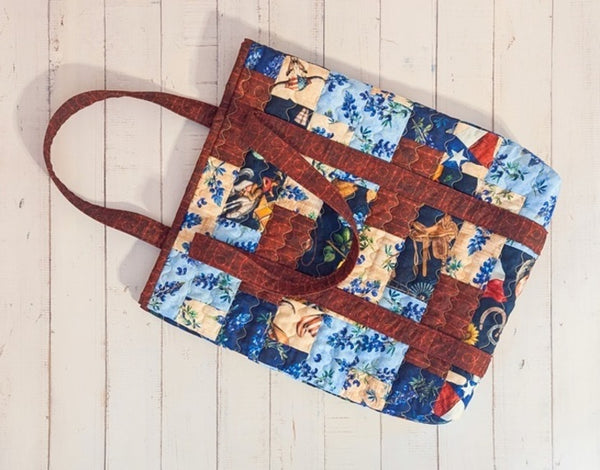
Quilt-as-you-go Texas Tote Bag with French seams

Designer: Daisi Toegel
Instagram: @daisitoegel
Website: www.flowersew.com
------------------------------------------------
Size: 15” h x 13” W approximately
Skill level: Confident Beginner
Pattern notes:
- Seam allowance is ¼in unless noted otherwise.
- This project is great to be made using 2 ½” strips.
- WOF = width of fabric, assume 42”.

Fabric Requirements:

*Combine and place the fabrics colors 1 through 6 according to your preference. Below you’ll see mentioned to each cut which fabrics were used for reference.

Cutting instructions:
Color 1:
Cut (8) 5” x 2 1/2” rectangles and (8) 2 1/2” x 2 1/2” squares
Color 2:
Cut (8) 4 1/2” x 2 1/2" rectangles and (8) 4 1/4" x 2 1/2” rectangles
Color 3:
Cut (8) 6 1/2" x 2 1/2” rectangles
Color 4:
Cut (8) 2 1/2” x 2 1/2” squares; (1) 18” x 34” rectangle for lining
Color 5:
Cut (8) 2 1/4" x 2 1/2" rectangles and (8) 3 3/4" x 2 1/2" rectangles
Color 6:
Cut (8) 4 3/4" x 2 1/2" rectangles; (3) 4” x WOF, join them together on the shorter side with regular piecing (there’s no need to join them on a 90-degree angle), trim a long strip of 95” x 4” for the handles. From the remaining piece, cut (2) 2 1/2" x 15” rectangles for the tote top binding.

You’ll also need:
*(1) 16” x 32” quilt batting piece (or the stabilizer of your preference)
*(2) strapping or extra-firm stabilizer pieces 1” x 94” each for the handles
Tools needed:
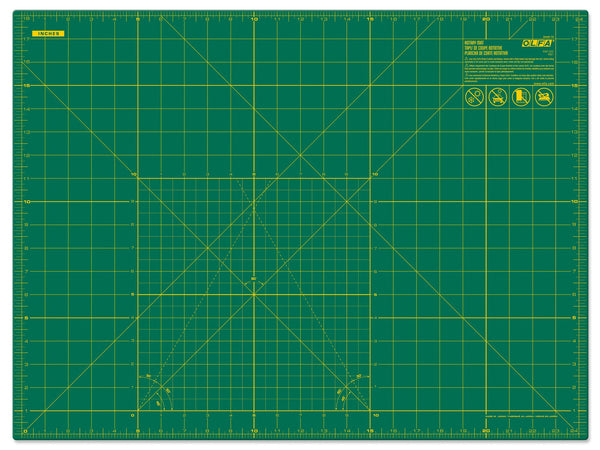
RM-SG-01 18" x 24" Green Double-Sided, Self-Healing Rotary Mat
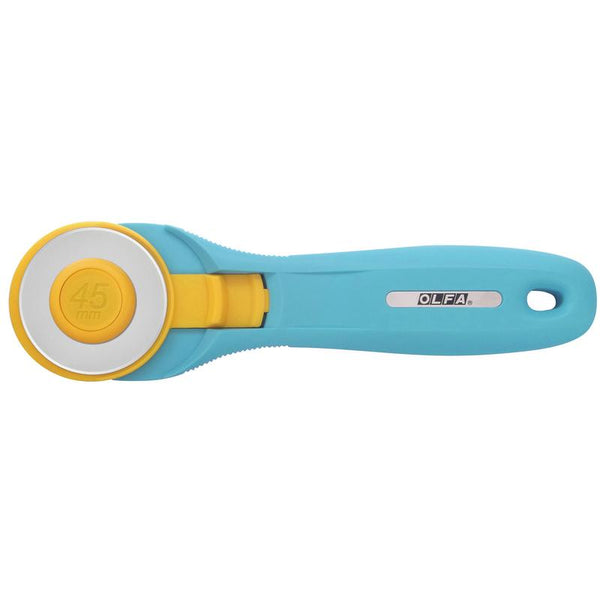
45mm RTY-2/C Quick-Change Rotary Cutter, Aqua
QR-6x24 6" x 24" Frosted Acrylic Ruler
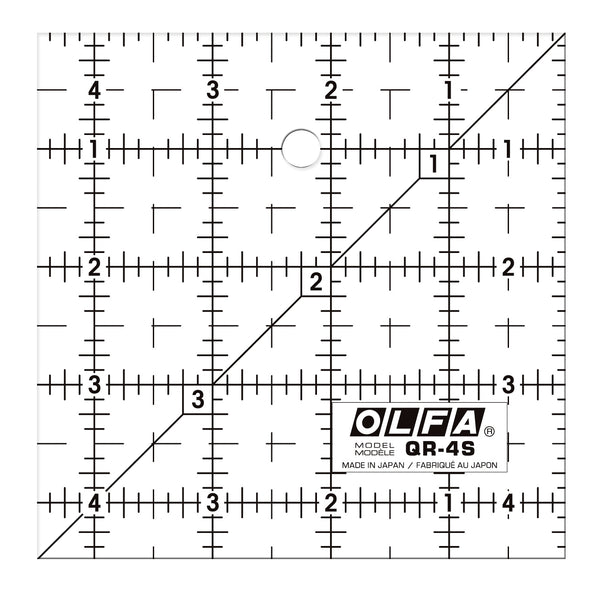
QR-4S 4 1/2" Square Frosted Acrylic Ruler
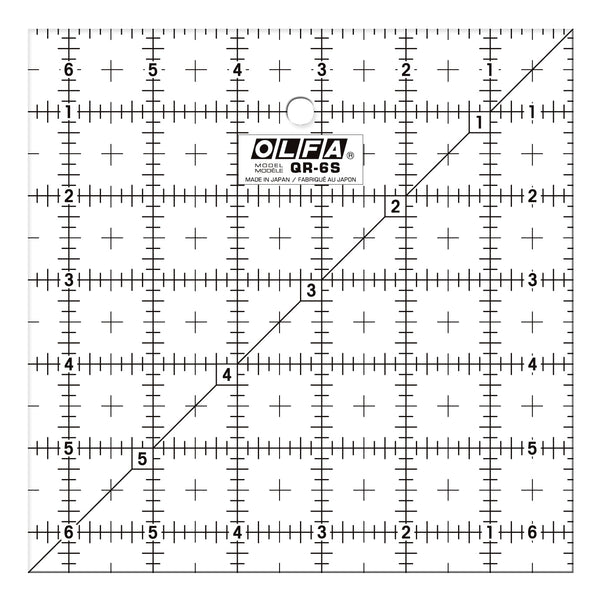
QR-6S 6 1/2" Square Frosted Acrylic Ruler
Sew the patchwork strips:
There are 16 strips to be sewn, and we’ll prepare them before we sew them directly on the batting using the quilt-as-you-go method. After sewing the patchwork strips on the batting piece for the bag body, all strips together will cover the entire area. Then the backing fabric will be basted and the entire piece will be quilted.
To sew the strips, use two different placement orders for the fabric pieces:
- the first set of (8) strips:
C1 (2 1/2" x 2 1/2") + C2 (4 1/2" x 2 1/2") + C3 (6 1/2" x 2 1/2") + C4 (2 1/2" x 2 1/2") + C5 (2 1/4" x 2 1/2")
- the second set of (8) strips:
C5 (3 3/4" x 2 1/2") + C6 (4 3/4" x 2 1/2") + C1 (5” x 2 1/2") + C2 (4 1/4" x 2 1/2")
***each strip will be 16 1/4” x 2 1/2" unfinished size. It is slightly wider than the batting piece to accommodate not perfectly accurate 1/4” seam allowances. If you sew with perfectly accurate 1/4" seam allowances this should not impact in the final project as the whole piece will be trimmed after quilting.

Sew the patchwork strips and prepare the bag body:
To sew the strips, start on the short edge of the 16” x 32” batting piece (do not add the backing fabric in this step), and align two patchwork strips of each first and second set right sides together and sew using 1/4” seam allowance.

Open the strip and press it in place.
Add the next strip making sure to add every other strip alternating between first and second sets.

Sew all strips to cover the entire batting piece.

Baste the backing fabric and quilt the project. Press well when finished and trim the piece to 15” x 30”.

Bind both short edges of the bag body using the (2) 15” x 2 1/2" fabric pieces of C6.
Prepare and sew the handles:

With the 95” x 4” long piece for the handle, carefully press twice as in bind making, first in half on the long edge, then open and press the edges to the center along the entire 95” extension.
Insert the strapping or stabilizer piece (94” x 1”) leaving each short end 1/2" far towards the inside.
Fold the fabric to wrap the strapping, clip or pin and sew along both long edges to finish.

Mark with a pin the center of the strap (47 1/2”), and the bag body (15”). Looking at the blue arrows in the picture below, align the center of the strap with the center of the bag body piece, and loop the strap around so both ends are now aligned to the center of the bag body as well.
Adjust the distance from the long sides of the bag body, each strap should be above the 4” mark far from each side.
Pin the entire strap strip and sew stopping at 1” before the bound edges.


Finish sewing the bag:
With right sides of the bag body facing out, align the sides and clip/pin in place and sew using 1/8” seam allowance. We’ll create a French seam, so no binding is necessary on the inside.

When finished sewing both bag sides, turn the bag to lining side out, adjust the seams and clip/pin the sides in place, so the bag body won’t shift as you sew to enclose the raw edges.
Sew along both edges of the bag, don’t forget to backstitch at the beginning and end of the seams.

If you wish to have a flat (with no boxed corners) and reversible tote bag, you’re all done!
If you wish to have a boxed corner bag, non-reversible, follow next steps to finish.

Poke each corner out on the lining side and align the ruler so from the side seam there is 1” to the left and 1” to the right. Pin and sew each side.

Turn the bag right side out, and do not trim the corner, as it lays flat and it is entirely finished with no raw edges exposed. This corner will also help to stabilize your bag to stand firm!!

Congratulations, you’re all done!


