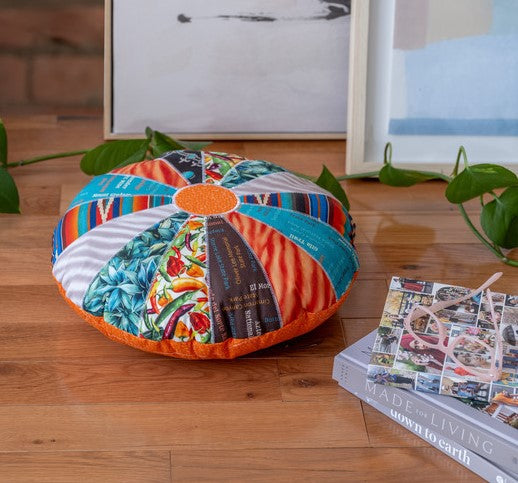
New Mexico & Arizona - Patchwork Floor Pillow

Designer: Daisi Toegel
Website: www.flowersew.com
--------------------------------------------
Category: Patchwork/Quilting
Size: 18in diameter
Skill level: Confident Beginner
Pattern notes:
- Read all instructions before starting.
- Seam allowance is 1/4in unless noted otherwise.
- WOF = width of fabric: assume 42in for yardage (YD); 18in x 21in for Fat Quarter (FQ); 9in x 21in for Fat Eight (FE).
- RST = right sides together
Fabric Requirements (Arizona + New Mexico Shop Hop Fabric)
|
Color 1 (c1) = Sand AZ |
1 FE |
Main side patchwork |
|
Color 2 (c2) = Sand NM |
1 FE |
|
|
Color 3 (c3) = Words Teal |
1 FE |
|
|
Color 4 (c4) = Word Brown |
1 FE |
|
|
Color 5 (c5) = Chilis |
1 FE |
|
|
Color 6 (c6) = Turquoise |
1 FE |
|
|
Color 7 (c7) = Agave |
1 FE |
|
|
Color 8 (c8) = SW Diamonds |
1 FE |
|
|
Color 9 (c9) = Blender Pumpkin |
1/2yd |
Backing |

You’ll also need:
(1) printed copy of the TEMPLATE PDF file HERE
(2) 19in x 19in square of batting or stabilizer of your preference (I used 100% cotton quilt batting)
(1) 3 1/2in diameter circle of non-fusible interfacing for machine applique
Fiberfill to stuff the pillow (approximately 8-10oz)
Tools needed:
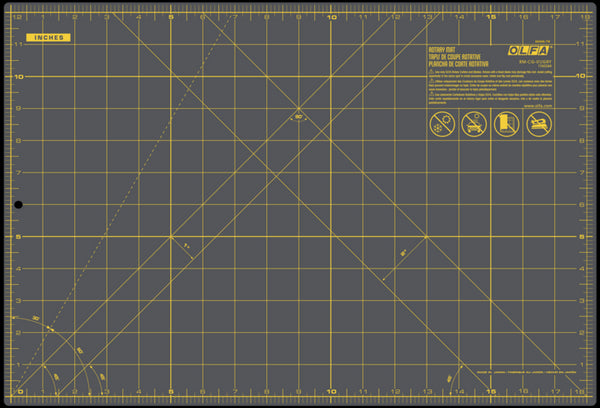
RM-CG-01/GRY 12”x18” Double-Sided Self-Healing Rotary Mat, Gray
RTY-2DX/MAG 45mm Ergonomic Rotary Cutter
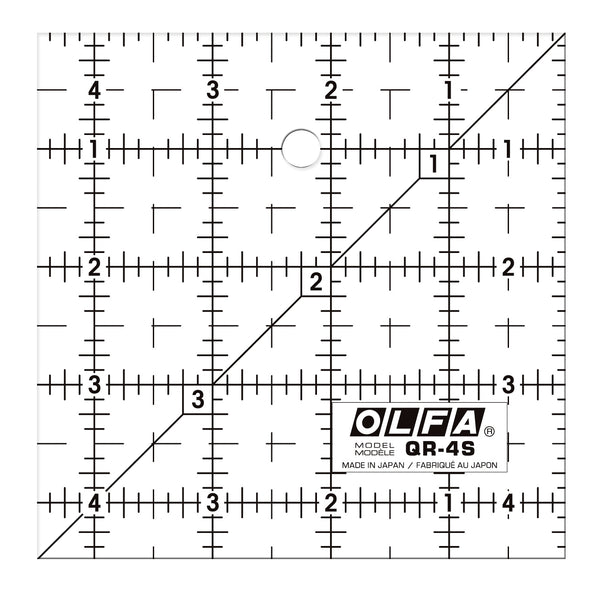
QR-4S 4 1/2" Square Frosted Acrylic Ruler
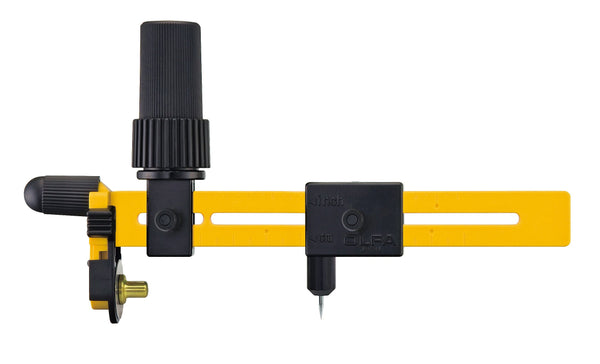
CMP-3 Rotary Circle Cutter (optional, template provided)
Cutting instructions:
Cut (14) pieces from the TEMPLATE using assorted fabrics C1 through C8;
Cut (1) 3 1/2in diameter circle from the backing fabric C9;
Cut (1) 19in x 19in square from backing fabric C9.

Arrange the template cut pieces in your preferred layout to mix the colors and prints.

Prepare the center circle before you start sewing the patchwork.
With RST of the C9 fabric and non fusible interfacing, sew around the entire circle.
Make small cuts around the entire circle 1/8in far from the seam.
Make a cross cut on the interfacing side only.
Turn the ride side out and press. Set aside.

Sew the (14) template cut pieces. Start with two pieces RST. Keep adding piece by piece.
When all pieces are sewn, sew the two ends together to form the circle.

Press all seams open before basting.

Give it a good press overall.

Applique the center circle by machine before basting the patchwork on the batting.

The back side of the applique should look like this, with approximately 1/4in over coverage around the edge edges of the center hole.

Baste the main patchwork on the batting and quilt as desired, or zig zag on the seams as in the photo.
Sew around the entire circle using 1/8in seam allowance to finish the edges.

Baste and quilt the backing fabric, but do not trim the excess batting yet.
Trim the excess batting from the main patchwork part only.
Give both parts a good press.

With RST, pin around the entire circle to sew. Leave an opening of approximately 4 inches.
***I trimmed the corners of the initial 19in x 19in square to be more manageable when quilting and sewing.

Sew along the edge, backstitch at the beginning and end of the seam.
Trim the excess batting when finished.

Turn the right side out and press.
Fill the pillow with fiberfill and close the hole with invisible stiches to finish.

Congratulations! You’re all done.