One Layout, Two Different Projects - Valentine’s Day Edition

Designer: Marcia Izabel Marchiori
YouTube: MarciaBel Vlog
Instagram: @marciabel
---------------------------------------

Valentine's Day is for celebrating love everywhere, and if you're looking to share your love in an artful way with all your friends and family this year, then the best way to do so is with DIY Valentine’s Day wall art, which can be easily adapted to be used as a scrapbook page as well. So let’s learn how to make both!

Tools & Supplies Needed:
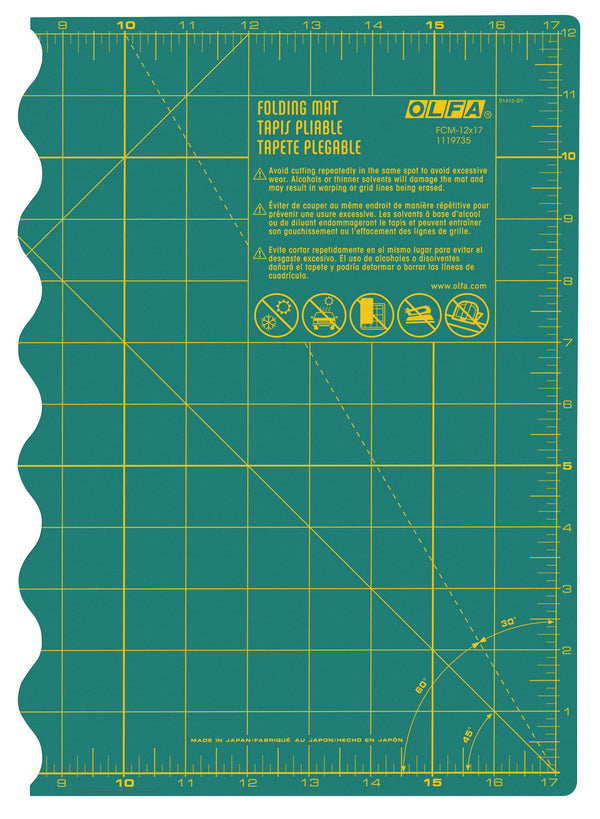
- OLFA FCM-12x17 12" X 17" Folding Cutting Mat
- OLFA QR-6x12 6" X 12" Frosted Acrylic Ruler
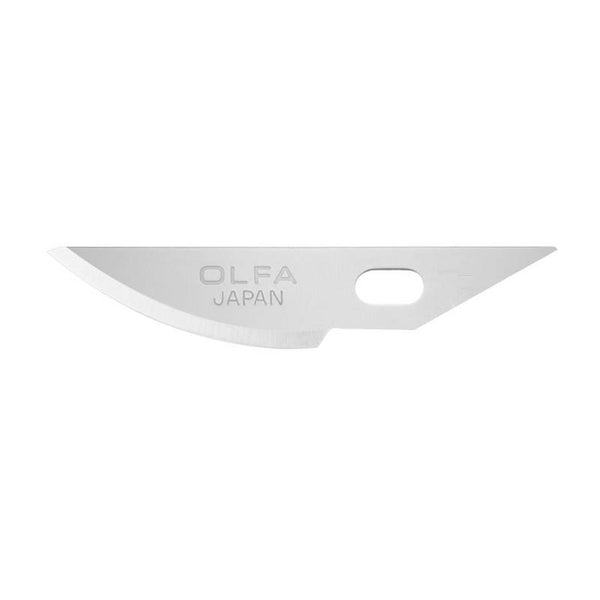
- OLFA AK-4 Cushion Grip Art Knife, paired with OLFA KB4-R/5 Curved Carving Art Blade, 5pk
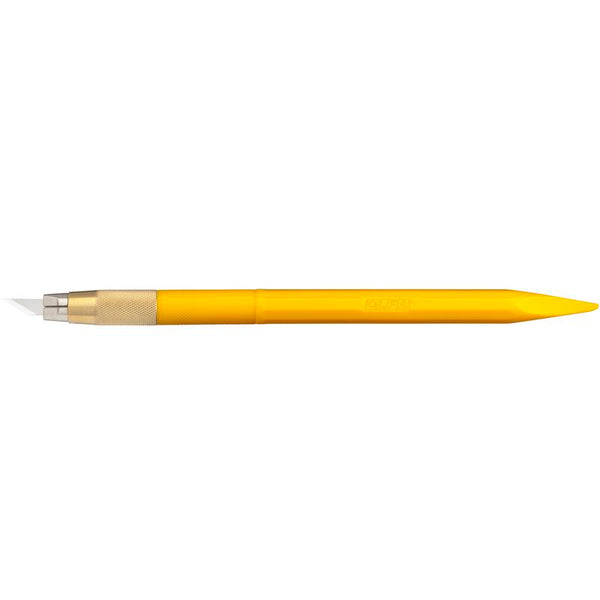
- OLFA AK-5 Designer Graphic Art Knife With 30 Replacement Blades assembled with the needle tip
- OLFA 28mm RTY-1/C Quick-Change Rotary Cutter
- OLFA 5-Inch SCS-4 Precision Appliqué Scissors
- 12” x 12” red textured cardstock, for scrapbook page
- Patterned cardstock, letter size: for my projects I used Riley Blake Designs Crafting Paper - Bee In My Bonnet by Lori Holt, Cook Book & Prairie collections
- Vellum paper
- White cardstock to print template and lettering
- White marker (I used Posca marker)
- Aurifil white floss
- Needle
- A piece of felt (used as a base when pinpoint punctures)
- Double-sided adhesive tape
- Frame (shown is 10 1/2” x 8 1/2”)
- Pencil & eraser
Instructions:
- Print template to scale, cut patterns, quotes and photo, then gather all tools and materials.
2. Measure and cut a 6 1/2” x 8 1/2” rectangle from the floral paper.


- Cut vellum paper strip to size according to template, leaving an extra edge on both sides to bend it over. Then place it together with the bigger heart template onto the floral layer.
- Trace the outline of the heart with a pencil and cut the shape out using OLFA AK-4 Cushion Grip Art Knife, paired with OLFA KB4-R/5 Curved Carving Art Blade. This blade will help you cutting the curved shape with more precision.


- For the heart background, it’s much easier to use a gingham patterned paper as it will work as a visual guide for the stitching step. Here I’m using this beautiful red one from the Riley Blake Designs, Prairie collection by Lori Holt.
- Position the smaller heart template aligning the top to the horizontal lines of the gingham paper, trace it with a pencil, then cut a rectangle out of it, leaving an extra edge of at least 3/4” on all sides of the heart, like this:


- Place the rectangle onto the felt and, using OLFA AK-5 Designer Graphic Art Knife assembled with the needle tip, pinpoint punctures all over the edge of the heart, spacing the holes according to the lines of the patterned paper.


- Using the Aurifil white floss (all the strands), start stitching pulling the needle through the holes you created and along the lines, from down to top, and tying a knot on the back of the paper when finishing it.

This is the result:

- Using the “Love" lettering template, write it up using the white marker. Attach the vellum paper behind the floral paper to the back on both sides with the adhesive tape.


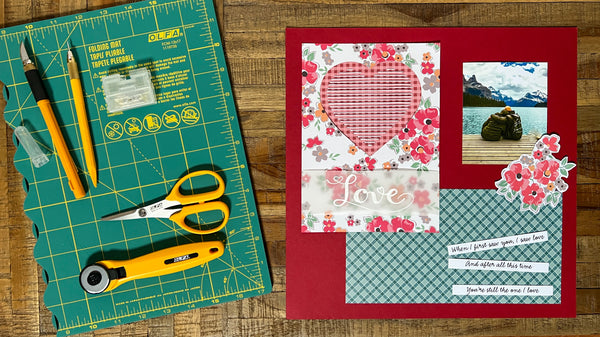
- The wall artwork is ready to be framed and hung!


If you are making the scrapbook page follow these instructions after finishing the wall artwork:
- Cut a 4 3/4”x 9" piece of a matching patterned paper and glue on top of the red cardstock, assembling together the artwork you created, photo, floral cutout (this one is from the same collection mentioned in the supplies list), and the quote strips.
It’s that simple! Voilà, here's your beautiful scrapbook page:

I hope you have lots of fun making this project, and don’t forget to tag me @marciabel and @OLFA_craft in your finished projects, we would love to see your pieces of art!
Have a lovely Valentine’s Day!
Marcia