One Layout, Two Different Projects: learn how to make a beautiful card & a scrapbook layout
Designer: Marcia Izabel Marchiori
YouTube: MarciaBel Vlog
Instagram: @marciabel
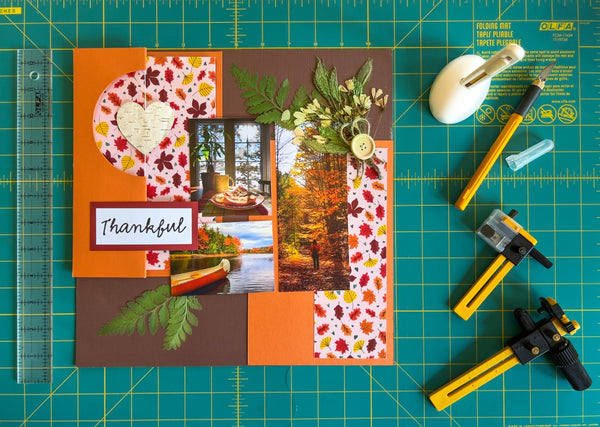
What makes a greeting card tutorial even better? Adding a scrapbook project to it, using the same technique that can be ready in no time, working with the same tools and supplies!
So let’s begin!
Tools & Supplies Needed
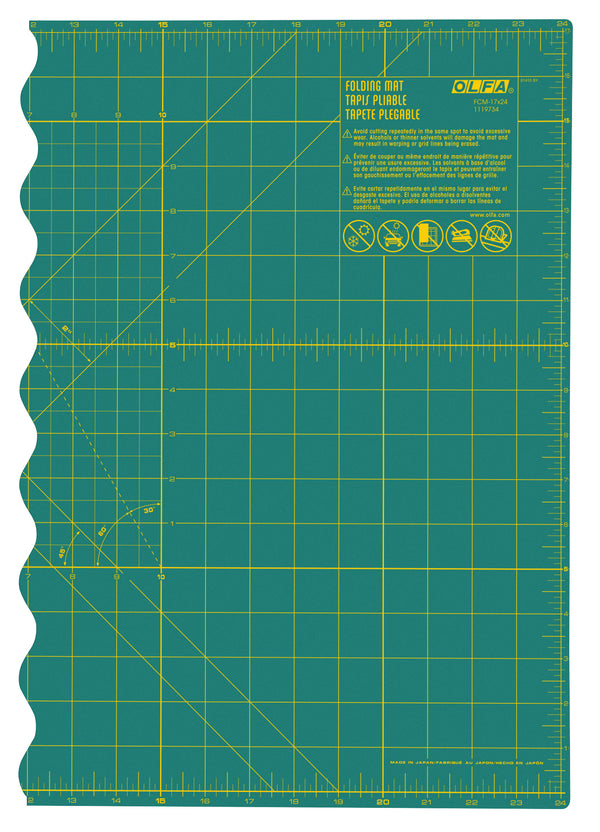
- OLFA FCM-17x24 17" X 24" Folding Cutting Mat
- OLFA QR-1x12 1" X 12" Frosted Acrylic Ruler
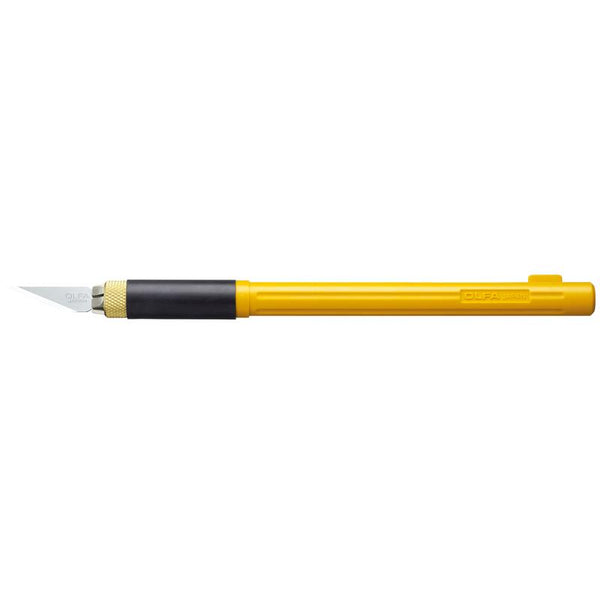
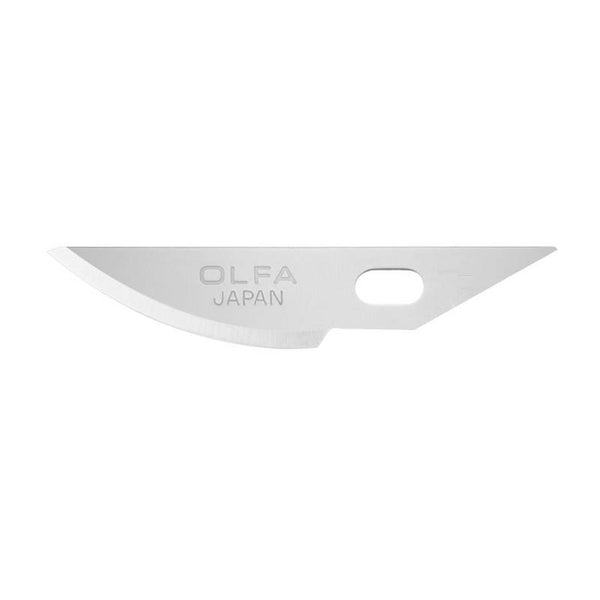
- OLFA AK-4 Cushion Grip Art Knife, paired with OLFA KB4-R/5 Curved Carving Art Blade, 5pk (1 comes in the pkg with the knife)
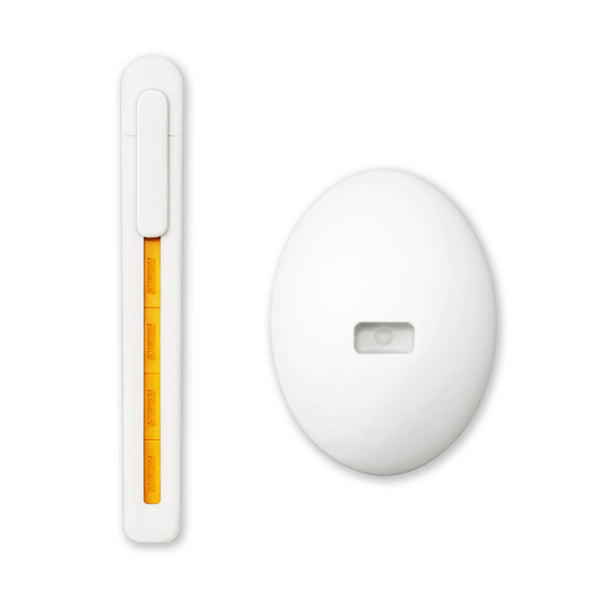
- OLFA ESK-1 ESK-1 Beginner Craft Knife With Stand
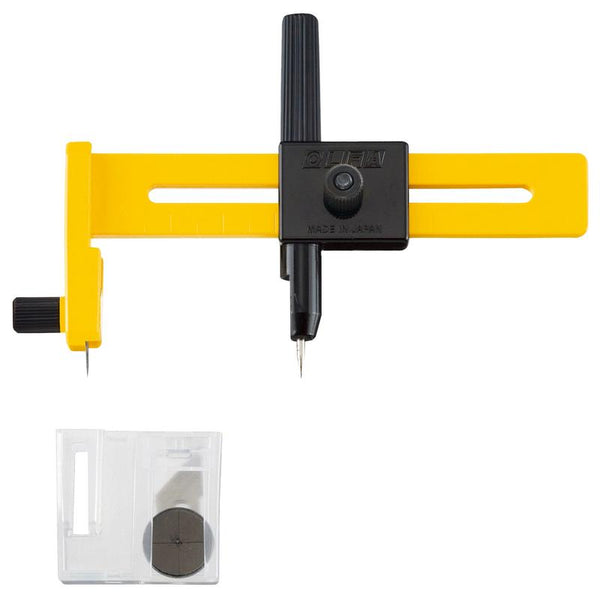
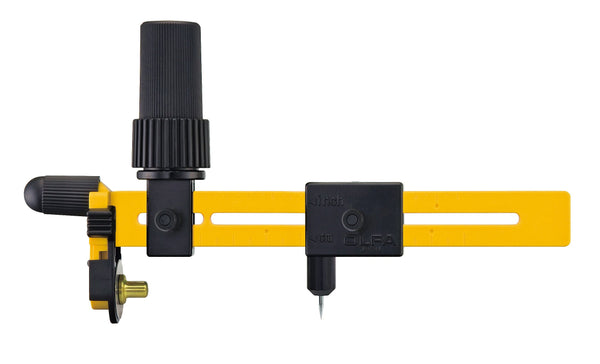
- OLFA CMP-1 Compass Circle Cutter or OLFA CMP-3 Rotary Circle Cutter
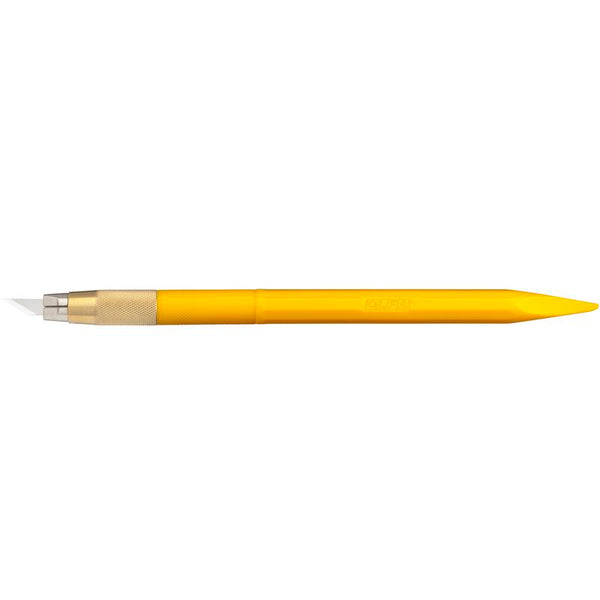
- Optional, for scoring & folding: OLFA AK-5 Designer Graphic Art Knife With 30 Replacement Blades (the tapered base of the handle, or a bone folder)
- Textured cardstock, assorted colors, letter size
- Patterned cardstock, letter size
- White cardstock, letter size (suitable for printing)
- For the scrapbook page: one brown textured cardstock, 12" x 12”
- Double-sided adhesive tape
- Permanent glue tape
- Pencil & Eraser (optional: compass to draw circle)
- String or thread (I have used a crochet thread)
- For Scrapbook Layout: 3 photos (Sizes: 2 3/4" x 6 5/8”; 3” x 3 3/4”; 4” x 2 3/4”)
- Optional embellishments: Foraged dried leaves, flowers, birch bark, wooden button, jute twine.
PRINT TEMPLATE HERE
Instructions
- Print template to scale, cut pattern, tags and photos, and gather all tools and materials.
- First, score (using the tapered base of the OLFA AK-5 Art Knife handle or bone folder) cardstock in half, lengthwise.Then, score and fold 1/4 of the same paper lengthwise.
- After folding 1/4 of the paper lengthwise, mark center of circle with a pencil: 2 3/4” from the top (folded edge side). Using the OLFA CMP-1 Compass Circle Cutter (or OLFA CMP-3 Rotary Circle Cutter), adjust the length of the sliding arm to 2 inches (radius of the circle), position spike to the previously marked center point (no need to use the spike pad in this case, as this part of the paper will be discarded) and make the circle, like this:
This is the result:
- Apply double-sided tape to the inside of the folded part, then attach the string, making sure that it is tensioned and not loose. Apply glue tape to all edges and glue both sides together, cutting out any string excess:
- Using the heart shaped pattern, cut two pieces of cardstock. As an option, here I am using foraged birch bark as paper! :-)
TIP: The curved blade will help greatly in this step, resulting in precise smooth cuts.
- Apply double-sided tape to the back of the heart (making a T-shape with the tape) and glue, position its middle to the string, then attach the other heart together:
- Score and fold patterned paper letter size, lengthwise.Then, using the OLFA ESK-1 Beginner Craft Knife, mat measurement guides and acrylic ruler, cut 1/2” out of each side of the already folded paper.
Then apply (and score edge) double-sided adhesive tape to the top of the open side of folded paper, widthwise. Adhere it to the card:
- Adhere printed and cut “Thankful” tag to cardstock, cut edges, and glue it to card:
And your greeting card is ready to send!
If you are making the scrapbook page follow these instructions after finishing the card:
- Cut half letter size cardstock in half, lengthwise (use the same combination of colors as in the previous steps).
- Cut a 2 3/4”x 8" piece of the same patterned cardstock, lengthwise, and glut on top of the orange cardstock.
- Using the 12” x 12” brown cardstock as base, adhere everything together on top of it, positioning all parts like this:
And there you have it! Same idea, two different projects!
I hope you have lots of fun making this and don’t forget to tag me @marciabel and @OLFA_craft in your finished projects, we would love to see your pieces of art!
Have fun!
Marcia


