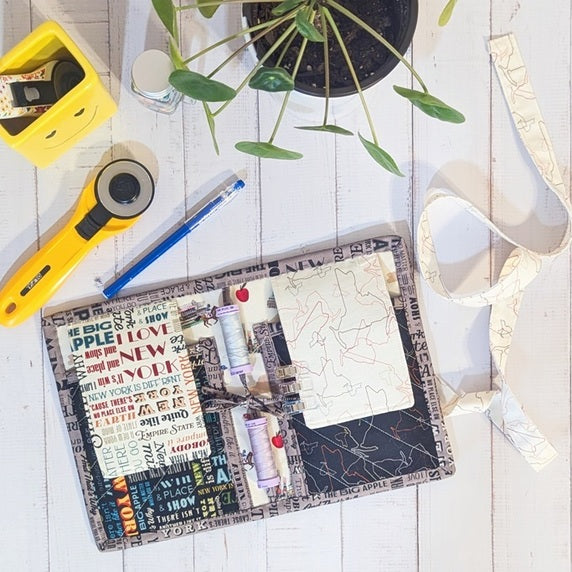
New York - Sewing tool travel organizer

Designer: Daisi Toegel
Instagram: @daisitoegel
Website: www.flowersew.com
------------------------------------------------
Project name: Sewing tool travel organizer
Category: Sewing organization
Size: 8” L x 12” W (open) / 8” L x 6” W (closed)
Skill level: Confident Beginner
Pattern notes:
- Seam allowance is ¼in unless noted otherwise.
Fabric Requirements:
Color 1 (c1) = Icon Toss Cream |
(1) 12” W x 8” L |
Inner fabric |
Color 2 (c2) = Icon Toss Brown |
(1) 12” W x 8” L |
Outer fabric |
Color 3 (c3) = Outline Black |
(2) 5” W x 6” L |
Right pocket |
Color 4 (c4) = Outline Cream
|
(2) 4” W x 6” L(1) 36” L x 2 1/2"W |
Right flapClosing tie |
Color 5 (c5) = Word Toss |
(2) 5” W x 6” L |
Left pocket |
Color 6 (c6) = Word Toss Cream |
(2) 4” W x 6” L |
Left flap |
Color 7 (c7) = Word Toss Sepia
|
(2) 1” W x 10” L(2) 2” W x 5” L(2) 1” W x 7” L(2) 2 1/2" W x 42” L |
Thread spool stringsPocket top bindingPocket side stripOverall binding
|
You’ll also need:
*(1) 12” W x 8” L stabilizer or batting
*(2) 5” W x 6” L stabilizer or batting
*(2) 4” W x 6” L stabilizer or batting
(the recommended stabilizer is Pellon 926 Extra-firm)
*(2) 2” x 3” felt pieces (for the needle book pages)
*(3) 2” x 3” batting pieces (for the pincushion)

Tools needed:
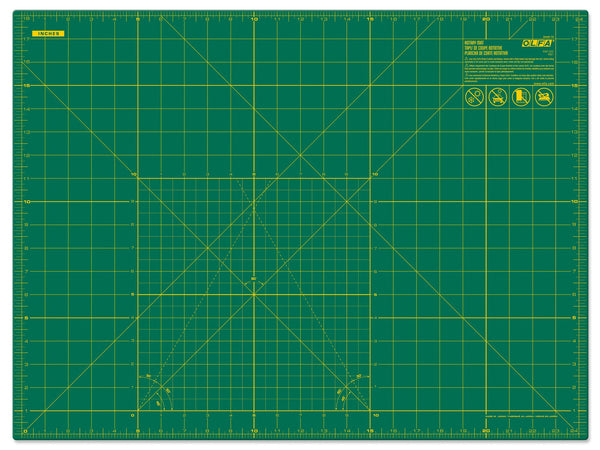
OLFA RM-SG; RM-SG-01 18" x 24" Green Double-Sided, Self-Healing Rotary Mat
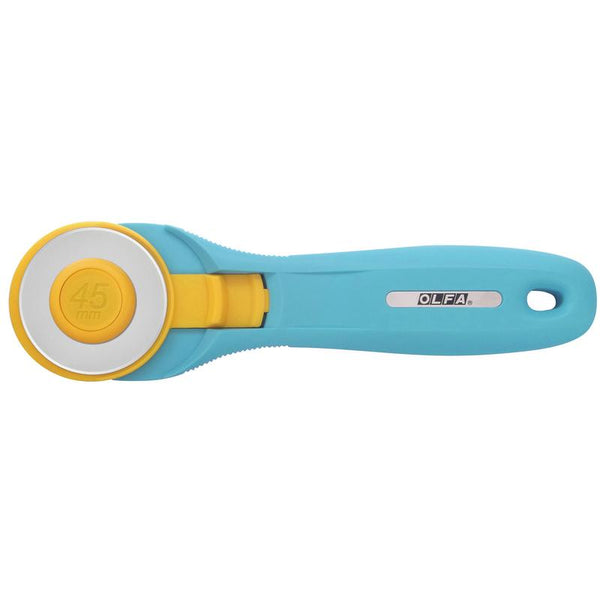
OLFA 45mm RTY-2/C Quick-Change Rotary Cutter, Aqua
OLFA QR-6x24 6" x 24" Frosted Acrylic Ruler
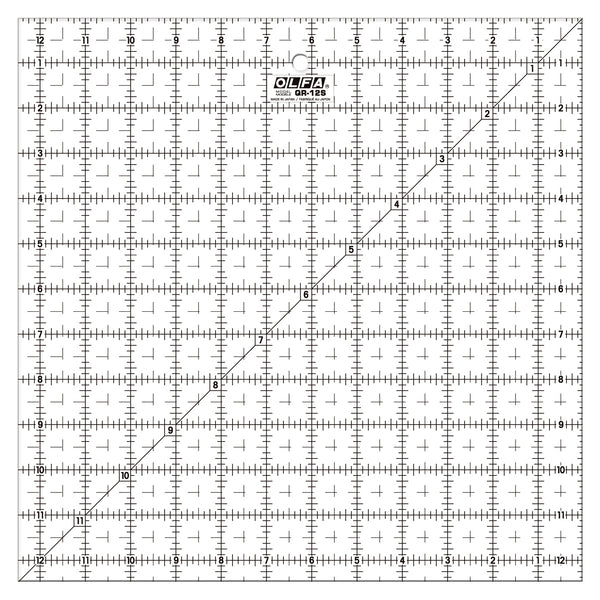
OLFA QR-12S 12 1/2" Square Frosted Acrylic Ruler
Prepare the thread spool strings:
Press each long side of the 1” x 10” fabric pieces of C7 towards the center by 1/4”. Fold both long ends together and sew to finish the edges.

Prepare the closing tie:
Press each long side of the 36” x 2 1/2” fabric pieces of C4 towards the center by 1/4", also press one of the short sides in by 1/4in to make one side of the tie with a finished edge. Fold both long ends together and sew to finish the edges, and tip ends.

With all fabric and stabilizer cut and the ties prepared, press the binding pieces and set aside.

Start with the pockets, make (2) sandwiches of the left and right pockets (fabric + stabilizer + fabric) and quilt using your favorite design.
Bind each top edge of the pockets (one of the shorter edges) – attention to fabric print directions.

As a mockup, lay the pocket pieces on the main inner fabric and align the flap pieces (only one fabric piece + stabilizer) on top of the pocket piece, and mark a 1” line above the edge of the flap’s bottom.
Sew in the center of the needle book pages (felt pieces) centralizing it on top of the marked line.

Add the other piece of the flap fabric with right sides together on top of the previous piece with the needle book pages.
Sew along the edges leaving the top unsewn.

Turn the flap right side out, press and topstitch.
Repeat this process to make the other flap, but this time sew the pincushion (stacked batting pieces), and use the same placement instructions, sewing around the stack using 1/8” seam allowance.
Finish the second flap as previous instructions.

Now, place the inner main body fabric facing up with wrong side on the stabilizer, press and align each prepared pocket on the bottom corners and clip them in place.
Sew along the edges to secure using 1/8” seam allowance.
Do not add the main outer fabric in this step.

Side strips (to cover the pockets raw side edges): fold the long edges and one short edge of the pocket side strips (1” x 7” of C7) and press. Sew them on each raw edges of the pockets that won’t be bound by the overall binding.
Thread spool strings: Sew one thread spool string on each top and bottom center of the main body to secure.
Flaps: Align the flaps on the center of each pocket overlapping, and with the top edges aligned to the main body top edge, sew each one in place to secure using a 1/8” seam allowance.

On the main outer side (attention to fabric print direction), align the outer fabric on the stabilizer and sew along the edges to secure using a 1/8” seam allowance.
With the project main side facing up, sew the raw end of the closing tie on the center of the left side.

Bind along the edges and you’ll be all done.


This project is great to bring on trips, retreats, classes and for gifting too!


