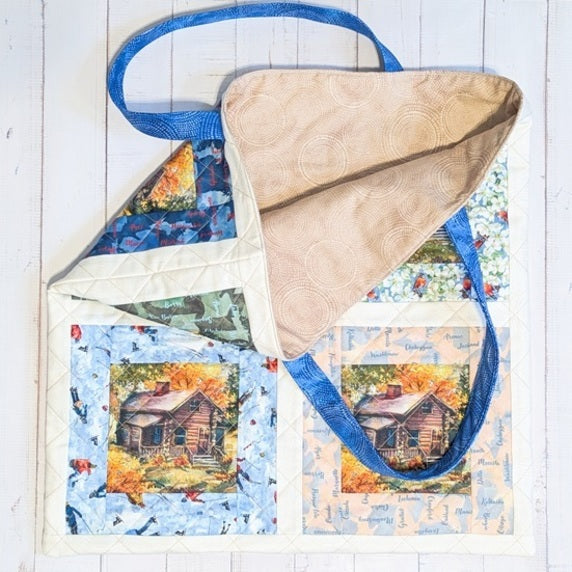
Michigan patchwork quilted bag

Designer: Daisi Toegel
Instagram: @daisitoegel
Website: www.flowersew.com
---------------------------------------------
Size: 19” square approximately
Skill level: Confident Beginner
Pattern notes:
- Seam allowance is ¼in unless noted otherwise.
- WOF = width of fabric, assume 42”.
- FE means fat eighth = 9” x 21” (half of a FQ fat quarter).

Fabric Requirements:
Color 1 (c1) = Fall |
1yd |
Fussy cut shack squares |
Color 2 (c2) = Counties Evergreen |
1 FE |
Frame for the shack squares |
Color 3 (c3) = Counties Sand |
1 FE |
Frame for the shack squares |
Color 4 (c4) = Counties Blue |
1 FE |
Frame for the shack squares |
Color 5 (c5) = Winter Sports |
1 FE |
Frame for the shack squares |
Color 6 (c6) = Birds and blooms |
1 FE |
Frame for the shack squares |
Color 7 (c7) = Summer |
1 FE |
Frame for the shack squares |
Color 8 (c8) = Blender blue jeans |
1 FE |
Handles |
Color 9 (c9) = Blender Yvory |
1/4yd |
Sashing for the framed shack blocks |
Color 10 (c10) = Blender tan |
2/3yd |
Lining |
You’ll also need:
*(2) 20” square pieces of quilt batting (or the stabilizer of your preference)
*(2) straps or extra-firm stabilizer pieces 1” x 20” each for the handles
Tools needed:
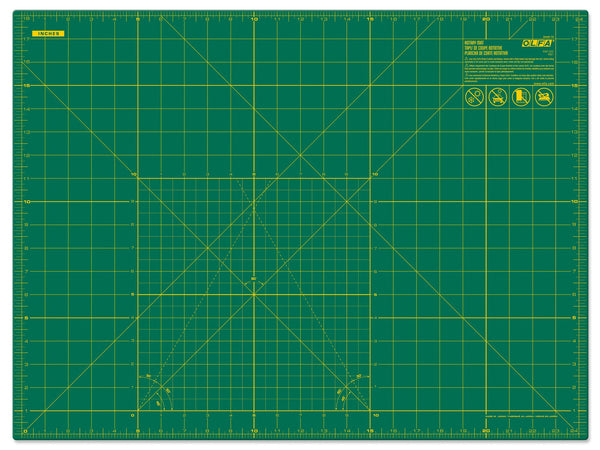
OLFA RM-SG; RM-SG-01 18" x 24" Green Double-Sided, Self-Healing Rotary Mat
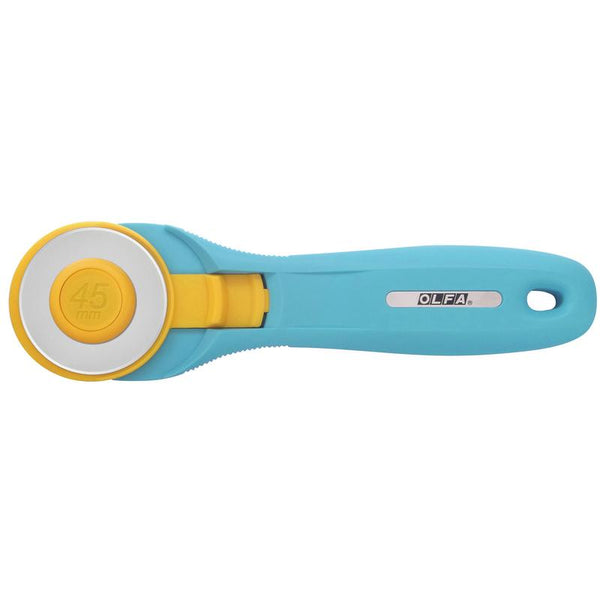
OLFA 45mm RTY-2/C Quick-Change Rotary Cutter, Aqua
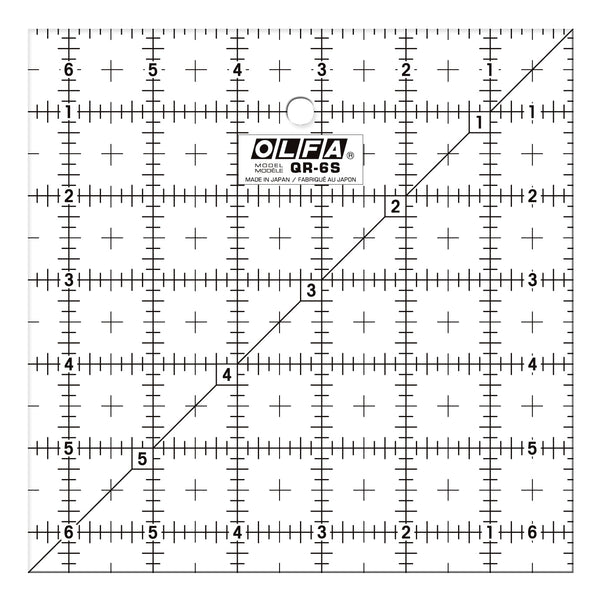
OLFA QR-6x24 6" x 24" Frosted Acrylic Ruler
OLFA QR-6x12 6" x 12" Frosted Acrylic Ruler
*This is a double-sided bag; this means that both sides will be identical.
*1 yard of Color 1 is enough for (8) fussy cut shacks – 4 of each different direction - used for this project.

Cutting instructions:
To cut the shacks (Color 1), place the 6 1/2" Square Frosted Acrylic Ruler on the 5 1/2” square mark centralizing the image in this square measurement and cut top and right sides, turn the ruler and cut the bottom and left sides.
Color 2 and Color 3, each:
Cut (4) 2” x WOF (=21”); sub-cut (4) 5 1/2" x 2” rectangles and (4) 8 1/2" x 2” rectangles.
Color 4, Color 5, Color 6 and Color 7, each:
Cut (2) 2” x WOF (=21”); sub-cut (2) 5 1/2" x 2” rectangles and (2) 8 1/2" x 2” rectangles.
Color 8:
Cut (2) 3” x 21” rectangles
Color 9:
Cut (6) 1 1/2" x WOF (42”) strips; Sub-cut:
(4) 1 1/2" x 8 1/2"rectangles
(6) 1 1/2" x 17 1/2" rectangles
(4) 1 1/2” x 19 1/2” rectangles
Color 10:
Cut (1) 19 1/2" x WOF (42”) strip; Sub-cut (2) 19 1/2" squares.

Sew the framed shack blocks:
Start with one shack square and sew (1) 5 1/2"x 2” rectangle strip of the same fabric (from C2 to C7) on the top and bottom of the square. Press seams towards the rectangle strips.
Then, sew on each side (1) 8 1/2" x 2” rectangle strip to finish the block.

Press all seams towards the rectangle strips as you sew them.

Repeat the process to make (8) blocks.

Assembling the bag patchwork pieces:
Select (4) blocks per each side of the bag.
Horizontally, sew a (Color 9) 1 1/2" x 8 1/2” strip in between two blocks. Make (4) of these units (2 for each side of the bag).

Now vertically, sew a (Color 9) 1 1/2" x 17 1/2" strip on the left, center and right of the four-block patchwork piece.

Lastly, sew one (Color 9) 1 1/2” x 19 1/2" strip on the top and bottom of the patchwork piece.

Repeat this process to make both bag patchwork sides. Press seams towards the (Color 9) strips.
Baste and quilt each patchwork piece and trim to 19 1/2" squares.

Make the handles:
For each (Color 8) rectangles, first press the short edges by 3/8” in.
Then, press the long edges by 3/8” in as well and insert the strap or batting piece to stabilize.
Join the folded sides together and clip it all along the edges. Sew along all edges to enclose the strap.

Sew the bag:
Sew the handles on each bag parts individually before sewing the parts together to form the bag body.
Align each side of the handle 5 inches towards the center on the top of each quilted piece.
Sew a small rectangle 1/2" below the top edge of the quilted piece.

With right sides together, sew the sides and bottom of the bag body using 1/4" seam allowance and backstitching in the beginning and end of the seams.

In the same manner, sew the lining but leave a 7-inch opening to turn the bag to the right side later.

Trim the corners diagonally before the seams on both body and lining pieces.

Turn the main body right side out, and press well.
Pin the handles down so they won’t be in the way when sewing the lining.

With the bag body and lining sides right sides touching (do not turn the lining right side out from the previous step), insert the bag body inside the lining and clip all along the edges.

Sew along the entire edge using a 1/4"seam allowance and backstitch at the end.
Turn the bag to the right side through the opening on the bottom of the lining part and adjust the lining bottom opening and sew it to close. Tuck the lining inside the bag body and press the entire project.
Clip the top of the bag to topstitch as part of the finishing process.
Topstitch 1/8” below the edge.

OPTIONAL TIP:
Adjust the bottom of the bag with the lining side under the sewing machine needle and sew a 2 inches line backstitching at the beginning and end on top of the bottom seam of the bag. This process will hold the lining in place, this way when anything is taken from the bag when in use, the lining won’t be pulled.


Press the body again to settle all seams, and you’ll be all done!


