Kansas & Nebraska Fold Over Patchwork Clutch with Flower

Designer: Daisi Toegel
Website: www.flowersew.com
--------------------------------------------
Category: Patchwork/Bag
Size: 10” H x 12” W (folded) / 16” H x 12” W (open)
Skill level: Intermediate
Pattern notes:
- Seam allowance is 1/4in unless noted otherwise.
- FE = fat eight = 9” x 21”.
- This project is great to be made using fabric small pieces.

Fabric Requirements:
|
Color A (cA) = Chickens Neutral |
1 FE |
|
Color B (cB) = Chickens Red |
1 FE |
|
Color C (cC) = Quilt Block Toss - Multi |
1 FE |
|
Color D (cD) = Quilt Block Toss - Red |
1 FE |
|
Color E (cE) = Quilt Block Toss - Cream |
1 FE |
|
Color F (cF) = Blender Daisy (lining) |
1/2yd |
Tools needed:
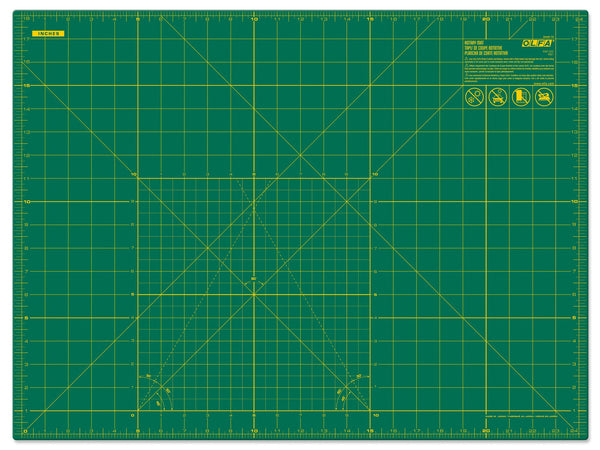
OLFA RM-SG-01 18" x 24" Green Double-Sided, Self-Healing Rotary Mat
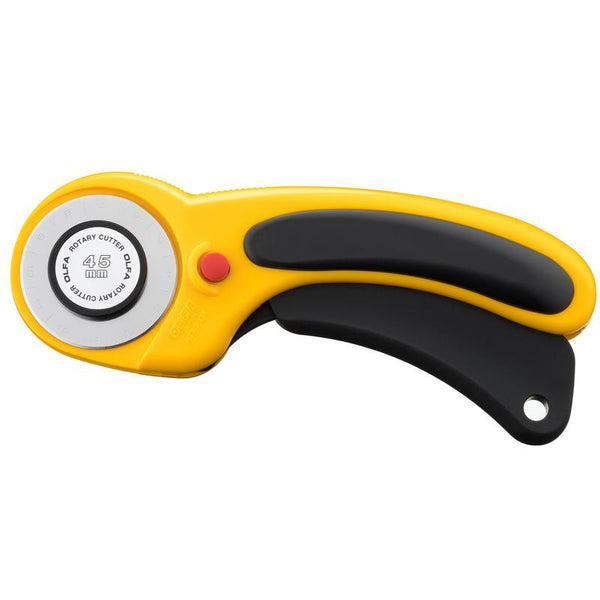
OLFA RTY-2DX/MAG 45mm Ergonomic Rotary Cutter
OLFA QR-6x24 6”x24” Frosted Acrylic Ruler
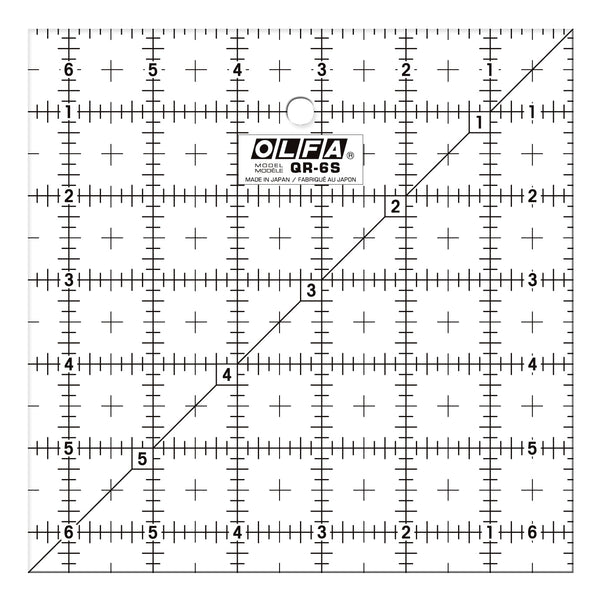
OLFA QR-6S 6 1/2" Square Frosted Acrylic Ruler

Cutting instructions:
From each fabric A through E, cut:
(3) 2 1/2" x WOF strips.
From fabrics A, B and E, sub cut: (19) 2 1/2” squares.
From fabric C, sub cut: (20) 2 1/2" squares.
From fabric D, sub cut: (21) 2 1/2” squares – (2) of these squares will be the zipper tabs.
From fabric F, cut:
(2) 16 1/2" x 12 1/2" rectangles, and
(1) 25” x 2 1/2” strip.
You’ll also need:
*(1) 12” or longer zipper
*(1) set of magnetic buttons
*(2) 16 1/2” x 12 1/2” fusible fleece, stabilizer pieces or batting – for bag body
*Hot glue and a hot glue gun

Sew the patchwork pieces (bag body):
With an 8 x 6 grid, organize and piece the patchwork with (48) squares for 2 blocks measuring 16 1/2" x 12 1/2". There isn’t a pattern, piece the squares randomly making sure the same print is not side by side.
For each block, the division of squares is as follows:
|
UNIT 1 (block 1) |
|
cA = 9 squares |
|
cB = 9 squares |
|
cC = 10 squares |
|
cD = 10 squares |
|
cE = 10 squares |
|
UNIT 2 (block 2) |
|
cA = 10 squares |
|
cB = 10 squares |
|
cC = 10 squares |
|
cD = 9 squares |
|
cE = 9 squares |
Press rows to opposite sides, and then press the rows seams open.

Baste the patchwork on the stabilizer of your preference WITHOUT the batting.
Quilt using your favorite quilting design. Press the units after quilting, and trim all threads.
The patchwork quilted units should measure 16 1/2" x 12 1/2".

Install the magnetic buttons on one of the patchwork units.
The top button is aligned on the center of the first square row.
The bottom button is aligned on the center of the 6th square row.

This is what the back of the quilted unit will look like with the buttons installed.

Open the zipper by 2 inches, and pin the ends together.
Cut the zipper to measure 11 inches, and press the extra (2) 2 1/2" squares of fabric D in half to crease, then open and press two opposite edges towards the crease to create an encasing tab for the zipper ends.

Sew each of the tabs on each end of the zipper using a 1/8” seam allowance.
Mark the center of the zipper and the top center of each patchwork unit.

With the patchwork main side facing up, and the zipper facing down (with teeth facing down), align the center and sew the zipper in place very close to the edge to secure. Then with the lining fabric right side down, touching the right side of the patchwork unit, align the 12 1/2" edge on top of the zipper and sew using 1/4" seam allowance.

Flip the lining fabric towards the back of the patchwork unit, press and topstitch it in place by 1/8” below the zipper. Trim the tab excess part.


Repeat the process to sew the other side.
With the patchwork unit that already has the zipper sewn facing up, add the other patchwork unit with right side touching. Align the center top to the zipper and sew close to the edge to secure the zipper in place.

Flip the project so the lining side is facing up and add the other lining rectangle with right sides touching. Sew using 1/4” seam allowance. Flip the lining fabric towards the back of the patchwork unit, press and topstitch it in place by 1/8” below the zipper. Trim the tab excess part.
Open the zipper, and separate the parts so lining fabrics are touching and main patchwork parts are touching. Align and clip along the edges.

Sew using 1/4in seam allowance and leave a 5” opening on the bottom of the lining. When finished, trim the 4 corners close to the seam.

Turn the bag right side out, carefully poke the corners out and adjust the zipper tabs in place, and press the entire bag before tucking the lining inside. Sew the lining opening using 1/8” seam allowance to close the hole. Tuck the lining inside the bag and press again. The bag is completed.

To make the flower, fold the 25” x 2 1/2" fabric F strip in half lengthwise with right side out and press.
Stitch on the finished long edge using 1/8” seam allowance.

To create petals effect on the strip, adjust your stitch length on the sewing machine to the wider as it goes.
Sew a straight line on the unfinished edge of the strip, leaving at least 6 inches of thread in the beginning and end of the seam.
Gently pull one of the threads on each side to gather.

With the hot glue start folding the flower circling it around the raw unfinished edge at the base.
Continue gluing so it forms a flower.
The back of the flower should be flat, so it can be glued to the bag.
Glue the flower with the hot glue and pull any strings of glue that might be hanging.

Optionally, using some trims from the fabric of your choice, or matching the flower fabric, tie some fabric strings on the zipper to style.

And you’re all done!


