How to Make a Wooden Hoop Frame for Your Summer Memories

Designer: Marcia Izabel Marchiori
YouTube: MarciaBel Vlog
Instagram: @marciabel
---------------------------------------
Level: Beginner
There’s something special about summer. The warm sunshine, long days, and unforgettable moments spent with loved ones. What better way to celebrate the season than by creating a unique photo frame to display your favorite summer memory?

In this tutorial, I’ll show you how to make a beautiful handmade wall decor using a wooden hoop, fabric, and embroidered felt.
It’s the perfect way to showcase an Instax photo while adding a touch of summer charm to your home. Let’s get started!

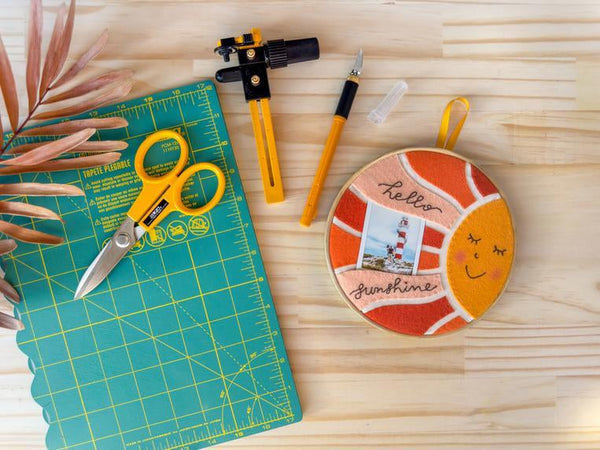
Tools & Supplies Needed
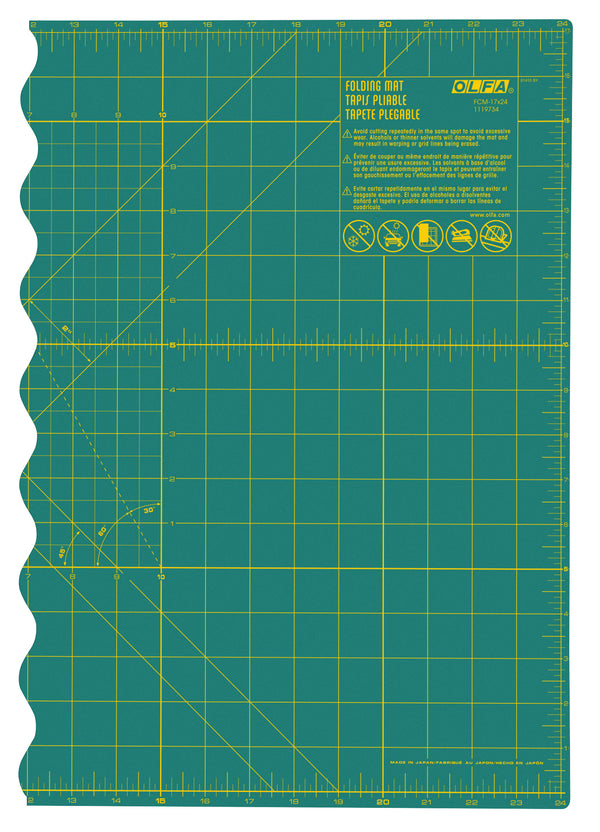
- OLFA FCM-17x24 17" x 24" Folding Cutting Mat
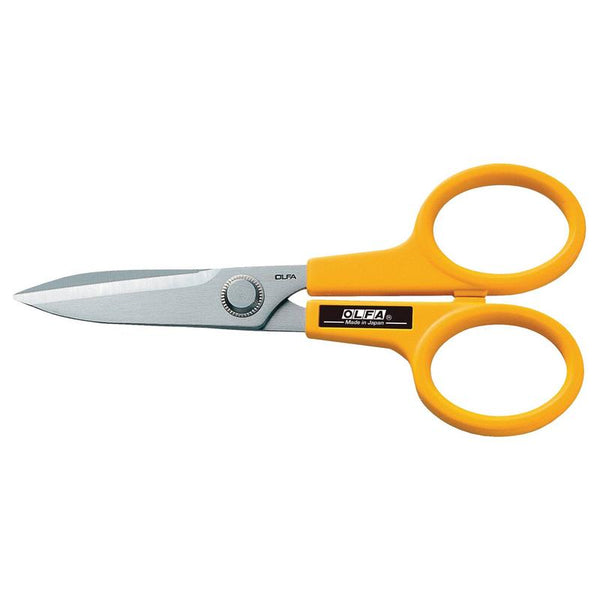
- OLFA 7-Inch SCS-2 Serrated-Edge Stainless Steel Scissors
- OLFA AK-4 Cushion Grip Art Knife
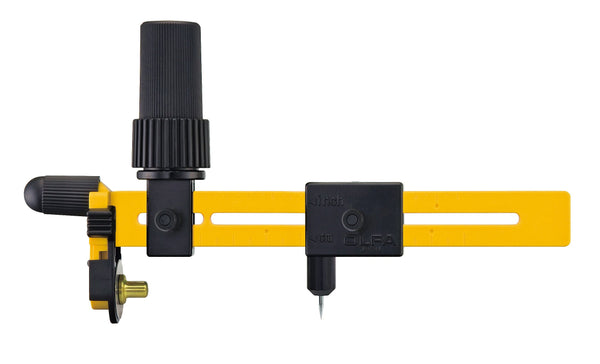
- OLFA CMP-3 Rotary Circle Cutter
- Felt - 3” x 5” each, in the following colors: yellow and three shades of orange
- Neutral fabric for the background (to be cut into a 9” diameter circle later)
- Therm O Web HeatnBond Lite Iron-On Adhesive - one piece for each felt square.
- 7” Wooden Embroidery Hoop
- Ribbon (for hanging your artwork later)
- Embroidery floss (matching colors with felt, and dark brown / used: Aurifil), pins and needle
- Erasable Pen (used: Pilot Frixion)
- Pencil, eraser, measuring tape
- Double-sided tape or hot glue
- One Instax photo of your favorite summer memory
- Iron (Optional: Therm O Web Pressing Paper)
Instructions
1. Start by printing the mirrored template here. Using OLFA scissors or art knife, cut out all parts of the template. Note: When cutting each part, include dashed lines (as shown below).This extra felt, represented by the dashed lines, will be hidden behind the hoop later.

2. Using an OLFA rotary circle cutter, extend it to its maximum diameter and cut a circle from the fabric. Using the "assembly guide" template as a reference and an erasable pen, trace a circle centered on the fabric, then set it aside.


3. Iron each 3”x 5” felt and interfacing together according to the manufacturer’s instructions. Using a pencil or pen, trace all mirrored templates onto the paper side of the interfacing.


4. Using OLFA scissors or the AK-4 art knife with curved blade, cut out each mirrored piece. Personally, I prefer hand-cutting with the OLFA art knife paired with the curved blade in this case, as the curved lines flow more smoothly when cutting, but both tools work just fine :-)

5. Once all the pieces are ready, peel off the interfacing paper, place them right side up on the fabric circle (using the 'assembly guide' template as a reference under the fabric circle), always ensuring there’s a 1/4” space between each piece. Press them with an iron, except for parts X and Y (set them aside for later). This step helps secure the felt pieces in place. Tip: Since felt is a delicate material, I like to iron it with Therm O Web Pressing Paper.


6. Finish the felt pieces by embroidering them onto the fabric with running stitches, using 2 strands of matching floss colors, as shown below.

7. Using a light table or a window and an erasable pen, trace the words 'hello' and 'sunshine' from the templates onto the right side of parts X and Y that you set aside earlier. Then, embroider each word using backstitch with 4 strands of dark brown floss.


8. Place parts X and Y in place, according to assembly guide. Important: these two pieces won’t be ironed. Position the photo, then mark the width with pins. Remove the photo and backstitch around the pins to attach the felt to the fabric, leaving the marked space unstitched for the photo, as shown below.


9. To achieve a perfect finish, add decorative stitches to the areas you skipped: use running stitches again, but don’t go through the fabric. This will maintain the gap for inserting the picture later, while also providing visual continuity to your art.

10. Using the same window method, trace the face details of the sun, then embroider each part of its face, using 3 strands of dark brown floss. Optional: Use a brush and blush to create a cheek blush effect on each side of the lips :-)


Assembling the Hoop:
11. If your hoop doesn’t have a screw, place a folded ribbon on top of the inner hoop (as shown below) securing with double sided tape, then lay the finished fabric circle over it. Next, place the outer embroidery hoop on top and gently push it down. Note: If your hoop has a screw, you don’t need to hold the ribbon first. Instead, you can attach the ribbon to the screw at the end. Just add fabric circle, outer hoop, tighten the screw at the top, then flip the hoop over. If needed, gently tug the fabric on the sides until it’s nice and tight.


12. Using OLFA scissors, trim the excess fabric outside the hoop, leaving about ¾″.

13. Using double-sided tape or hot glue, adhere the extra fabric to the inside of the inner hoop on the wrong side.


Insert your favorite photo into the gaps you left, and your artwork is ready!


As a variation, you also have the option to use this project without a photo, turning it into a wall artwork:
Here’s another idea I love: every year, choose your favorite photo of the season and change it annually, so this hoop artwork can become a visual highlight of your summer memories! :-)

I hope you enjoy your favorite summer memory all year long!
Don’t forget to tag me @marciabel and @OLFA_craft in your finished project, we would love to see your creation!
Marcia