How To Make a Chicken Wire Photo Frame

Designer: Marcia Izabel Marchiori
YouTube: MarciaBel Vlog
Instagram: @marciabel
---------------------------------------
Level: Beginner

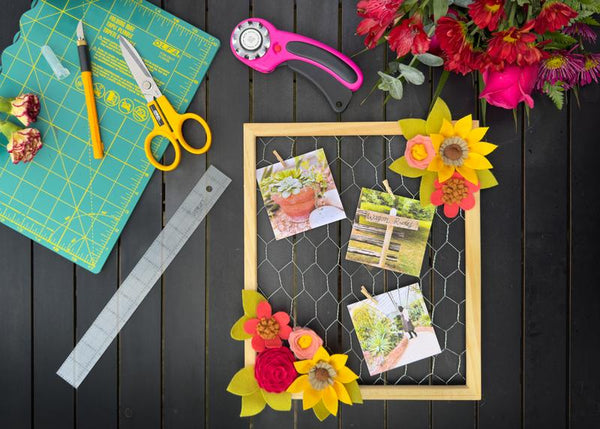
Spring is here, and it’s the perfect time to add some fresh and colorful decorations to your home. In this tutorial, we will turn a simple wooden frame and chicken wire—usually used for outdoor projects—into a beautiful photo frame. This project will show you that chicken wire can be used for more than just the garden!
To make it feel like spring, I will teach you how to create three easy and pretty felt flowers. These flowers will decorate your frame and bring the happy spring vibes it deserves.

You can use this frame in many ways: as a memo board, a place to hang a nice quote in your kitchen, a jewelry organizer, and more! For this project, I will show you how to use it as a photo frame to display your favorite spring memories.
So, grab your materials, and let’s get crafting!

Tools & Supplies Needed
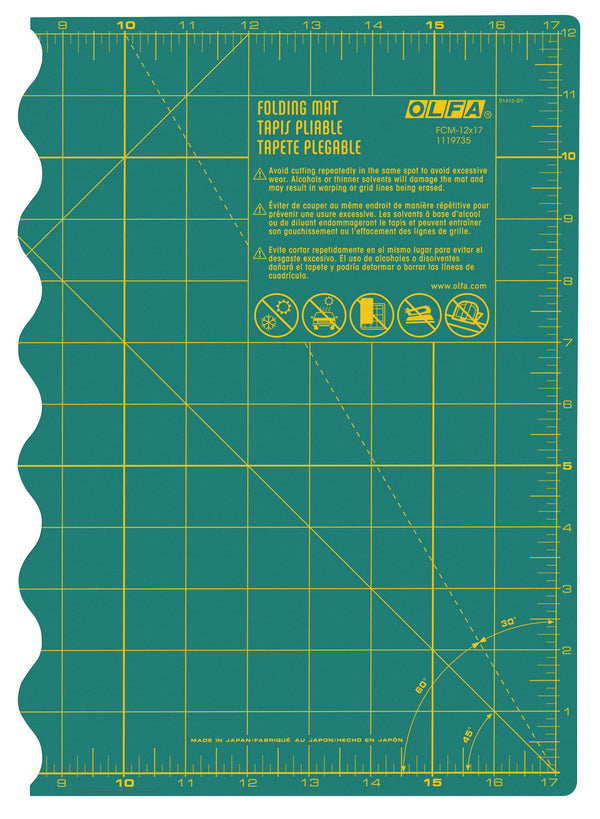
- OLFA FCM-12x17 12" x 17" Folding Cutting Mat
- OLFA 7-Inch SCS-2 Serrated-Edge Stainless Steel Scissors
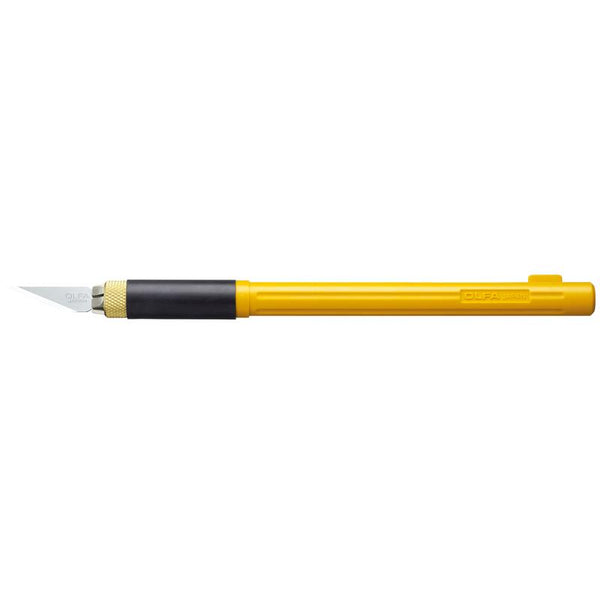
- OLFA AK-4 Cushion Grip Art Knife paired with Curved Carving Art Blade
- OLFA QR-1x12 1" x 12" Frosted Acrylic Ruler
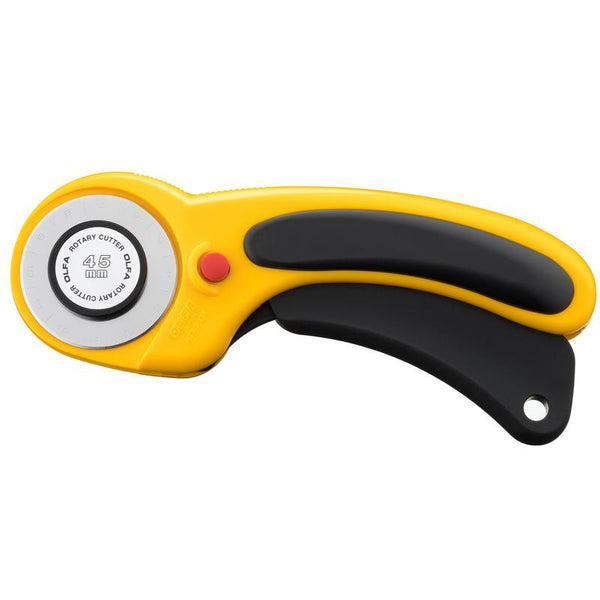
- OLFA RTY-2DX/MAG 45mm Ergonomic Rotary Cutter paired with SCB45-1 Stainless Steel Scallop Blade, 1pk and WAB45-1 Stainless Steel Wave Blade, 1pk
- Wooden Frame
- Chicken Wire (enough to fill your frame, plus at least 3/4“ extra on each side to secure it)
- Hot glue gun
- Felt (assorted colors for flowers and green for leaves)
- Pliers and craft hammer, as needed
- Erasable Pen (used: Pilot Frixion)
- Staple Gun (with staples)
- Small clothespins and printed photos
Instructions - Frame
- First, let’s prepare the frame. I’m using a new frame I bought at a dollar store, but you can easily find beautiful frames at thrift stores—it’s a great way to upcycle! Remove the back and glass (if the frame has them) and set them aside, as they won’t be needed for this project. Place the frame face down, with the back facing up. Use an OLFA ruler to measure the dimensions of the back of your frame.

- Next, grab the chicken wire roll. This material can be a bit tricky to handle, so take your time and consider wearing safety gloves if needed. Unroll the wire and press it down to flatten it as much as possible, making sure to remove any bumps. If needed, use a couple of heavy items (I used books and a plant vase!) to help keep it open. Measure the chicken wire and, using OLFA scissors, cut it to the desired size—your frame size plus at least 3/4 inch on each side to allow for securing it.

- Use a staple gun to attach the chicken wire to the back of the frame. Gently pull the wire tight as you staple, being careful not to warp it. This will ensure an even, flat surface. Staple the wire at least every 2 inches to keep it secure, and don’t forget to staple all four corners of the frame for extra stability.

- Use OLFA scissors to trim any excess wire, making sure all the wire remains on the back of the frame and doesn’t show from the front. If needed, use a small craft hammer and plier to gently flatten or bend any sharp edges for a smooth finish.


This is the result from the front side so far:

Instructions - Flowers
Let’s add some spring vibes to our frame! For this project, we’ll create felt flowers in different styles, with small variations. Let’s get started:
FLOWER 1:
- Cut an 8x1” rectangle from felt in a color of your choice. Divide the rectangle into two equal parts, and tie a knot in each piece.


- Cut an 8x3/4” rectangle from another color of felt. Using OLFA scissors, carefully cut slits approximately 1/8-inch wide along one side of the strip, ensuring you don’t cut all the way through to the other side.


- Now, glue the ends of the knot together. Then, begin rolling the felt strip around the knot, applying hot glue as you go to secure it in place. Roll it around twice, and once finished, trim any excess felt with OLFA scissors.


- Using an erasable pen, trace a 2” line on a different color of felt. Then, hand-draw petal shapes along the line. Using an OLFA art knife with a curved blade, carefully hand-cut each petal along the drawn lines.


- Using a hot glue gun, adhere the base of each petal as shown below:


- Glue the petals around the stamen you just made, continuing until the entire circle is complete. Make two of these flowers.


FLOWER 2:
- Using an OLFA ruler, mat, and art knife, start by cutting an 8x8” felt square to create a carnation-style flower. With an erasable pen, trace a spiral shape onto the square. Next, use an OLFA rotary cutter with the scallop blade to carefully cut along the traced line. Starting at the center of the spiral, roll it tightly into a flower shape, applying hot glue as you go to secure it in place.


FLOWER 3:
- This is a variation of Flower 1. Cut an 8x1 1/4” rectangle from felt. Apply hot glue along one side of the rectangle and fold it in half. Using OLFA scissors, carefully cut slits approximately 1/4" wide along one side of the strip, making sure not to cut all the way through to the other side.


- Roll the felt strip around the center, applying hot glue as you go to secure it in place

- Using an erasable pen, trace a 1” line on a different color of felt. Then, hand-draw petal shapes along the line. Using an OLFA art knife with a curved blade, carefully hand-cut each petal along the drawn lines.


- Glue the petals around the stamen you just made, continuing until the entire circle is complete. Make two of these flowers.


FLOWER 4:
- This is a variation of Flower 2. For the second style, start with a 5x5” felt square. Using an erasable pen, trace a spiral shape with proportional curves from center working your way out to the edges of the square. Then, use an OLFA rotary cutter with a wave blade to cut along the curves you traced.


- In a different color of felt, make two knots using the same process as Flower 1. Then, starting at the center of the spiral, roll it around the knot, more loosely into a flower shape, applying hot glue as you go to secure it in place. Repeat to make two of these flowers.


LEAVES:
- Using green felt and an erasable pen, draw several leaf shapes. Then, freehand cut them out using an OLFA art knife with curved blade.

To assemble the frame, first, practice placing the flowers and leaves in the opposite corners of the frame until you're satisfied with the arrangement.

- Using hot glue, attach the finished felt flowers and leaves from the back, gluing the flowers to the chicken wire and securing them to the corners of the wooden frame according to the layout you’ve decided on.
Finally, add beautiful photos to the chicken wire using clothespins, and your photo frame is ready!


Don’t forget to tag me @marciabel and @OLFA_craft in your finished project, we would love to see your creation :-)
Happy Spring!
Marcia


