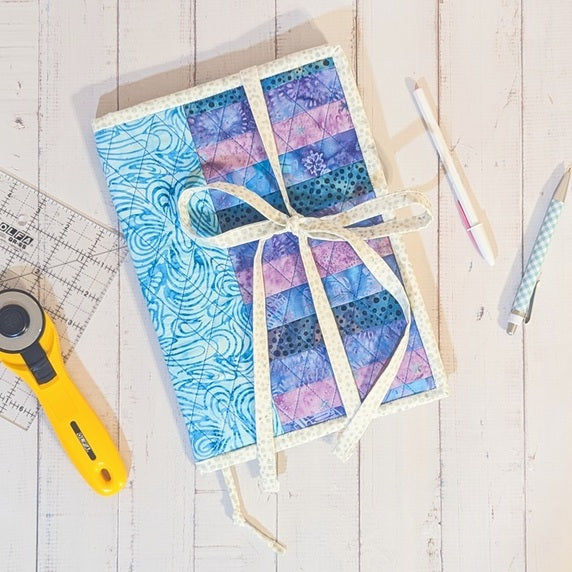
Minnesota Shop Hop - Composition Notebook Cover

Designer: Daisi Toegel
Instagram: @daisitoegel
Website: www.flowersew.com
------------------------------------------------
Category: Patchwork/Back to school
Size: 11” h x 8” W
Skill level: Confident Beginner
Pattern notes:
- Seam allowance is ¼in unless noted otherwise.
- FQ = fat quarter 18”x 21” / FE = fat eighth 9” x 21”
Fabric Requirements:

This project uses fabric from the Minnesota Shop Hop
Cutting instructions:
Color 1: Cut (1) 17” x 13” rectangle – lining fabric;
Color 2: Cut (2) 10” x 11” rectangles – inner flaps, attention to fabric orientation if using directional print as each of these pieces will be folded to 5” x 11. Fold each rectangle so they measure 5” x 11” and press. Set them aside. It’s optional to add a stabilizer piece for the flaps;
Color 3: Cut (1) 6 ½” x 12 ½” rectangle – main side center strip, attention to fabric orientation if using directional print;
Color 4, 5, 6 and 7: Cut (1) 9” x 5 ½” rectangle from each color; sub-cut (6) 5 ½” x 1 ½” from each color for a total of (24) – main side patchwork strips;
Color 8:
*Binding: cut (3) 2 ½” x WOF and join in the 45-degree angle, press lengthwise with wrong sides together and set aside.
*Closing tie: cut (3) 2” x WOF and join in the 45-degree angle, press lengthwise with wrong sides together, open and fold each long side towards the center and press. Fold both long ends together and sew to finish the edges. Before sewing each end of the tie, tuck 1/4” in to finish the tie’s ends, so there will be no raw edges overall. If using 21” WOF, the final measurement of the closing tie is approximately 57” long. You can cut if you prefer a shorter tie.
*Bookmark strip: cut (1) 1” x 18” and prepare it as done for the closing tie. When the project is finished, for styling, you can tie a knot at the hanging tip if you prefer.
You’ll also need:
*(1) 17” x 13” stabilizer piece or batting (the recommended stabilizer is Pellon 926 Extra-firm) – for the body
Tools needed:
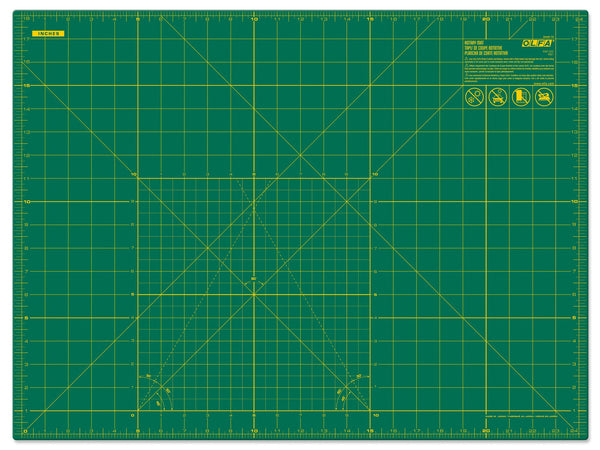
OLFA RM-SG; RM-SG-01 18" x 24" Green Double-Sided, Self-Healing Rotary Mat
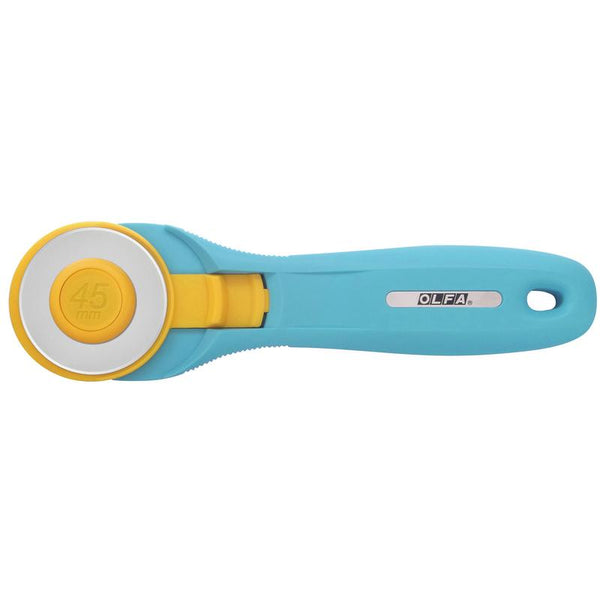
OLFA 45mm RTY-2/C Quick-Change Rotary Cutter, Aqua
OLFA QR-6x24 6" x 24" Frosted Acrylic Ruler
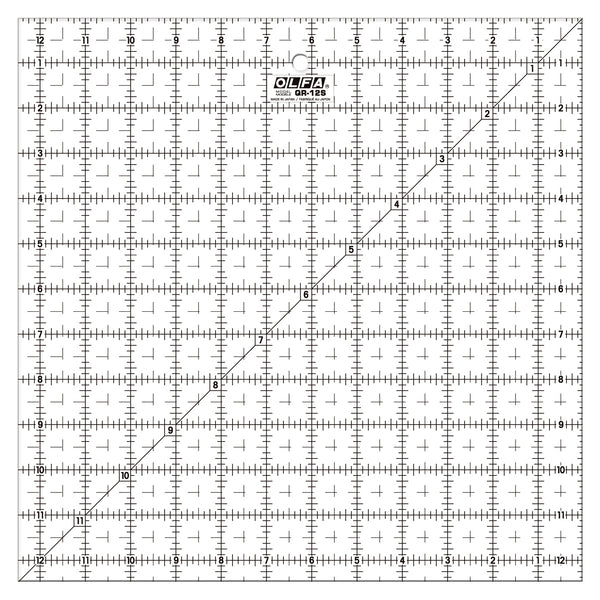
OLFA QR-12S 12 1/2" Square Frosted Acrylic Ruler

Sew the patchwork piece (body):
First, sew (2) sets of (12) 1 ½” x 5 ½” strips. Combine the strips as follows: c4, c5, c6, c7, c4, c5, c6, c7, c4, c5, c6, c7. Sew each one on the 5 ½” side, as shown on the photo below.
After sewing both sets, press all seams to one side.
With right sides together, sew each set on the (c3) 6 ½” x 12 ½” rectangle piece.

Baste the main side patchwork piece on the stabilizer/batting and also the lining fabric, and quilt using your favorite method.

To trim the quilted piece to 16” x 11”, first align the center strip on the main side on the cutting mat so it fits the space between the 5” and 11” ruler mark, see arrows on the photo below. Trim so the patchwork pieces are 5” to each side of the center strip for a 16” wide piece, and trim off the top and bottom by approximately 1” (it will depend on the shrinkage generated by the quilting process), so the piece is 11” high.

Sewing the closing tie, inner flaps and bookmark strip (tie):
After trimming the main body, with main side facing up, mark a dot on the right side on 2 1/2” far from the edge, and 5 1/2" above the bottom to place the closing strip.

For the closing tie, find the center by folding it in half and with both ends together, crease the center fold. Align the creased part on the tie on top of the dot previously marked on the main body, and from the crease made on the tie center, mark 4” up and 4” down for spacing and sew along the edges of the tie BEFORE sewing the inner flaps to secure it to the body.

With the closing tie sewn to the body, turn the project so the lining side is up. Align and clip in place the folded and pressed flaps (now 5” x 11” rectangle pieces) on each side - attention so the opening is facing to the outside and the flaps’ folded edges to the inside - and sew along the body edges using 1/8” seam allowance to secure it in place. Attention to the closing tie, move it as you go so it’s not caught while sewing the flap edges.
Fold the body in half on top (the top is when the closing tie is on the right side and the lining side is facing up), and make a small cut to mark. Align one end of the bookmark strip to the edge and sew it to secure, backstitching a few times. This tip of the bookmark strip will be covered by the binding when sewn and finished.

Bind the body edges using the method of your preference, pull aside the tie and bookmark strips as you go so they’re not mistakenly sewn with the binding.
Insert the composition notebook and you’re done! Tie a bow to close and enjoy.


