Autumn Inspired Accordion-Fold Mini Photo Album

Designer: Marcia Izabel Marchiori
YouTube: MarciaBel Vlog
Instagram: @marciabel
---------------------------------------

Welcome to a special tutorial! Today, we'll create an accordion-fold mini album to celebrate my favorite season—autumn! But more than that, it's about finding a unique way to tell your story. First, I’ll guide you through the basics of creating a handmade origami box, where the folded mini album will be nestled inside.

This is where your memories and creativity come into play. There’s no single way to tell your story, but the main idea is to use items you've collected throughout the season. Think of road trip knick-knacks, maps, ephemera from your travels and places you visited, packaging that reminds you of special places like tea bags or words cut from packages, photos, dried leaves from trails you’ve hiked, and of course, photos taken during special moments to be cherished forever. Anything that brings back those special memories when you open the album is perfect.
Here are a few ideas of media you can gather to use:
- Vintage papers from old books and magazines
- Laser or inkjet printed images found online that match the theme of your album (e.g. print maps from the places you visited)
- Stamps / Stamp Ink
- Vintage or just beautiful postage stamps
- Washi tapes
- Paints (gouache, watercolor, etc.) and pens/markers you have around
- Fabric scraps, burlap
- Paper scraps from other projects; found paper
- Embroidery notions (lneedle, floss) —why not add an embroidered accent?
- Ribbon, bakers twine


This album is about creating a personal and beautiful keepsake that captures the highlights of the season. It will look stunning displayed on your shelf and makes a perfect gift for someone with whom you've shared these special moments.
So, let’s get started!

Tools & Supplies Needed
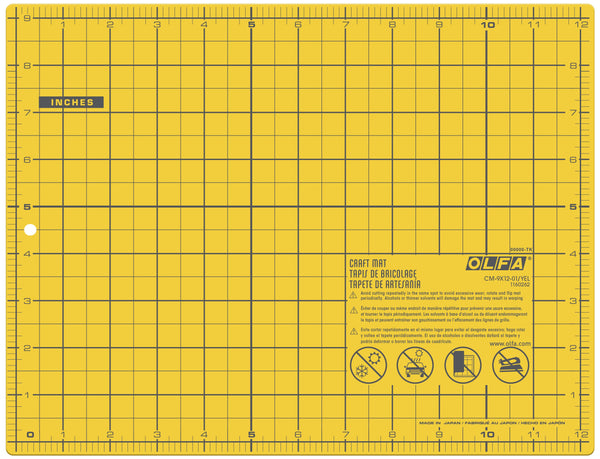
- OLFA CM-9x12-01/YEL Double-Sided Self-Healing Cutting Mat
- OLFA QR-1x12 1" x 12" Frosted Acrylic Ruler
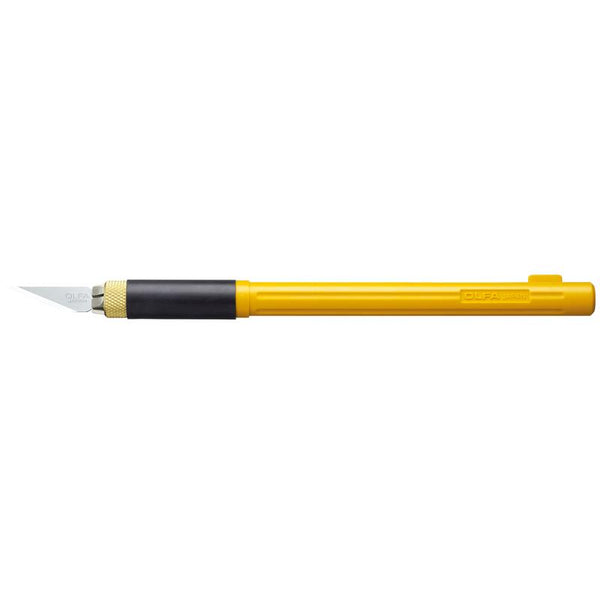
- OLFA AK-4 Cushion Grip Art Knife, paired with OLFA KB4-R/5 Curved Carving Art Blade
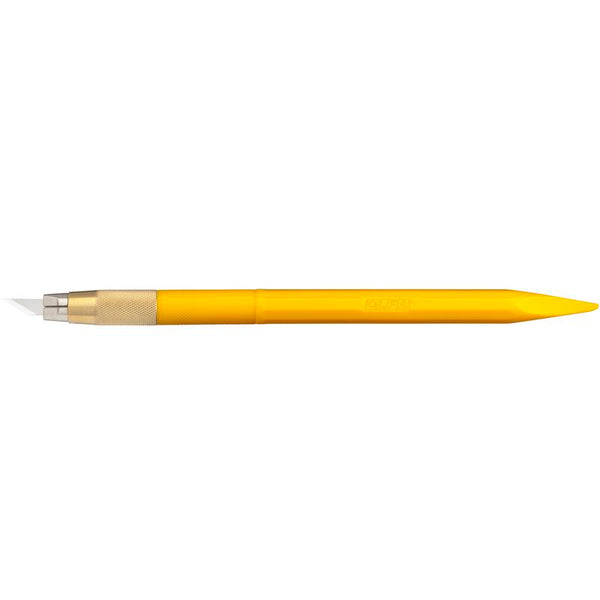
- OLFA AK-5 Designer Graphic Art Knife (we’ll use the tapered base side of the handle, for scoring, and needle)
- OLFA 5-Inch SCS-4 Precision Appliqué Scissors
- Scrapbook paper or lightweight Cardstock, letter size (colors of your choice).
- Thermo O Web iCraft Memory adhesive tape runner and/or Easy-Tear Tape
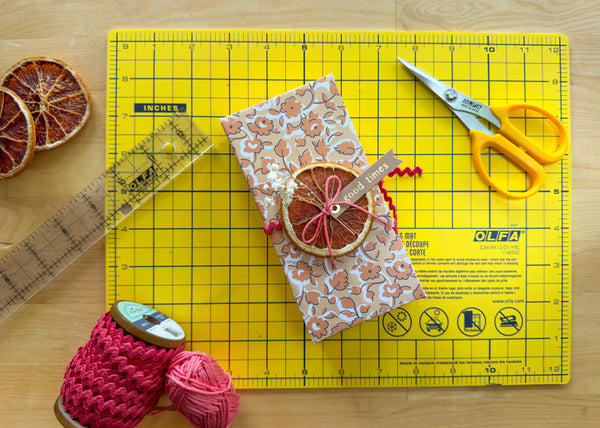
- Photos and scrapbook embellishments (please see list above). Note: I am not using all these supplies at once; the photo below is just for inspiration. Consider it an example of a mood board!

Instructions
Let's begin by making the box, which will serve as the base of our project. Below, you’ll find a step-by-step video on how to make this rectangular box with a lid, but here are the written instructions as well, just in case:
- Place the paper with the patterned side (right side) down, then fold it diagonally from corner to corner to form a triangle. Crease well, cut excess with OLFA AK-4 art knife, ruler and mat, then unfold.

- Repeat this step with the opposite corners of the paper. Crease well, and then unfold again.

- Now, with the paper open, you’ll see two visible fold lines. Take one corner and fold it towards the center. Crease well. Repeat this step with all four corners, then unfold everything.


- Fold one of the corners towards the opposite side, aligning it with the straight line you just made. Crease well, then unfold.

- Fold the opposite corner towards the last straight fold line you just created. Unfold everything, and you’ll see that the paper is divided into sections by the creases.
These are the folds you have so far: two diagonal fold lines forming an "X" in the center, four corners folded towards the center and then unfolded, two additional folds created by folding opposite corners to the lines formed by the previous folds, then unfolded. These creases will guide you in forming the box:

- Start permanently folding the box: Fold corner (a) towards the opposite side, aligning it with the third line. Crease well to secure this fold.

- Fold corner (b) towards the opposite side, aligning it with the last fold line. Crease well to secure this fold.

- Now, fold both remaining corners, one by one, reaching the fold you just created, and leave them folded in place.

- With the same side, fold along the creased lines, then open both sides again.


- Turn the paper and fold the remaining sides, ensuring both are folded to 90 degrees.

- Now, start pulling up both top triangles, collapsing them into the corners, and creasing them to 90 degrees as well, forming the remaining sides of your box.


The top of the box is ready! To make the bottom, repeat all of the steps above. However, it's important to note: in order to fit both parts together seamlessly, for the bottom, start with a slightly smaller square. Cut out about 1/8 inch from two adjacent sides of the square before proceeding with all of the steps. This adjustment will ensure a perfect fit when assembling the box.

Here’s a detailed video for you:
Let's move on to making the accordion-fold insert:
- Using OLFA ruler, measure the inside of the bottom of your box. Then, using OLFA AK-4 art knife, ruler, and cutting mat, cut the height of the paper to size.


- Fold the paper in half, and then fold each side in half again, forming a zig-zag pattern.


- For the other part of your accordion, let’s make it with sleeves: fold the paper to the same height as in the previous step:


- Fold it in half, and then fold it in half again, forming another zig-zag pattern.

- Now, attach both zig-zag papers together. Here, I'm using washi tape with coordinating colors to join them securely.

At this point, you have the base of the insert for your album ready! You can continue making more of these inserts depending on how much material you have to assemble. The limit will be the height of the box you created.

It's time for the most exciting part: decorating your mini album! You can lay it out and decorate it however you prefer, but here are some ideas I used in mine, just for inspiration! I began by gathering all the elements I wanted to use in my mini album. For this step, I kept in mind natural elements and the color scheme, preferring autumn colors like orange, brown, and beige, with hints of muted tones of red. I also used bronze stamp ink to distress the paper and give it a "worn out" look.

- Then, after tracing a few lines, I used my OLFA AK-5 with a needle to make all the holes, and then I embroidered some lines. After that, I attached some of my photos.

- Cut out all of the background and elements needed (maps, vintage newspaper, paper accents) using OLFA AK-4 art knife, ruler and mat.


- I used the sleeves to store my dried leaves and tea bags I’d like to remember, along with a couple of ephemera pieces and souvenirs from my trip, to decorate the pages. Then, I wrote a few things about my experiences.


- When finished with your accordion album, adhere each end of your accordion to the insides of the box, as shown below:

- You can also decorate the outside of the box with some of the elements you chose for your project. Here, I decided to use a dried orange (one of my fall projects from the past year!), this beautiful vintage red trim by Riley Blake Designs, dried flowers, and yarn, along with a pre-written accent tag.

And voilà, the fall-themed mini album is ready! Enjoy your beautiful creation, and cherish the memories it holds :-)


Don’t forget to tag me @marciabel and @OLFA_craft in your finished album, we would love to see your creations.
Marcia


