Zipper Ends - Tutorial

Carla Peicheff
-------
Pouches/Bags
Finished Size: 8 x 5”
Skill Level: Intermediate*
*you will need basic zipper installation experience for this tutorial
Every month I will be sharing a new tip, technique or skill with you to help you perfect your zipper pouches & bags! This month I will show you how to trim & make proper zipper ends so your pouch doesn’t bunch or pucker on the ends.
Tools Needed:
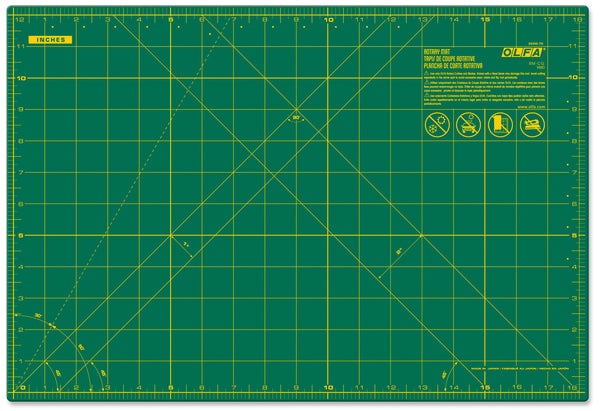
OLFA RM-CG 12" X 18" Green Double-Sided, Self-Healing Rotary Mat
OLFA QR-6x12 6" X 12" Frosted Acrylic Ruler
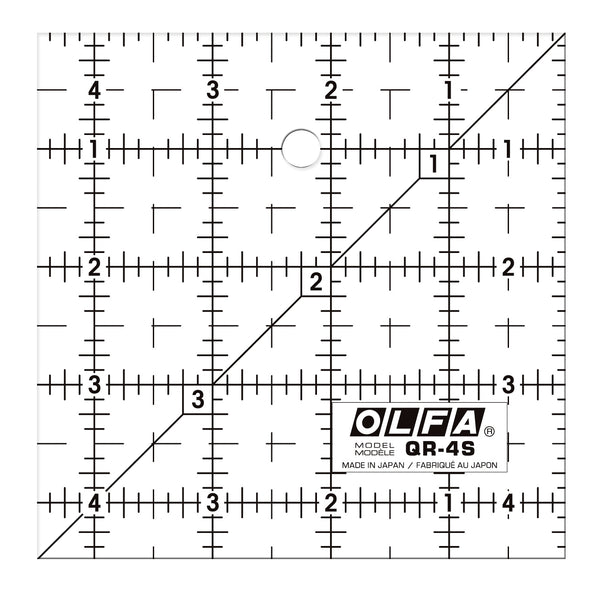
OLFA QR-4S 4 1/2" Square Frosted Acrylic Ruler
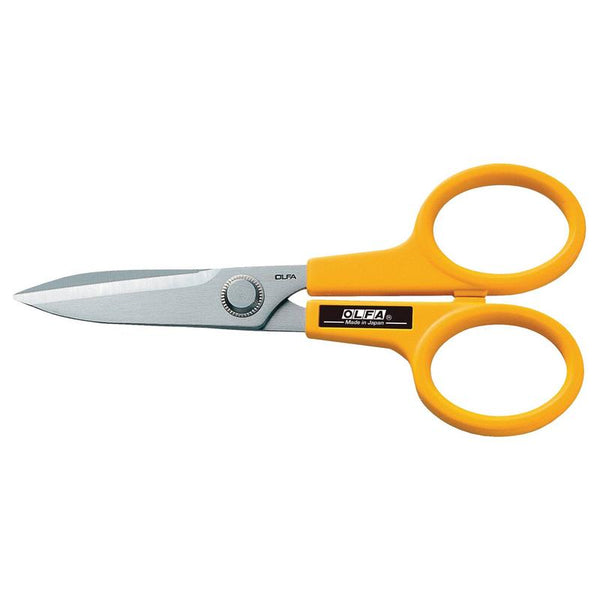
OLFA 7-Inch SCS-2 Serrated-Edge Stainless Steel Scissors
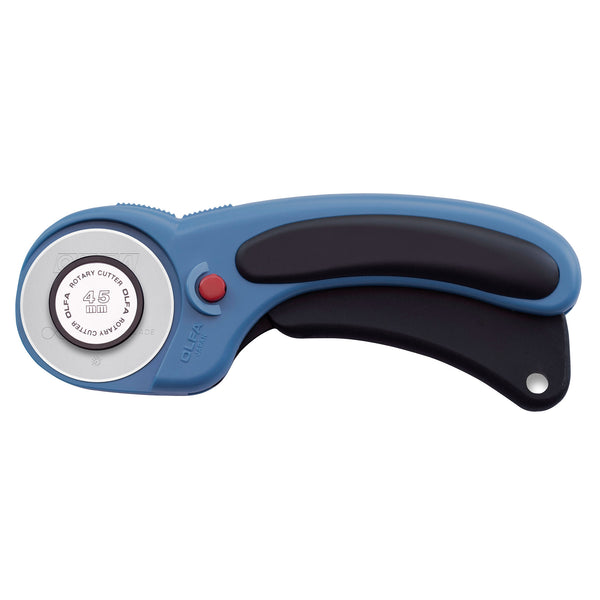
OLFA 45mm RTY-2DX/PBL Ergonomic Rotary Cutter, Pacific Blue
Fabric Requirements:
“Hedge Rose” by Kelly Panacci for Riley Blake Designs.
2 completed panels of a zipper pouch.
Supplies Needed:
Sewing machine, thread, nylon zipper, pins, iron.
Instructions:
Measure the top edge of your pouch from end to end with your 6x12” frosted acrylic ruler. Take your zipper and mark it 1” shorter in total.

Unzip your zipper head so it’s in the middle of the zipper and stitch a few stitches over the pen marks on your zipper. Snip off the ends of the zipper as shown.

Cut 2 pieces of fabric at 1x1.5”. Fold in half at .75” then in half again. Take to your ironing board and press.
Slip each fabric piece over each end of your zipper and stitch in place.
Complete your zipper pouch as usual!


