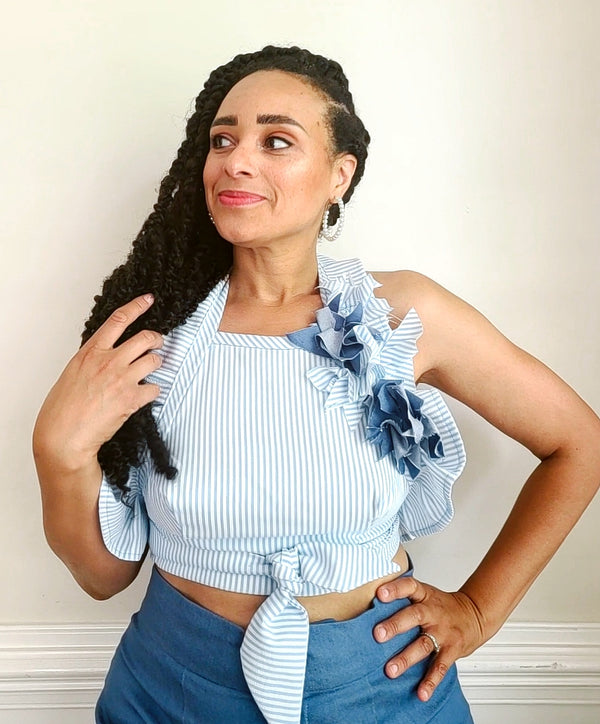
WILDFLOWER HALTER TOP
Guest Designer: Marcia Spencer
Email: Keechiibstyle@gmail.com
Instagram: @keechiibstyle
Beginner /Intermediate Level
---------------------------

This tutorial is for a stylish Summer Ruffled Halter top with wildflower cutouts. Wildflower Halter Top instructions can be made with or with out flower cutouts and you can arrange the flowers anywhere on the halter you like to customize your Halter Top.

OLFA TOOLS NEEDED:
- OLFA 45mm RTY-2C/NBL Quick-Change Rotary Cutter, Navy
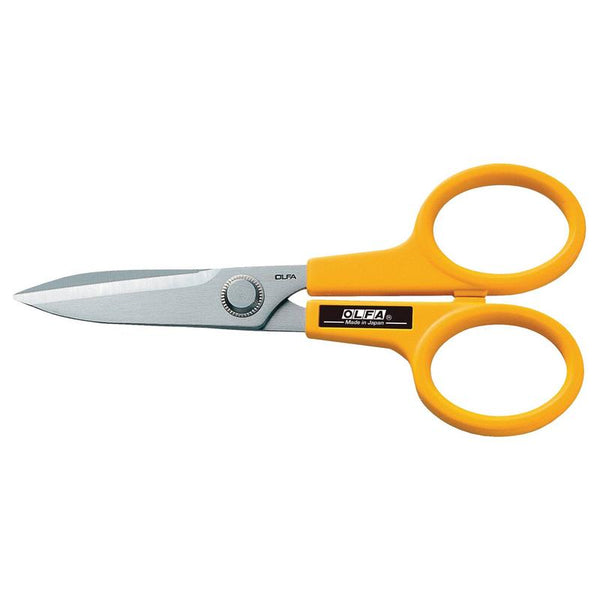
- OLFA 7-Inch SCS-2 Serrated-Edge Stainless Steel Scissors
- OLFA 5-Inch SCS-4 Precision Appliqué Scissors
- OLFA QR-6x12 6" X 12" Frosted Acrylic Ruler
- OLFA QR-6x24 6" X 24" Frosted Acrylic Ruler
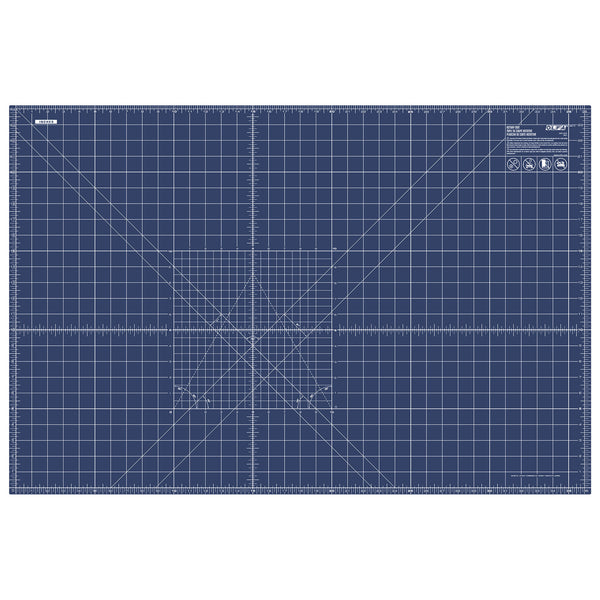
- OLFA RM-MG/NBL 24"X36 Double-Sided, Self-Healing Rotary Mat, Navy
Other Tools and Materials:
- THE ADA TOP” Pattern (FREE download at moodfabrics.com)
- 1 ½ yards of Cotton Woven Fabric ( lightweight denim, twill, sateen)
- ⅜ yards lining fabric
- Sewing Thread
- Sewing Machine
- Loop turner
Instructions:
Cut the Pieces
1.Use FREE Pattern to cut Bodice pieces using OLFA 45mm Rotary Cutter or OLFA 7- inch Stainless Steel Scissors
- Cut one of main fabric and one of lining


(I cut bust darts in my bodice and added 1.5 inches to the side with to accommodate for my bust and cup size. If you are smaller busted this may not be necessary)

- Using OLFA 6” X 24” Frosted Acrylic Ruler & OLFA 45mm Rotary Cutter on OLFA 24”x36 Double-Sided, Self-Healing Rotary Mat to cut the following pieces:
- One- 3” X 7” strip for neck binding
- Two- 3.5” X 28” strips for neck straps


- Two- 3.5” X 13” for arm binding

- Two- 4” X 21” strips for waist band
- Four- 4” X 26” strips for waist straps

- Two- 4” X 52” Ruffle pieces
Constructing the Halter Top:


- If applicable sew darts on bodice main fabric and lining. Press seams.


2.With wrong sides facing bring together bodice main fabric & bodice lining matching raw edges. Pin. Baste around all edges.


3. Fold neck binding strip in half wrong sides facing and press. Open press each side to middle fold line.


- With right side facing pin one long edge of binding to neck of bodice. Stitch. Trim and clip seam.


- With back side up, fold binding over encasing the seam. Pin. Stitch in the ditch. Trim any extra binding.


- Attach arm band to neck straps by matching one end of the strap to one end of the arm band right sides facing. Pin. Stitch. Press seam open.

- Fold band in half right sides facing. Open. Pin long edge of strip to raw edge of arm with right sides facing matching raw edges. Stitch.

- With right sides together stitch neck ties close stopping at the top edge of the bodice. Then Pin remaining edge to back of seam.


- With your loop turner, turn ties right side out. Press. Stitch remaining binding in the ditch. Repeat for both sides.

- Pin waist band to bodice bottom right sides facing. Stitch.

- Stitch waist ties to waist bands right sides facing matching edges. Press seams open. *Repeat steps 10 - 11 for waist band facings.


12. Stitch waistband to waistband facing at the bottom lengthwise right sides facing. Stitch over corners and tip of ties stopping at the arm bindings. Clip and trim corners.
13. Turn waist ties right sides out with loop turner. Press.


14. Pin waistband facing at seam. Stitch waistband facing in the ditch to close waistband.
Creating the Ruffles:


- Finish the long edge of ruffle and sides by turning under raw edge ¼ inch and again ¼ inch. Stitch. Finish remaining edge with serger or zig zag stitch.


2. Length wise create pleats on each ruffle till the ruffle is about 26” or fits halfway up the neck tie and midway through the waistband.


- Pin Ruffle up half way up the neck tie and down the bodice arm and about a quarter of the waist tie.


4.Top stitch ruffle close to the edge of the arm binding and tie. Press
Wild Flower Applique:

- Using the OLFA 24”x36 Double-Sided, Self-Healing Rotary Mat, OLFA 6” X 12” Frosted Acrylic Ruler and OLFA Quick-Change Rotary Cutter create a 10” X 10” square.


2. Create triangles by cutting the square from top left corner to bottom right corner


3. Line each triangle up with the mid point of the 10” X 10” square on the OLFA Mat and cut each triangle down the middle


- You should have four triangles now. Take each triangle and create a pleat in the middle with crease touching in the middle. Pin. Secure the pleat with a stitch. Repeat this step for all four triangles.


- Use two triangles to create your flower. Placing on pleated triangle over the other, one diagonal to the other so that the corners appear like petals. Pin together. Stitch an X in the middle to secure the two.

- Now that you have your wildflower, you can keep it like this or using OLFA 5-inch Precision Applique Scissors cut into the leaves stopping before you get to the middle stitching to create even more leaves.
*This flower will fray a bit which can be desirable especially with denim. However, note that cutting more leaves could add more fraying. If you want to avoid fraying you can add Fray Stop to the edges of your flowers.


- Hand stitch your flowers, with a needle and thread, onto your halter top where you would like. Pin the flowers in place first to make sure the arrangement is as you like it.


VOILA, YOU ARE DONE!