Upcycled Leather and Macrame Plant Hangers

Designer: Randa Roberts
---------
Size or dimensions: 4” diameter by 25” length (approximate)
Skill level: Easy - moderate, attention to detail
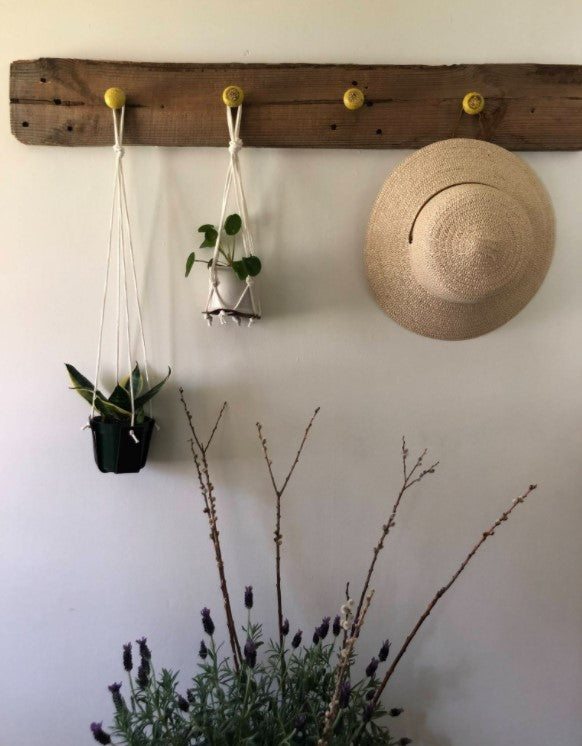
Elevate your macrame plant hangers using upcycled leather! Here I use reclaimed upholstery leather and macrame cord to make a beautiful and useful plant hammock.
Are you a plant parent looking for a fresh way to display your beautiful greenery? I love having indoor plants! It’s been a learning process to keep them happy and alive (I’m a recovering over-waterer). This simple potted plant hanger captures the macrame trend and gives it an upcycled twist, and it’s simple and quick - my two favorite crafting terms.
The best kind of leather to use has a bit, but not too much, thickness to it. For this project I was able to use salvaged leather upholstery scraps, so if you see a couch at the curb, grab an OLFA Touchknife and cut a piece off. If you aren’t the couch salvaging type, you might find a bag of leather scraps at your local craft store, and chances are they’ll be a few pieces you can use to cut a 4” circle no problem.
If you haven’t tried the OLFA Rotary Circle Cutter, the key is practice! Give yourself a few minutes to make some circles of different sizes on scrap materials. OLFA says it best when they suggest a “stir the soup” movement, and once I got it, I couldn’t stop making circles. You’ll be so surprised and delighted by how quick and smooth your circles are cut, and who knows what you’ll be inspired to create. I’m so excited to share this quick plant hammock tutorial that I was inspired to create!!
Tools:
- OLFA CMP-3 Rotary Circle Cutter
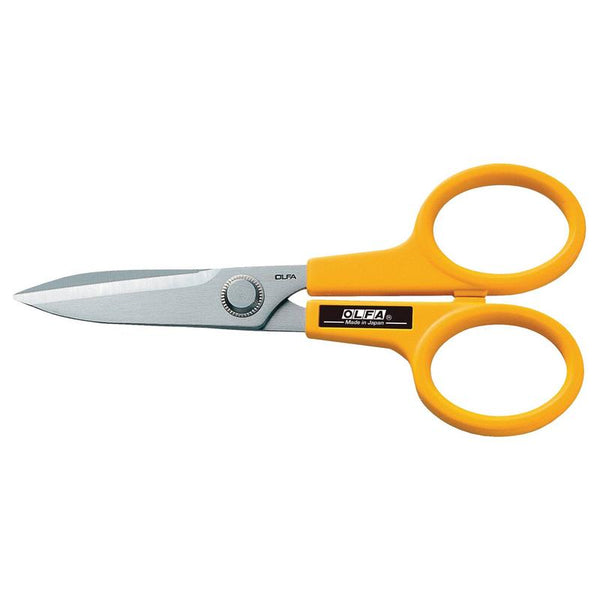
- OLFA 5-Inch SCS-4 Straight-Edge Stainless Steel Precision Scissors
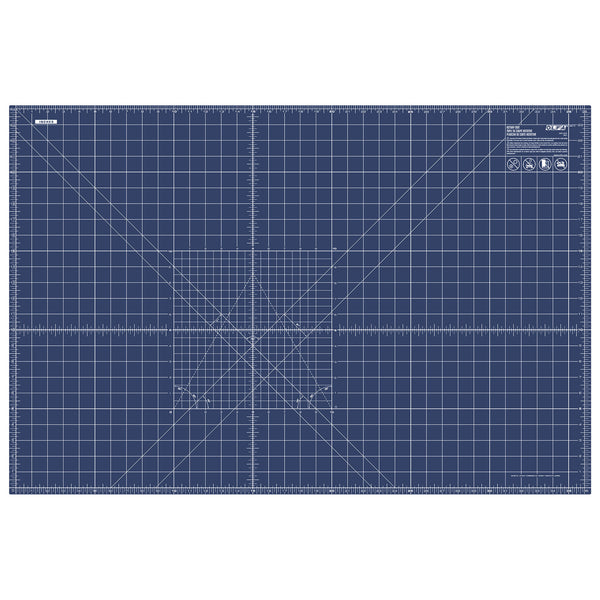
- OLFA RM-MG/NBL 24"X36 Double-Sided, Self-Healing Rotary Mat, Navy
- 5mm leather hand punch
Supplies to make ONE hanger:
- 4” X 4” or larger scrap leather remnant or reclaimed leather
- 5.5 yards of Macramé Braid - I purchased online from my local bookstore
- Measuring tape
- Potted plant
CUT OUT YOUR CIRCLE:
1.Make sure you’re working on a protected surface, such as an OLFA Self-healing Rotary Mat.
2.Measure out to the 2” mark on your OLFA Rotary Circle Cutter, and lock the rotary arm in place. Make sure the blade guard is up.
3.Lay your leather flat on the cutting mat and position your Rotary Circle Cutter compass point in the center of the scrap.

4.Hold the ratchet handle in your hand, and rotate the circle cutter, apply gentle pressure as you do (don’t forget to practice a few times on other scraps!) Allow the ratchet to do the work, imitating a “stir the soup” movement.
HINT: I find it easy to push down on the top of the compass point when I want to steady myself and ensure a fluid cut.
PUNCH HOLES:
Simply fold in half and punch through both sides, this will give you a total of 8 holes that you will pull your macrame cord through.
HINT: position yourself with your feet firmly planted and use both hands and super firm pressure to punch through the leather. You may also want to twist the leather after you’ve punched to ensure it’s cut through both layers.
MACRAME:
1.Measure a 50 inch length of macrame cord and cut. Repeat until you have four total. You will fold in half, making eight strands.
2.Gather all four strands and tie a simple knot, leaving a loop large enough to feed over a stick, or onto a hanger
3.Spread out the strands. Starting from the left side, take the second and third strand, measure down the desired amount -I measured 15” down -and tie a simple loop knot.
4. Repeat step three, knotting strand 4 & 5, 6 & 7, and then finally bring 1 & 8 together and repeat the step. As you knot, you can adjust the knots so that they are as close to the same length as possible. You can continue to knot another round here if you choose.
HINT: the higher up your knots are, the more closed inthe top of your hanging plant hammock will be. I prefer to keep it at two knots so that the plant pot is cradled, and the plant itself has lots of room.
ATTACH MACRAME TO LEATHER CIRCLE:
1.Lay the leather circle finished side down.
2.You have eight cords, and eight holes. Spread out your macrame so that you can take one tail from one knotted pair, and the tail from the next knotted pair, and pull them through the first pair of holes. To keep it untangled, pull the tail ends all the way through. Repeat for the next four pairs until you have your tail ends through the holes in the leather circle.
3.Flip the circle over so all of your tails are face up.
4.Measure about 3” and knot the tails. These knots will be on the bottom of your hammock, so you’ll want them to be as close to the same length all the way around.
HINT: don’t make your knots super tight at first you can adjust them.
5.Flip the hammock upright, and place your potted plant on the leather hammock, and gently adjust the long macramecords around it. Once you’re happy and it’s level, tighten the knots.6.Hang your Plant Hammock and trim the macrame ends to desired length. I chose to cut them close to the knot because I like that look. You can also leave long and fray the macrame braid for a more boho look.
I hope you have a great time designing and making your own Plant Hammock using the OLFA Rotary Circle Cutter! Once I made my first one I couldn’t stop and my next one took my five minutes to make. Enjoy the process, and enjoy how adorable and happy your plants will be hanging in this trendy planter!


